In my previous Defender for Office 365 posts I walked through the setup and configuration of threat policies covering each policy type and the configuration analyser with a view to providing a solid starting baseline to work from.
In this final article on Defender for Office 365 I wanted to run through one of and probably the most important features included in Plan 2, Attack simulation training. Other features are included in the MDO Plan 2 but I will only be covering the one in this post.
The first thing we’ll need to do is make sure that auditing is enabled for your tenant as this is required for the reporting functionality, go ahead and connect to Exchange Online via PowerShell using the below commands you can verify to status and update it if required.
Connect to Exchange Online
Connect-ExchangeOnlineVerify the auditing status
Get-AdminAuditLogConfig | FL UnifiedAuditLogIngestionEnabledIf the above returns a value of false then auditing is not enabled and you must manually enable it before continuing.
You can enable auditing one of two ways; either navigate to https://compliance.microsoft.com/ select the audit tab and then using the banner across the top choose to enable auditing by clicking **Start recording user and admin activity **or use PowerShell with the below command.
Set-AdminAuditLogConfig -UnifiedAuditLogIngestionEnabled $trueKeep in mind it can take up to 60 minutes for the changes to take effect. Once complete head on over to the Defender homepage and navigate to Attack simulation training underneath Email and Collaboration.
There’s been a lot of changes and updates to this module in the past 12 months and the portal, layout and ease of getting up and running quickly is very welcome, lets start with a quick run through the different tabs.
Overview
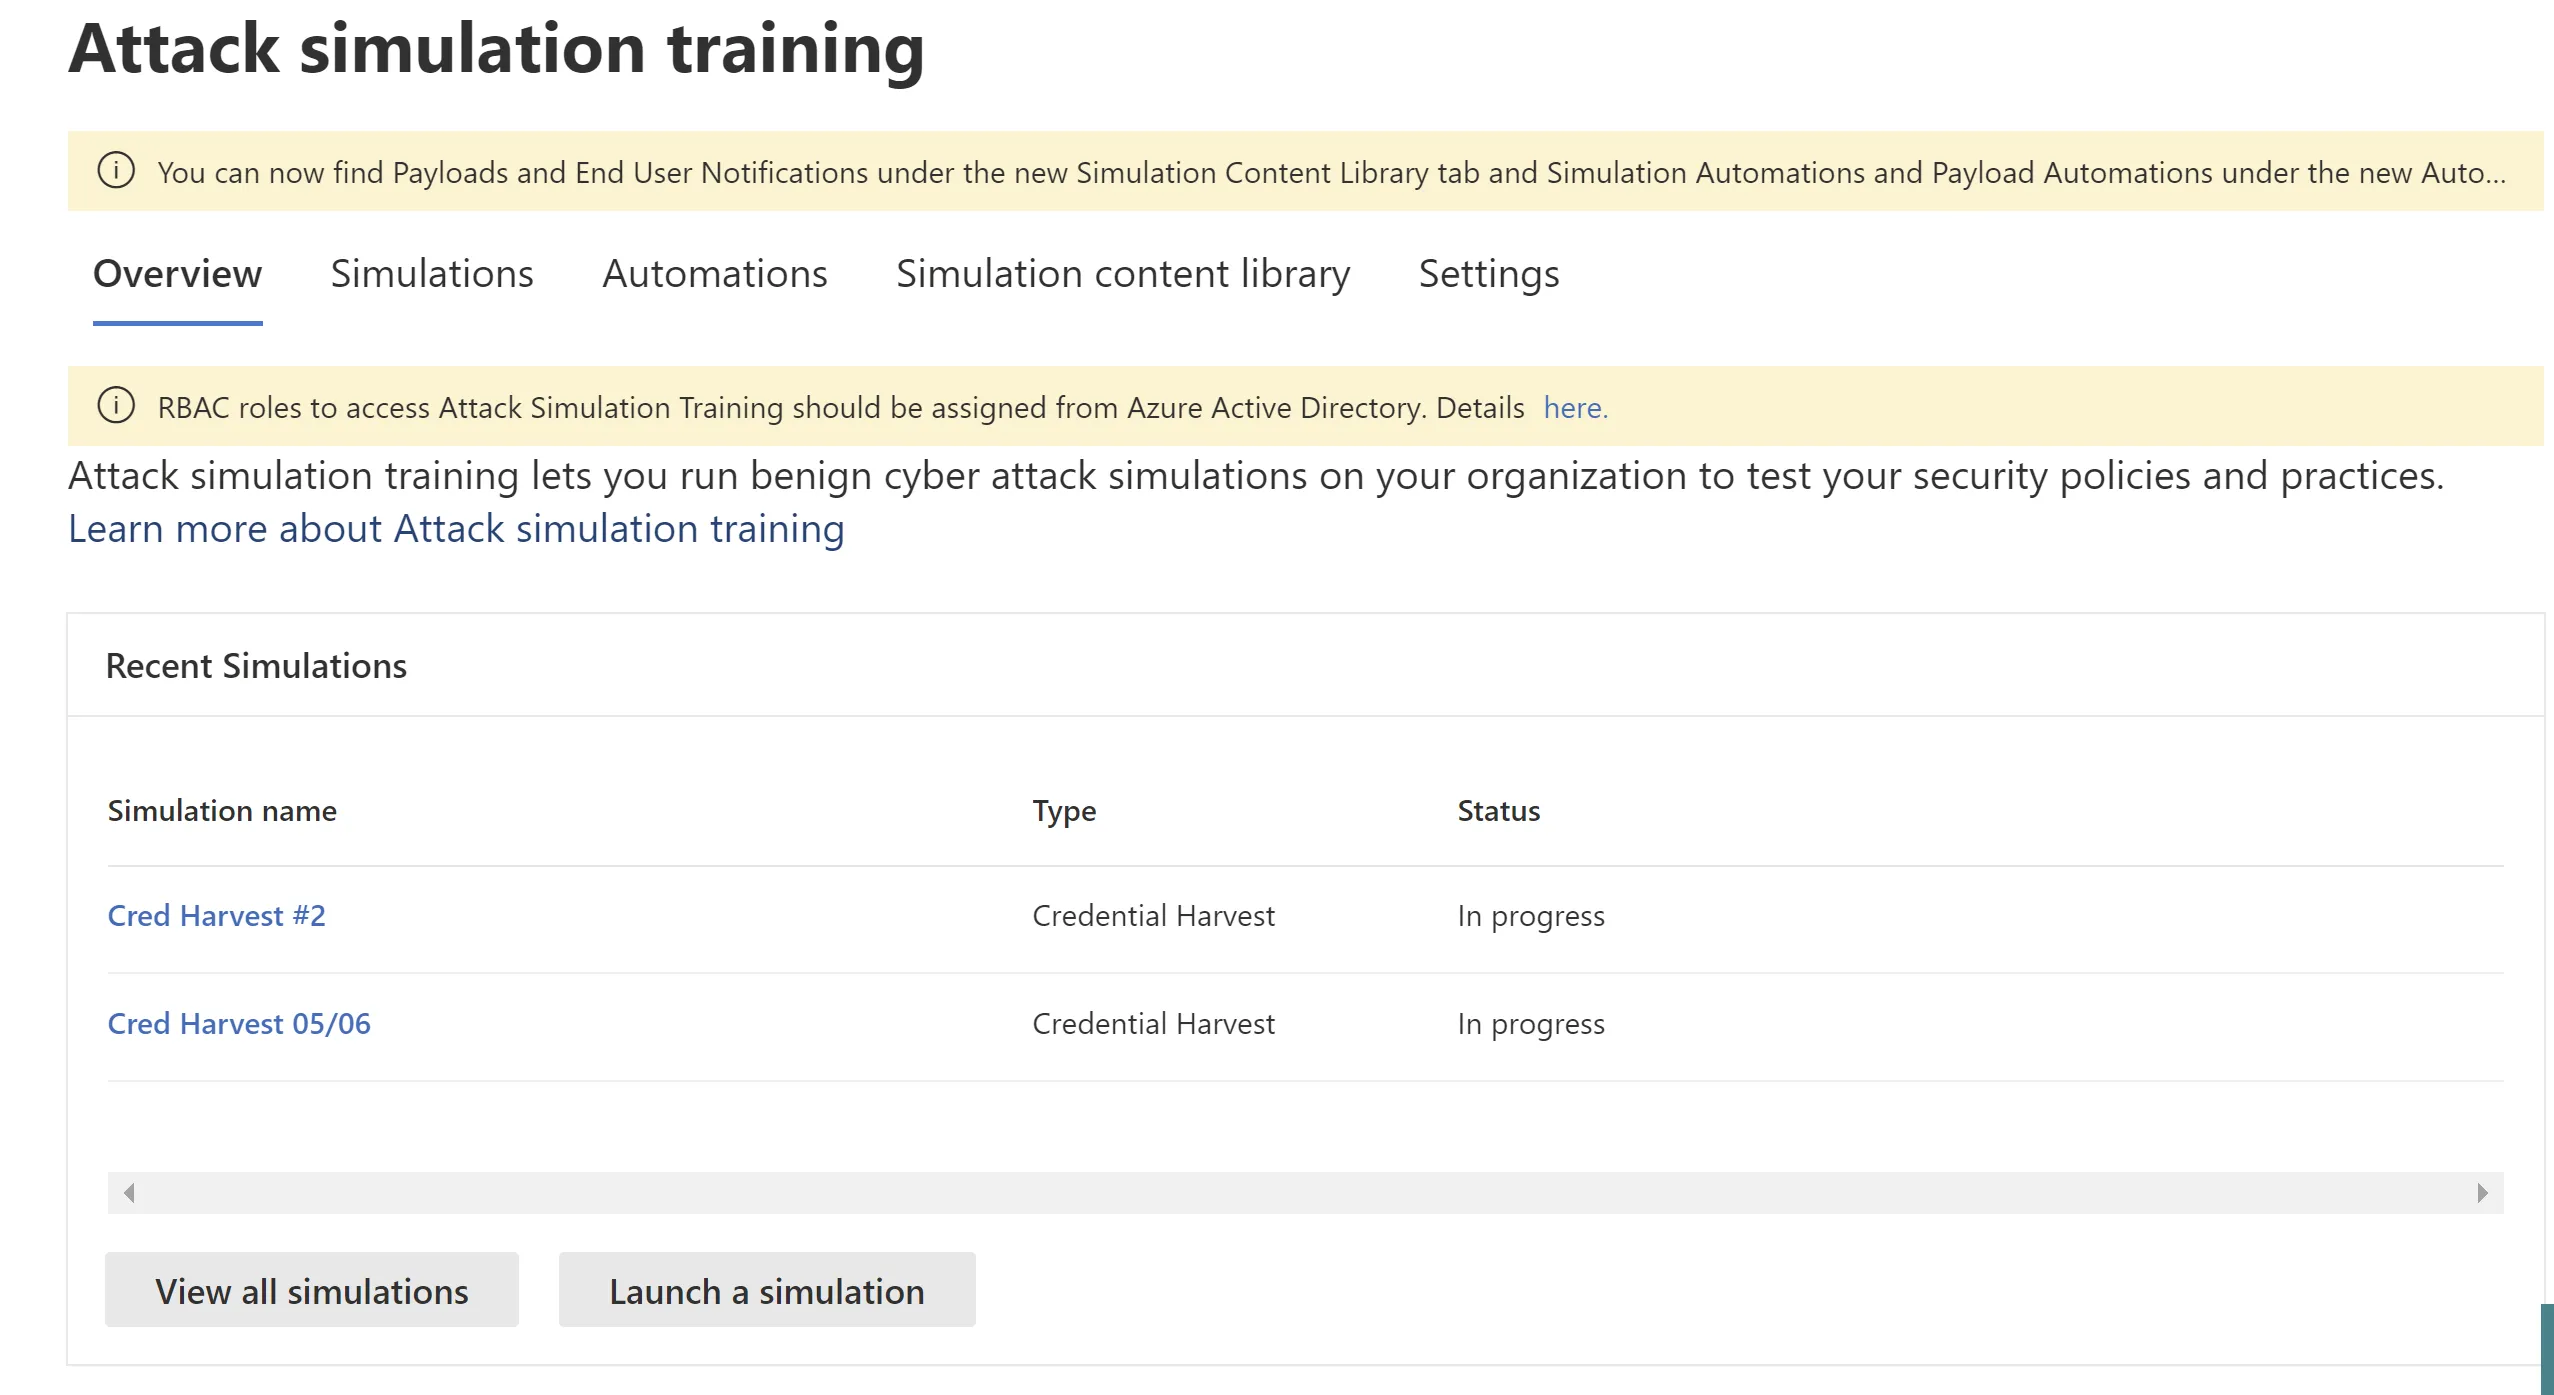
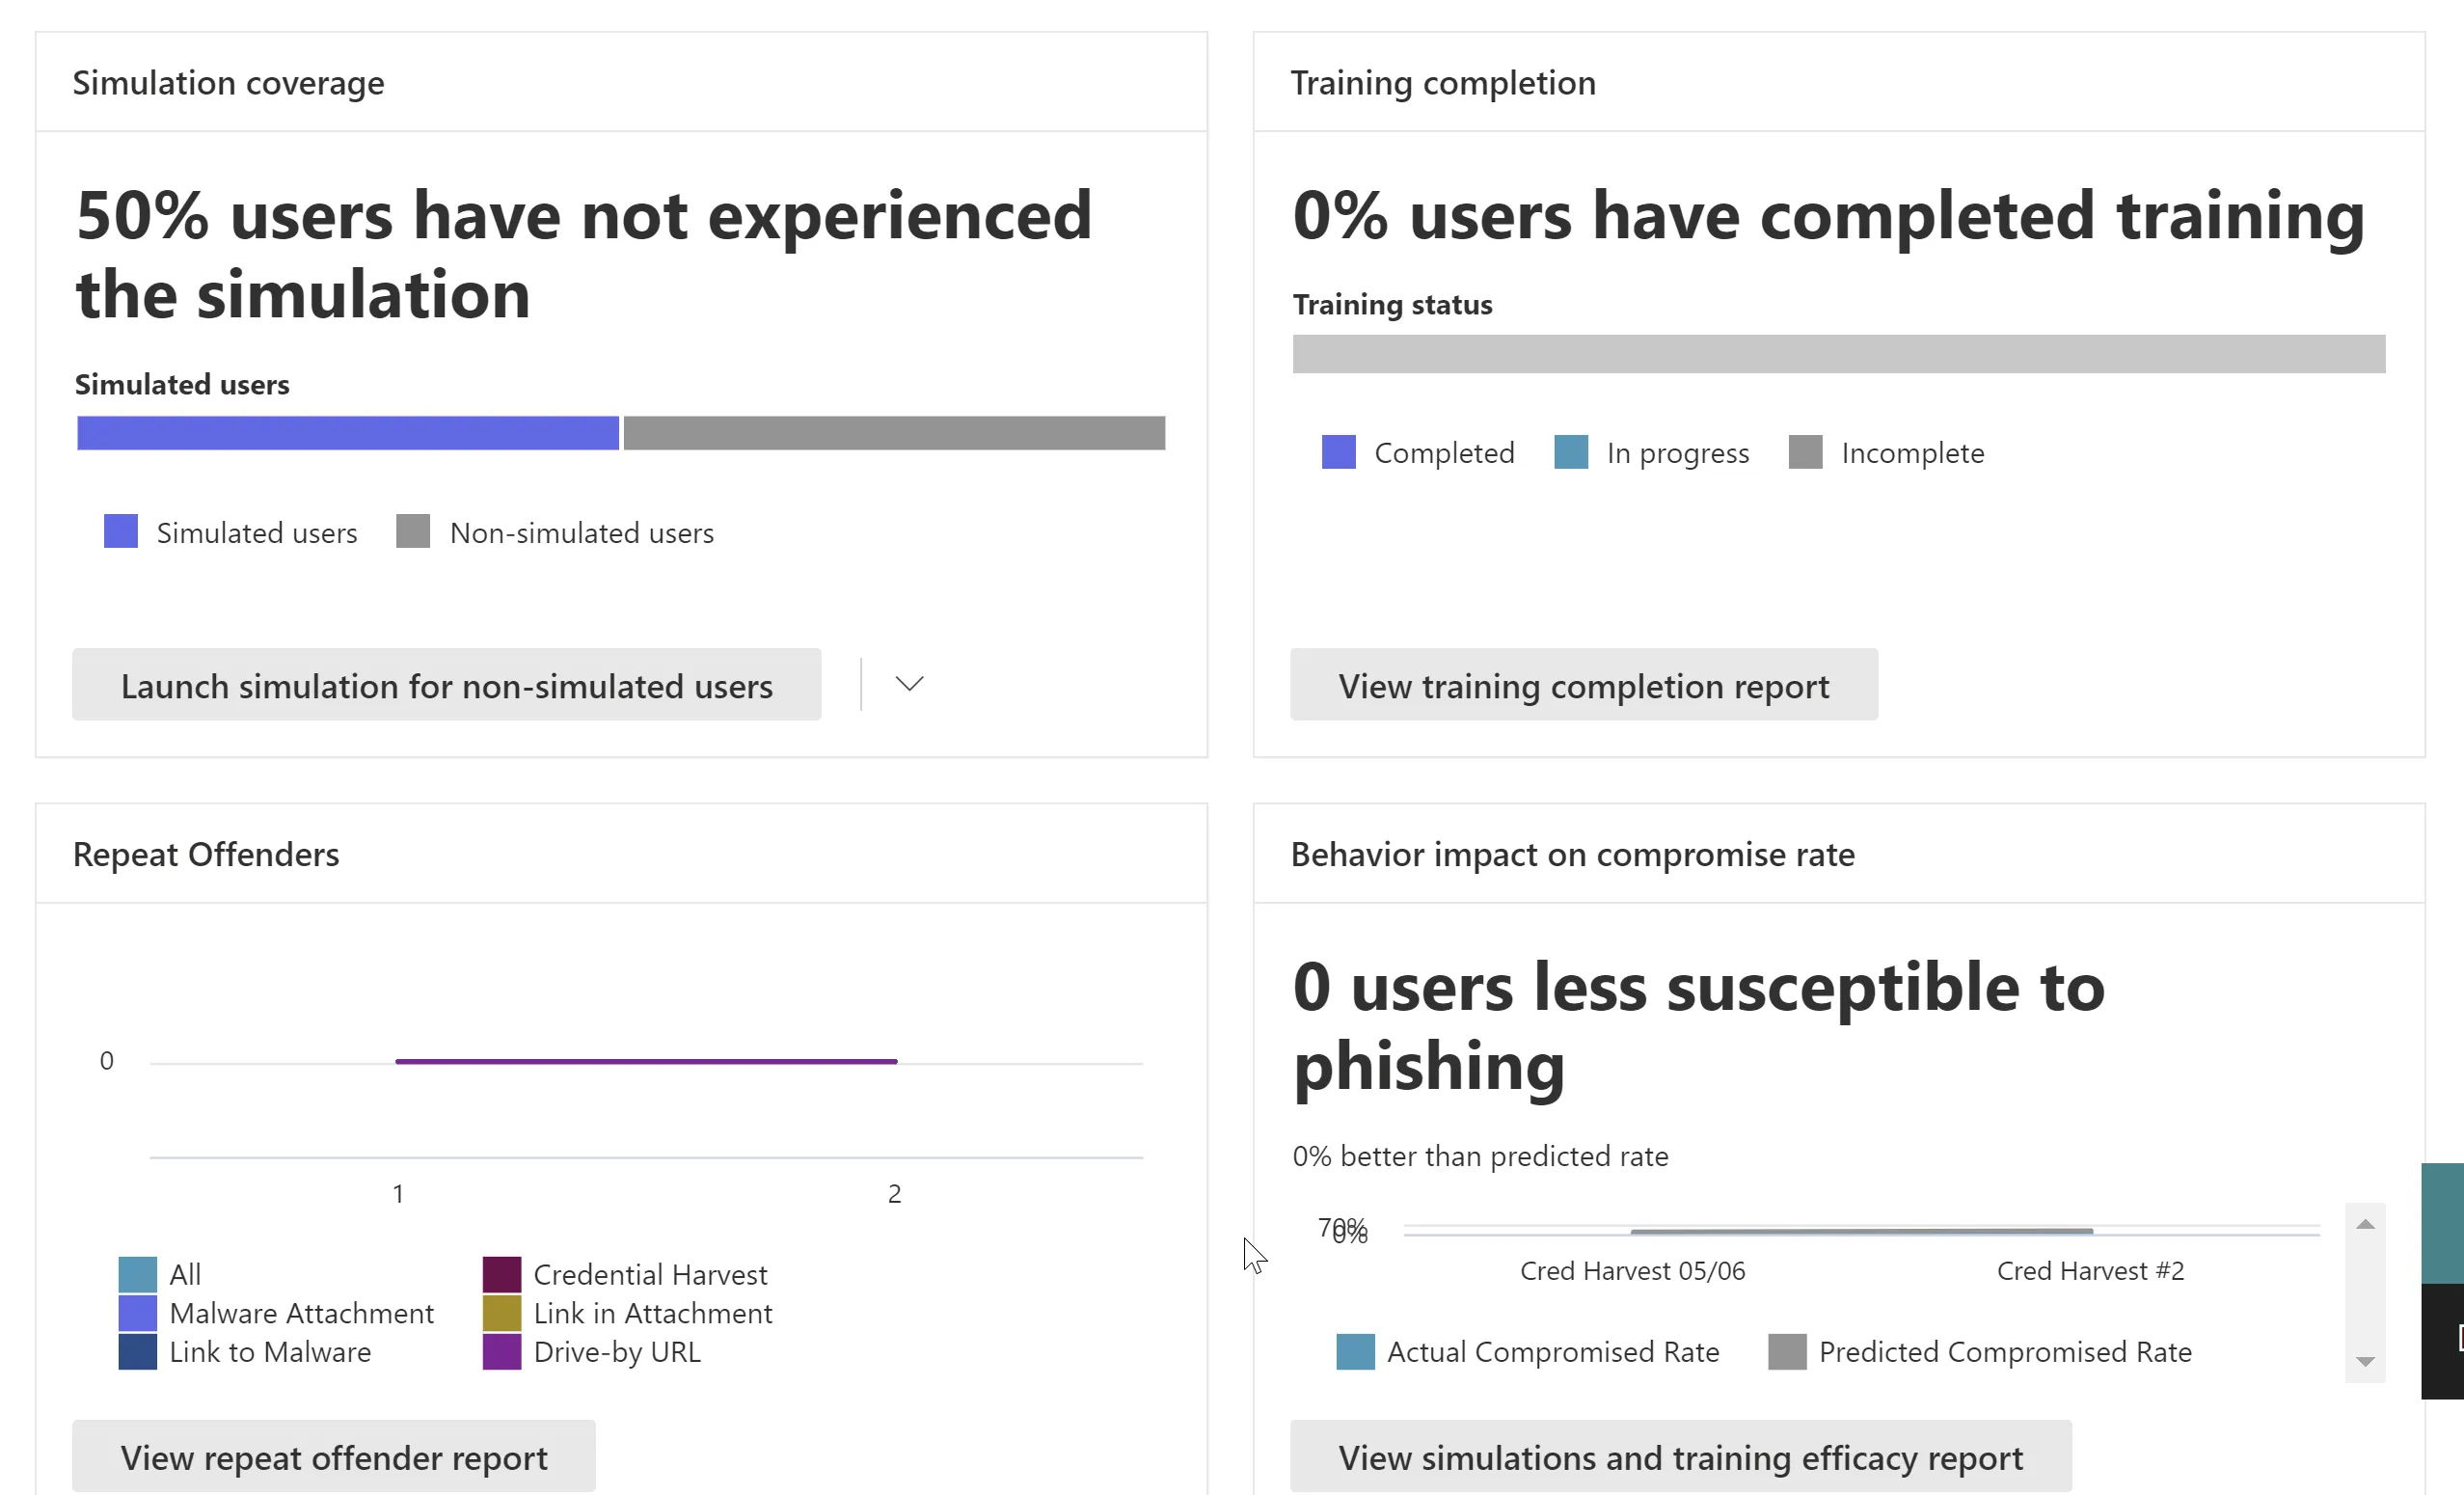
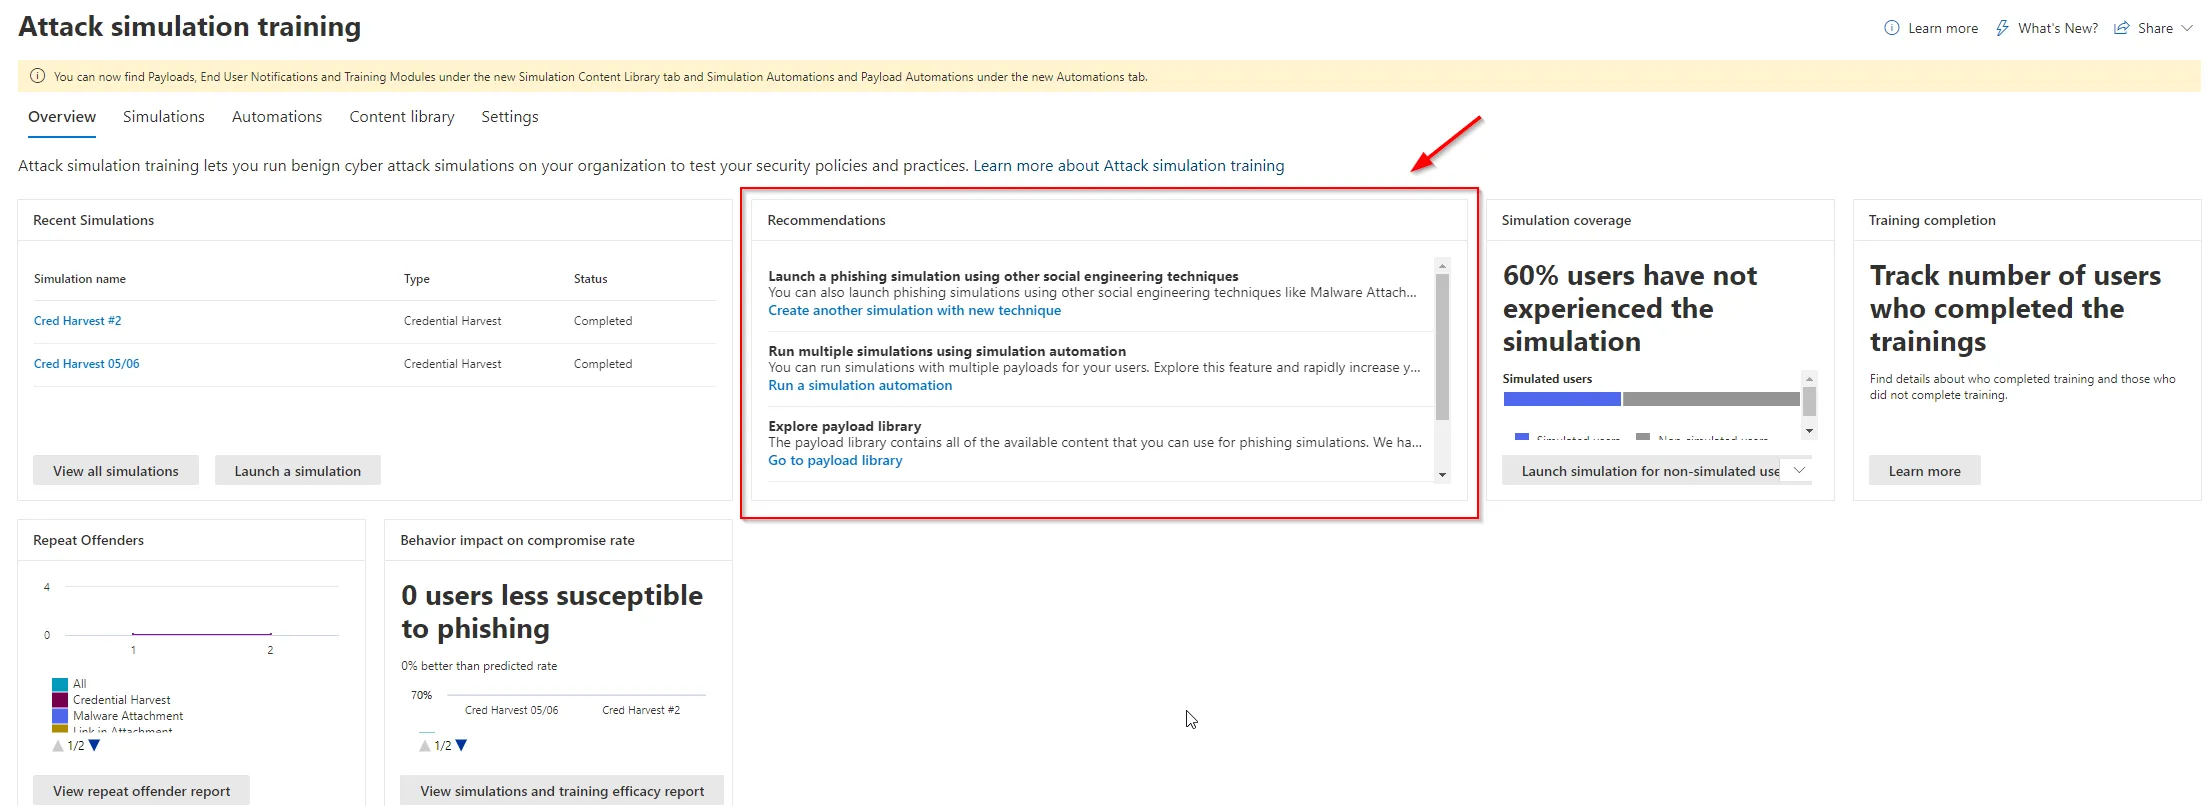
Here is where you are going to get, you guessed it, an overview of any current simulations, trainings, compromise rate, repeat offenders and even recommendations. From this page you can quickly see what’s what and by clicking into any of the available cards, you will be able to drill down into more detailed information.
Simulations
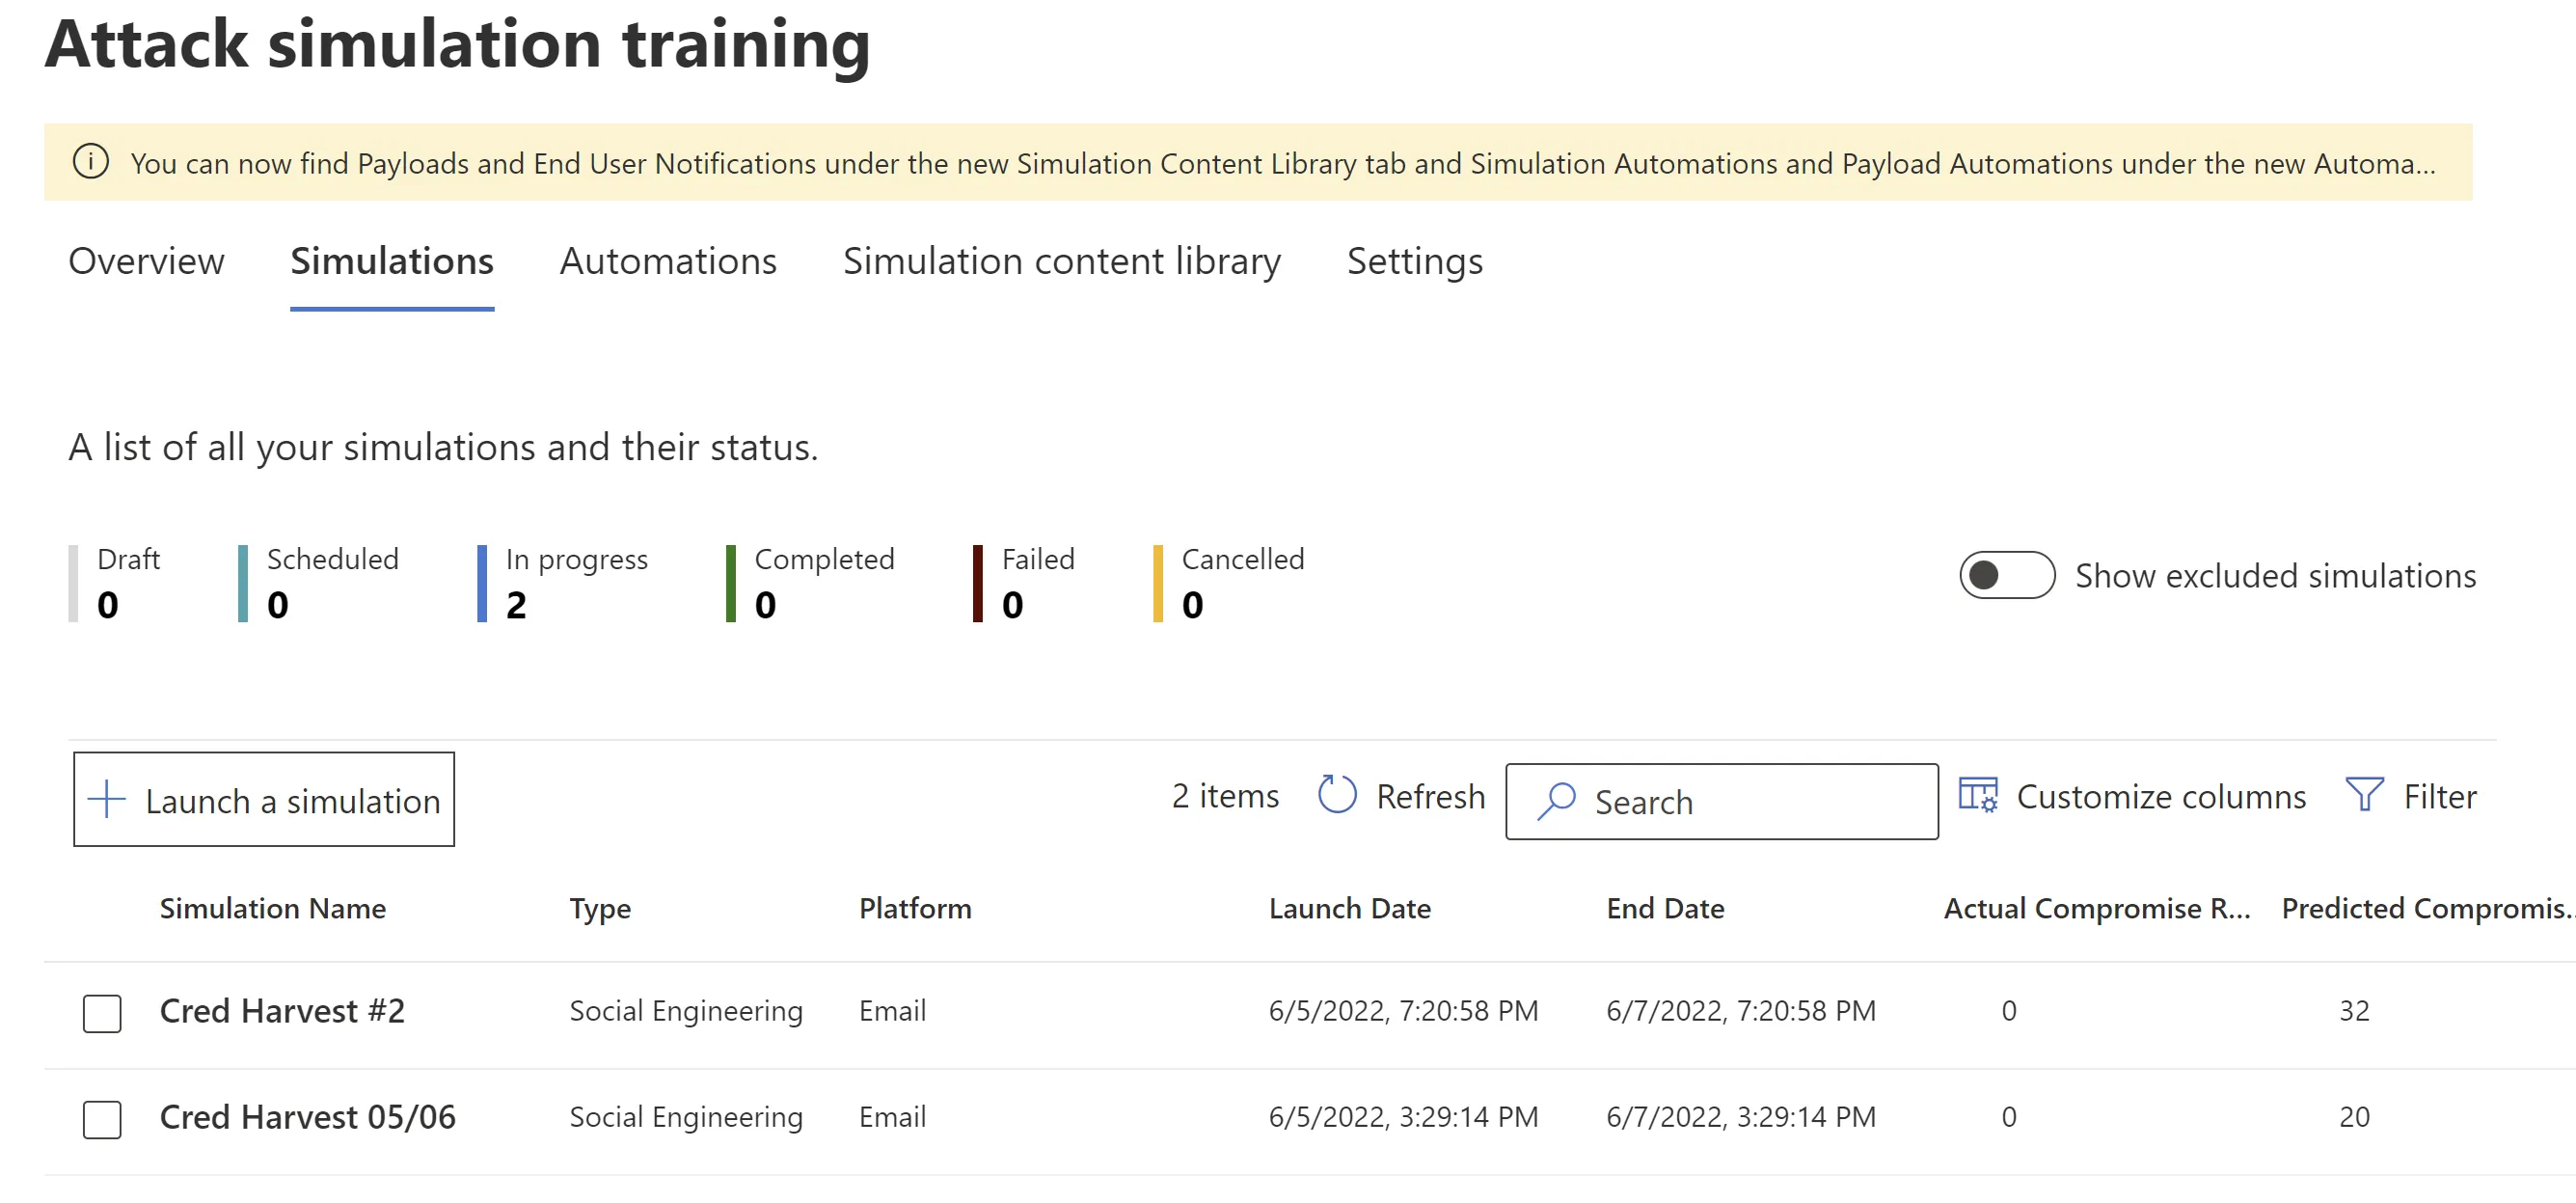
Here you’ll find a list view of all simulations and their status, columns can be added and removed as required. A simulation allows you to choose a single social engineering technique and schedule it for a single run.
Automations
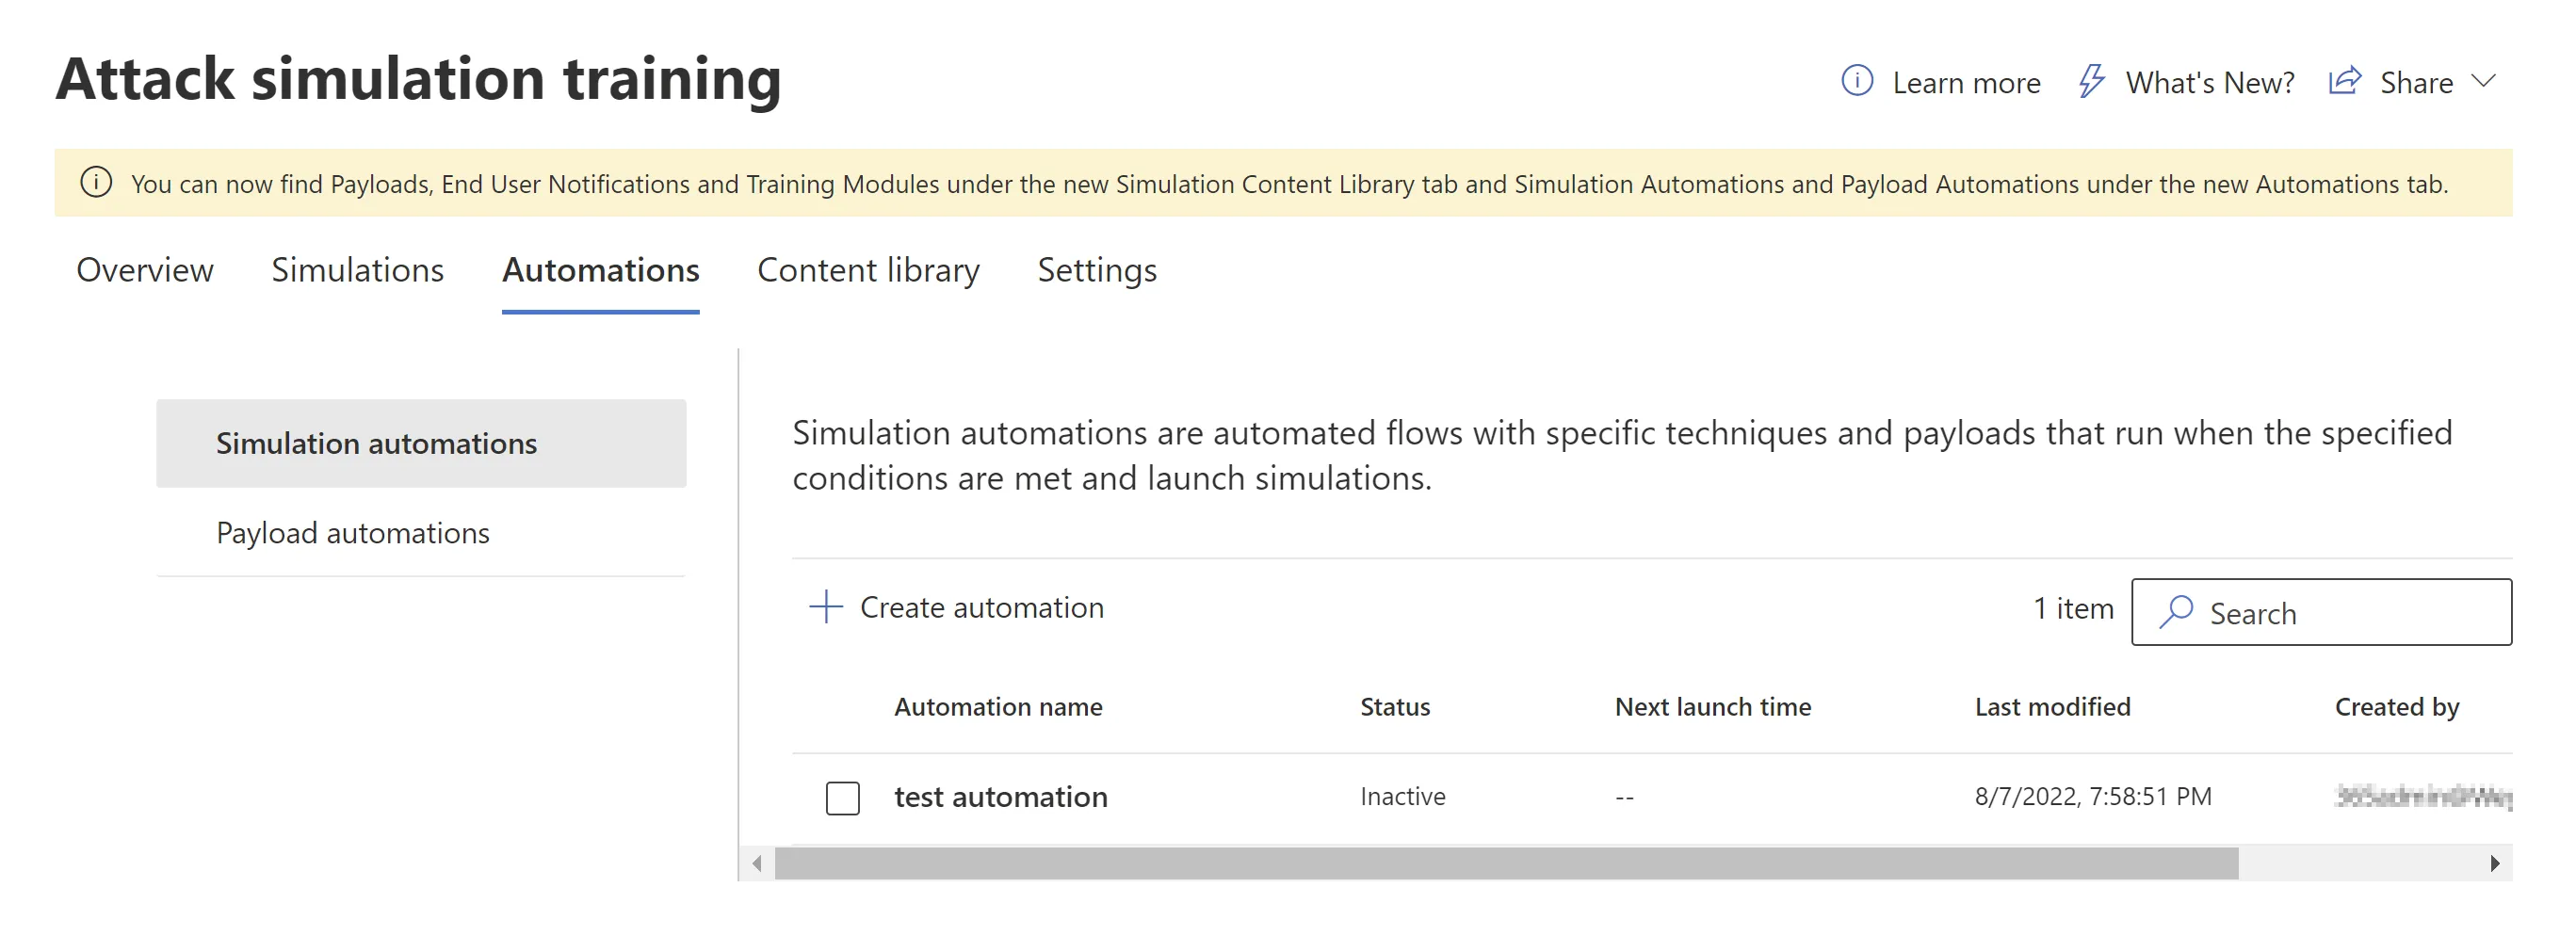
Automations allow you to create multiple automated simulations based on differing social engineering techniques across a certain period of time, for example, you could choose to run a campaign over 8 weeks with a view to using each technique so you can see which one is tripping up your users the most.
Content Library
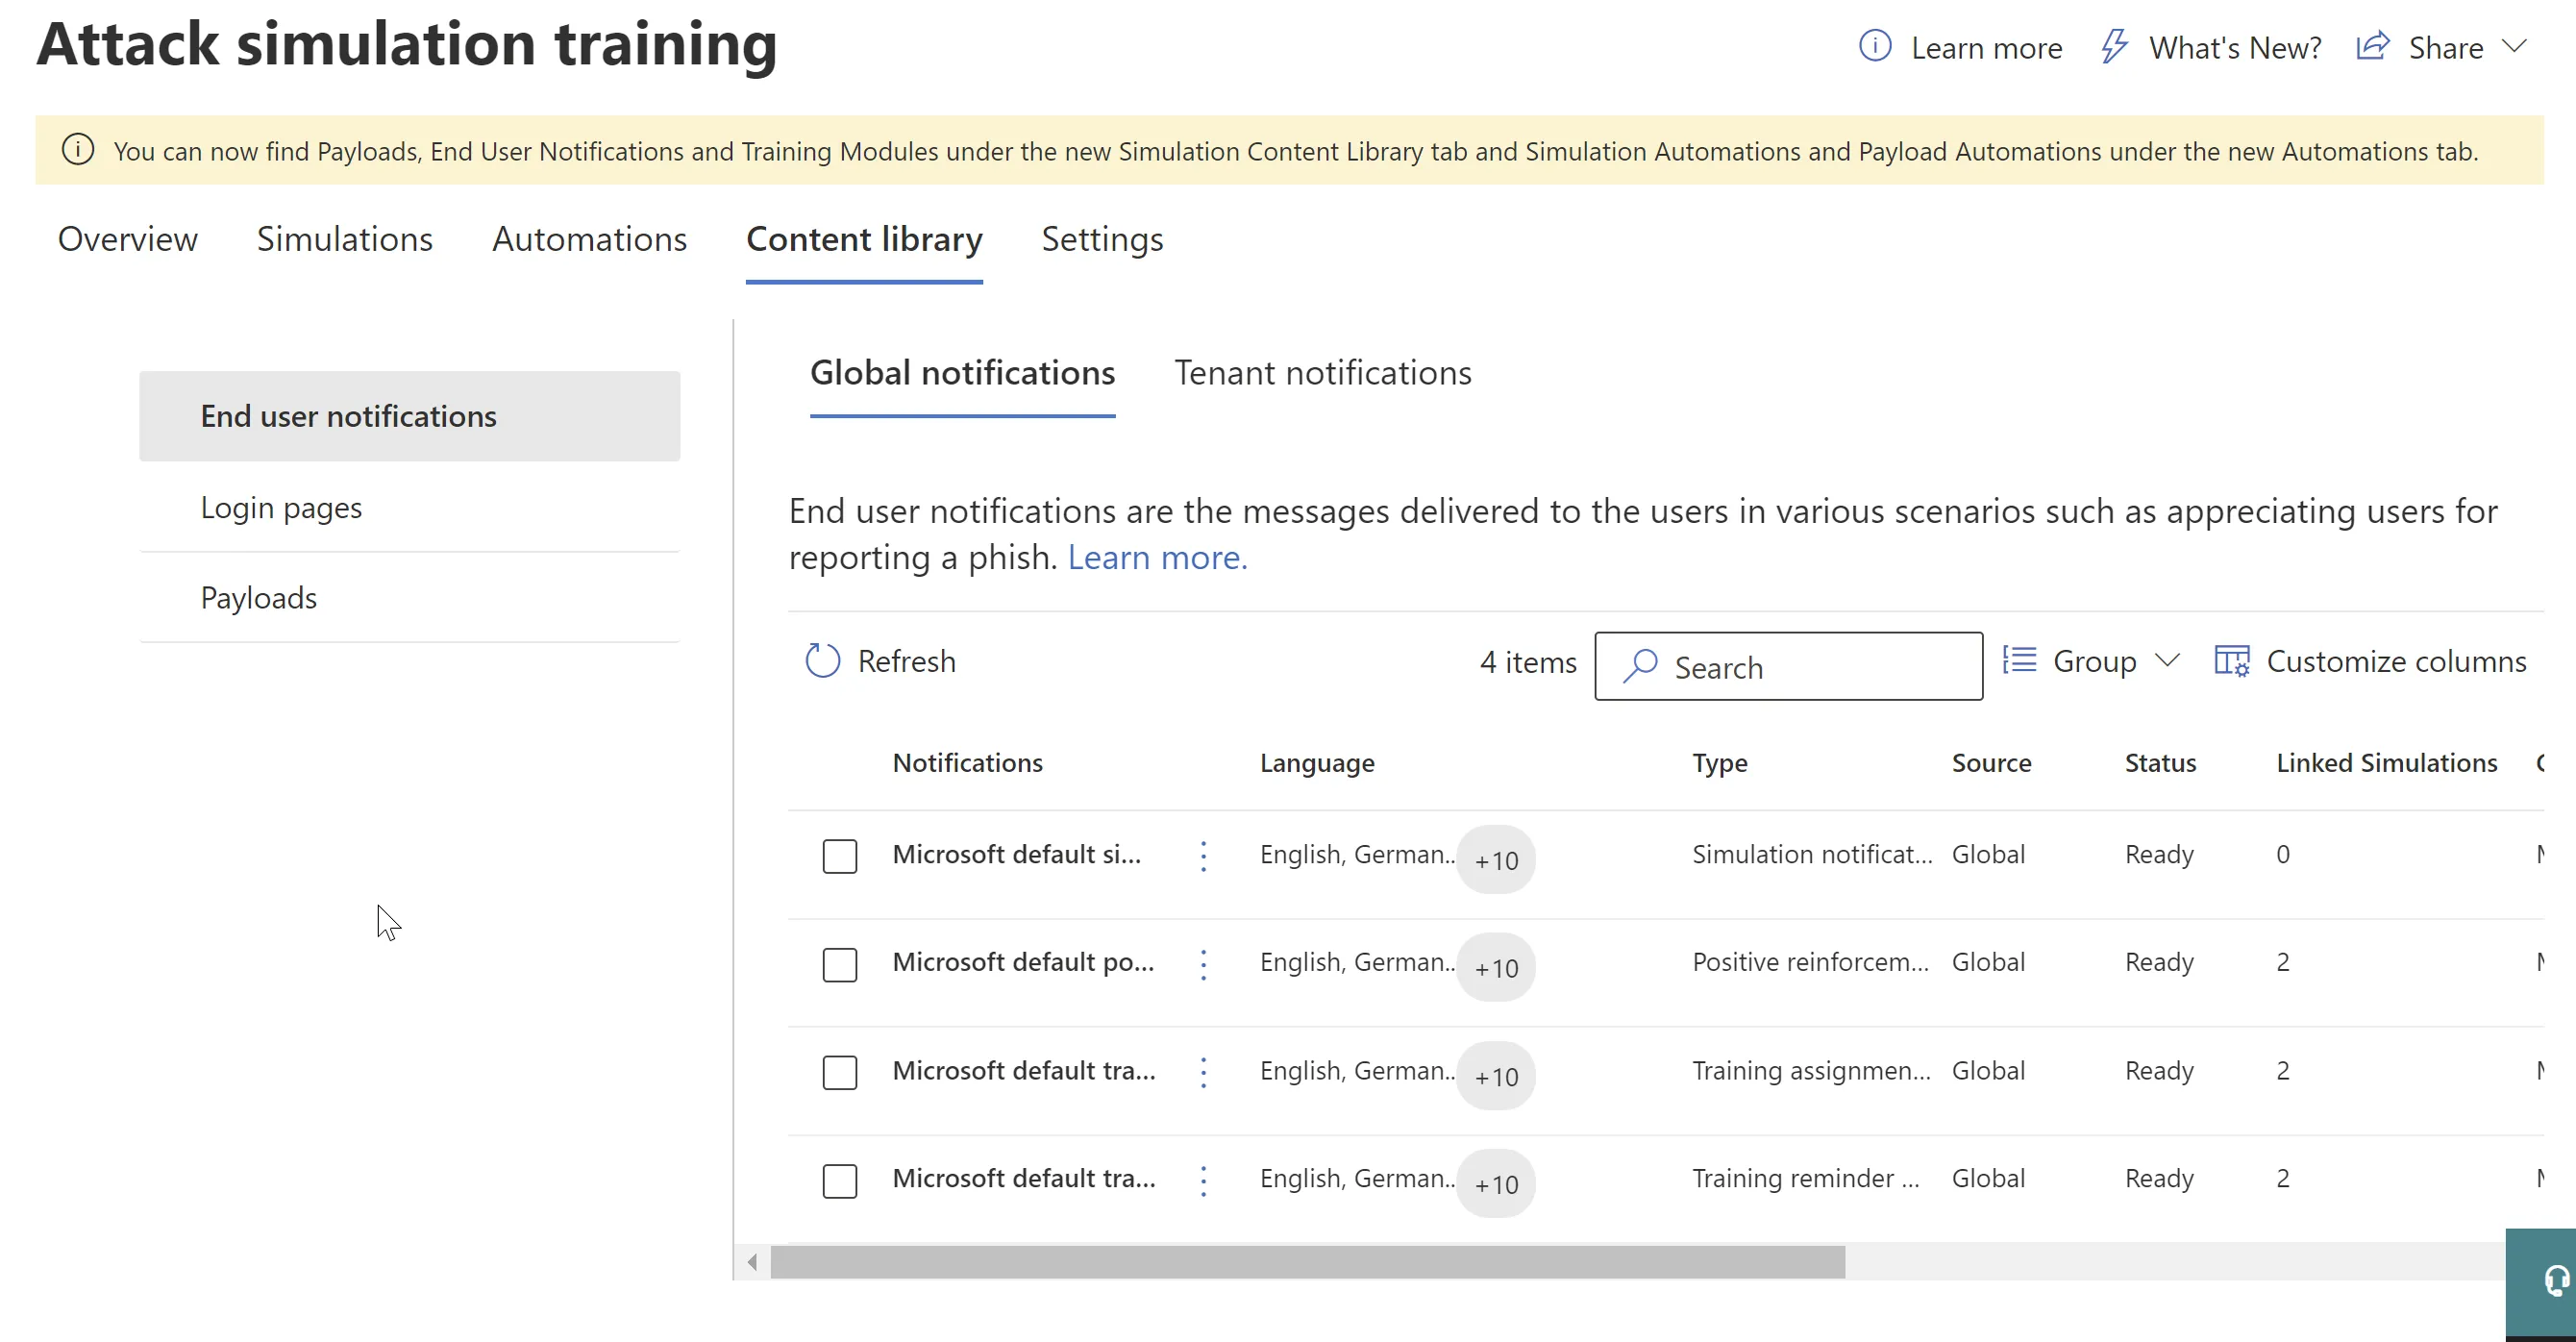
Here is where you can view, edit and create your own end user notifications, login pages and payloads that will be used within your campaigns.
Settings
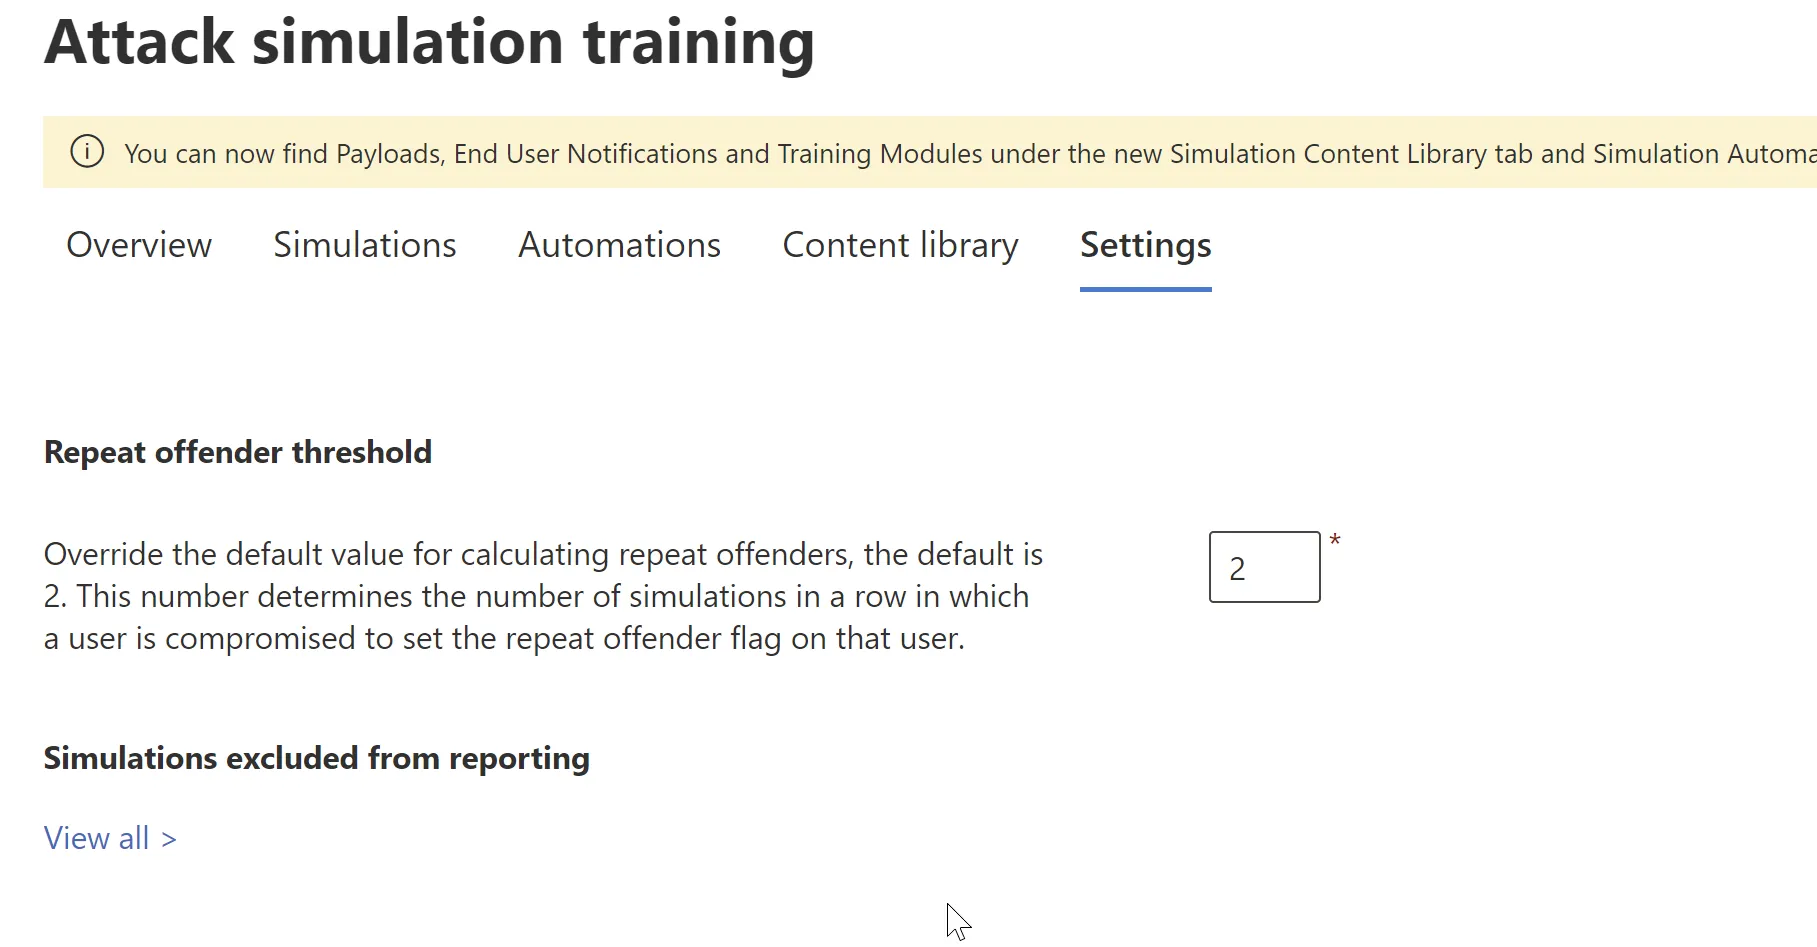
Here you’ll be able to set the threshold for repeat offenders or exclude sims from any reports.
Now, overview out of the way, let’s go ahead and get some campaigns up and running and then see what the end user can expect.
Simulation Example
Lets start by creating a simple credential harvest simulation, go ahead and create a new one with the below settings.
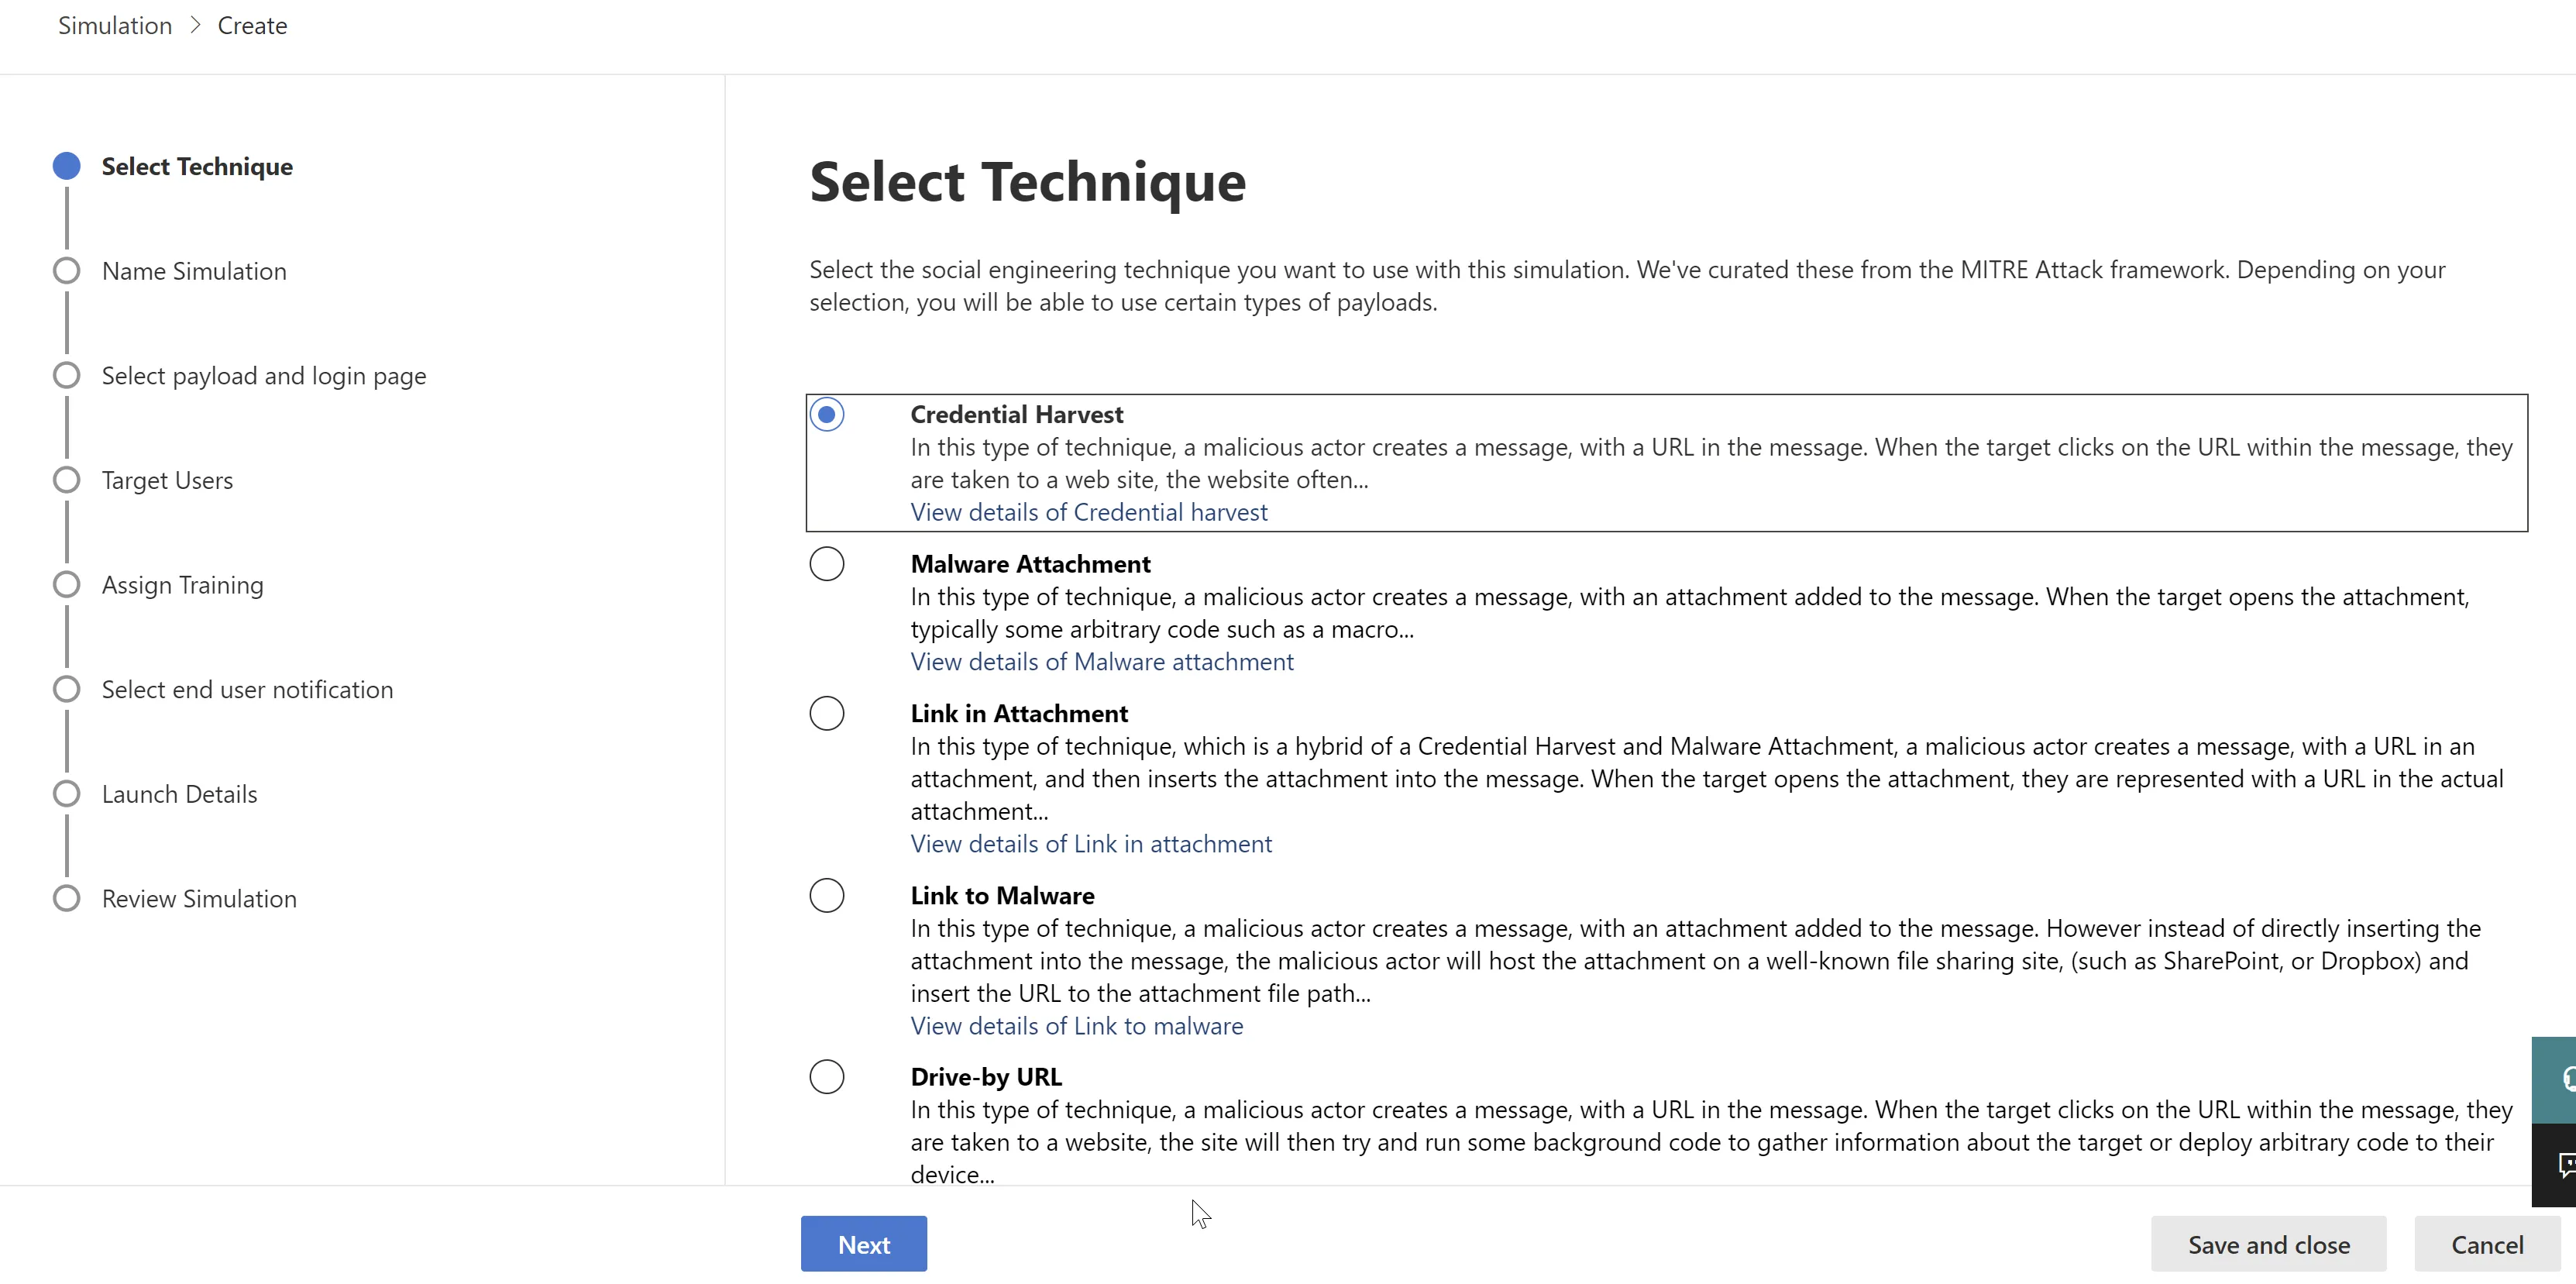
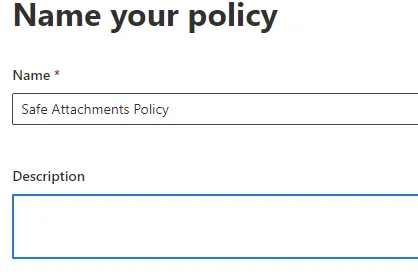
Name the policy and give it a description, then choose your payload. You will have a column called ‘Predicted Compromise Rate’ this is usually a good place to start and will give you a good idea as to which payload will work best with your social engineering technique, make sure to choose a payload that looks like it could be associated with your chosen type of technique, we will use ‘Review Microsoft email’.
Then choose the users you want to target in the simulation campaign, keep in mind that if using the specific users or groups option, built in filters are available for ease, a filter for user not targeted by a sim in the last 3 months, which is useful.
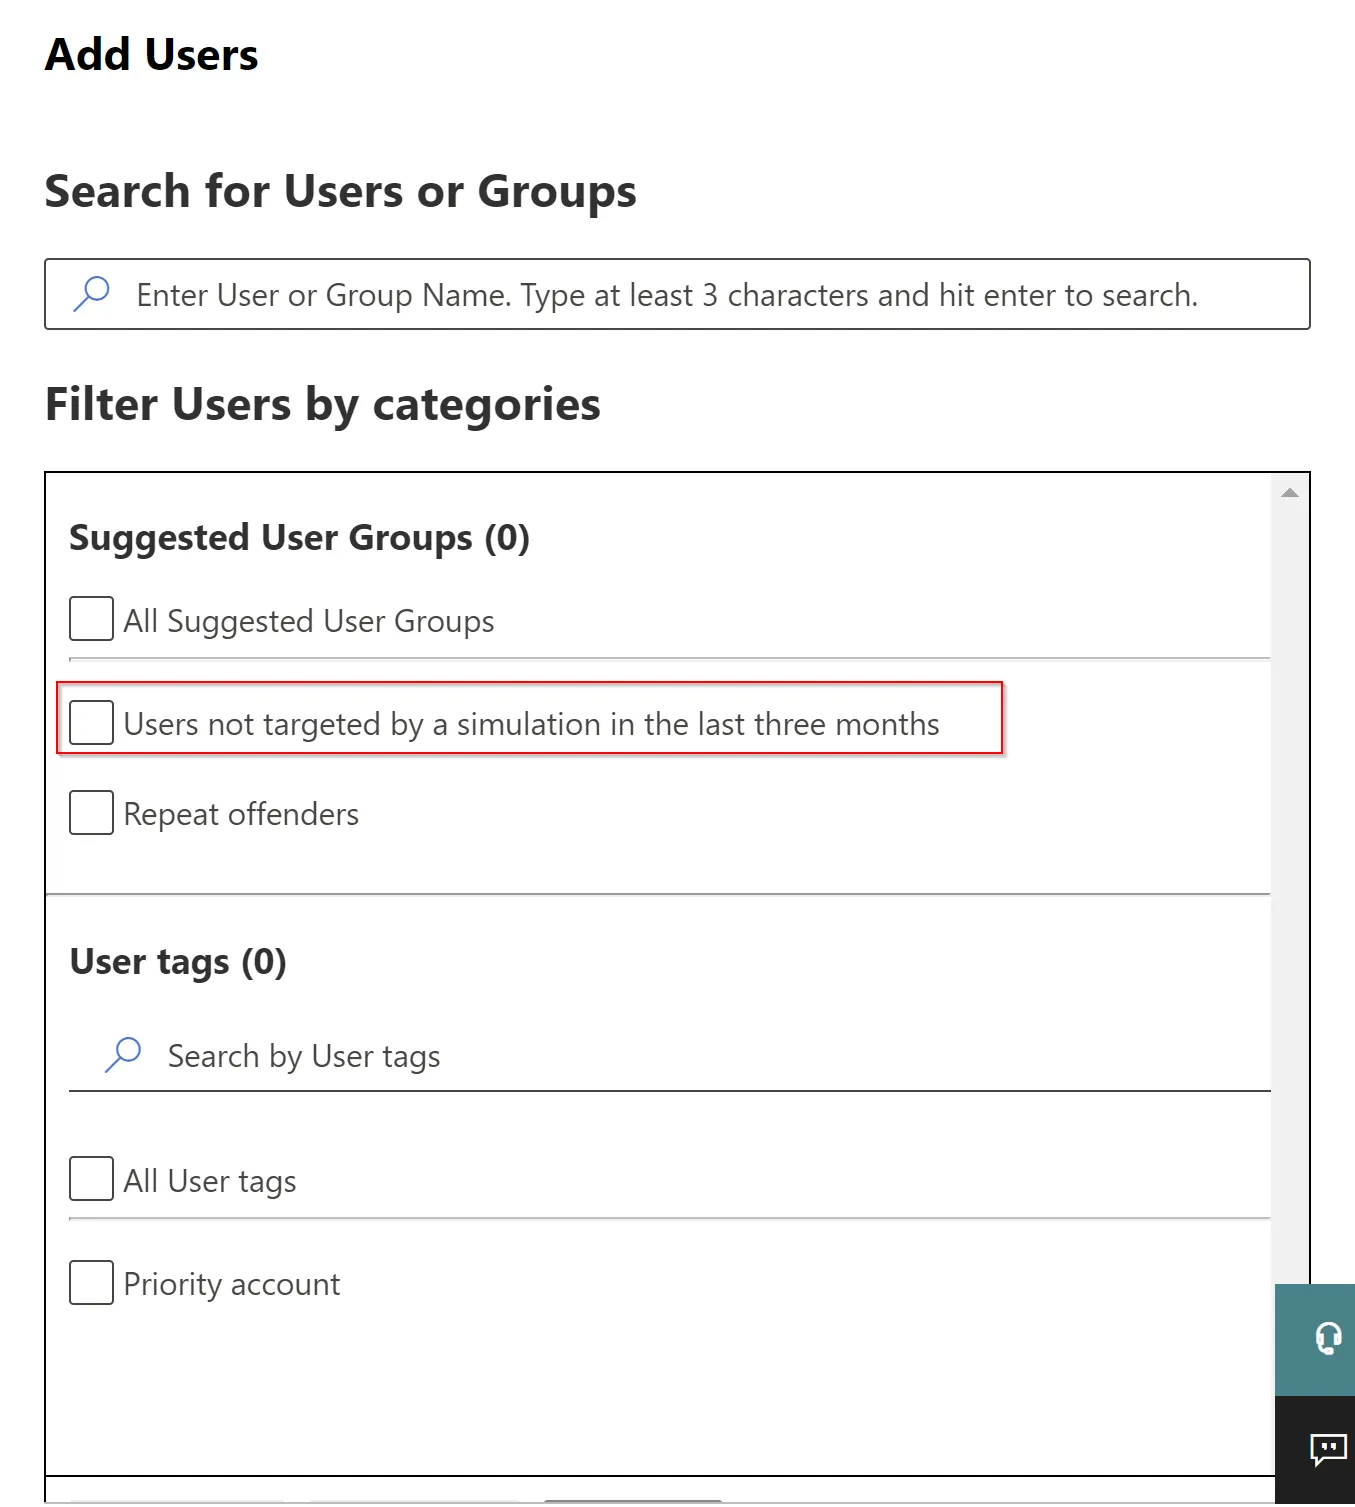
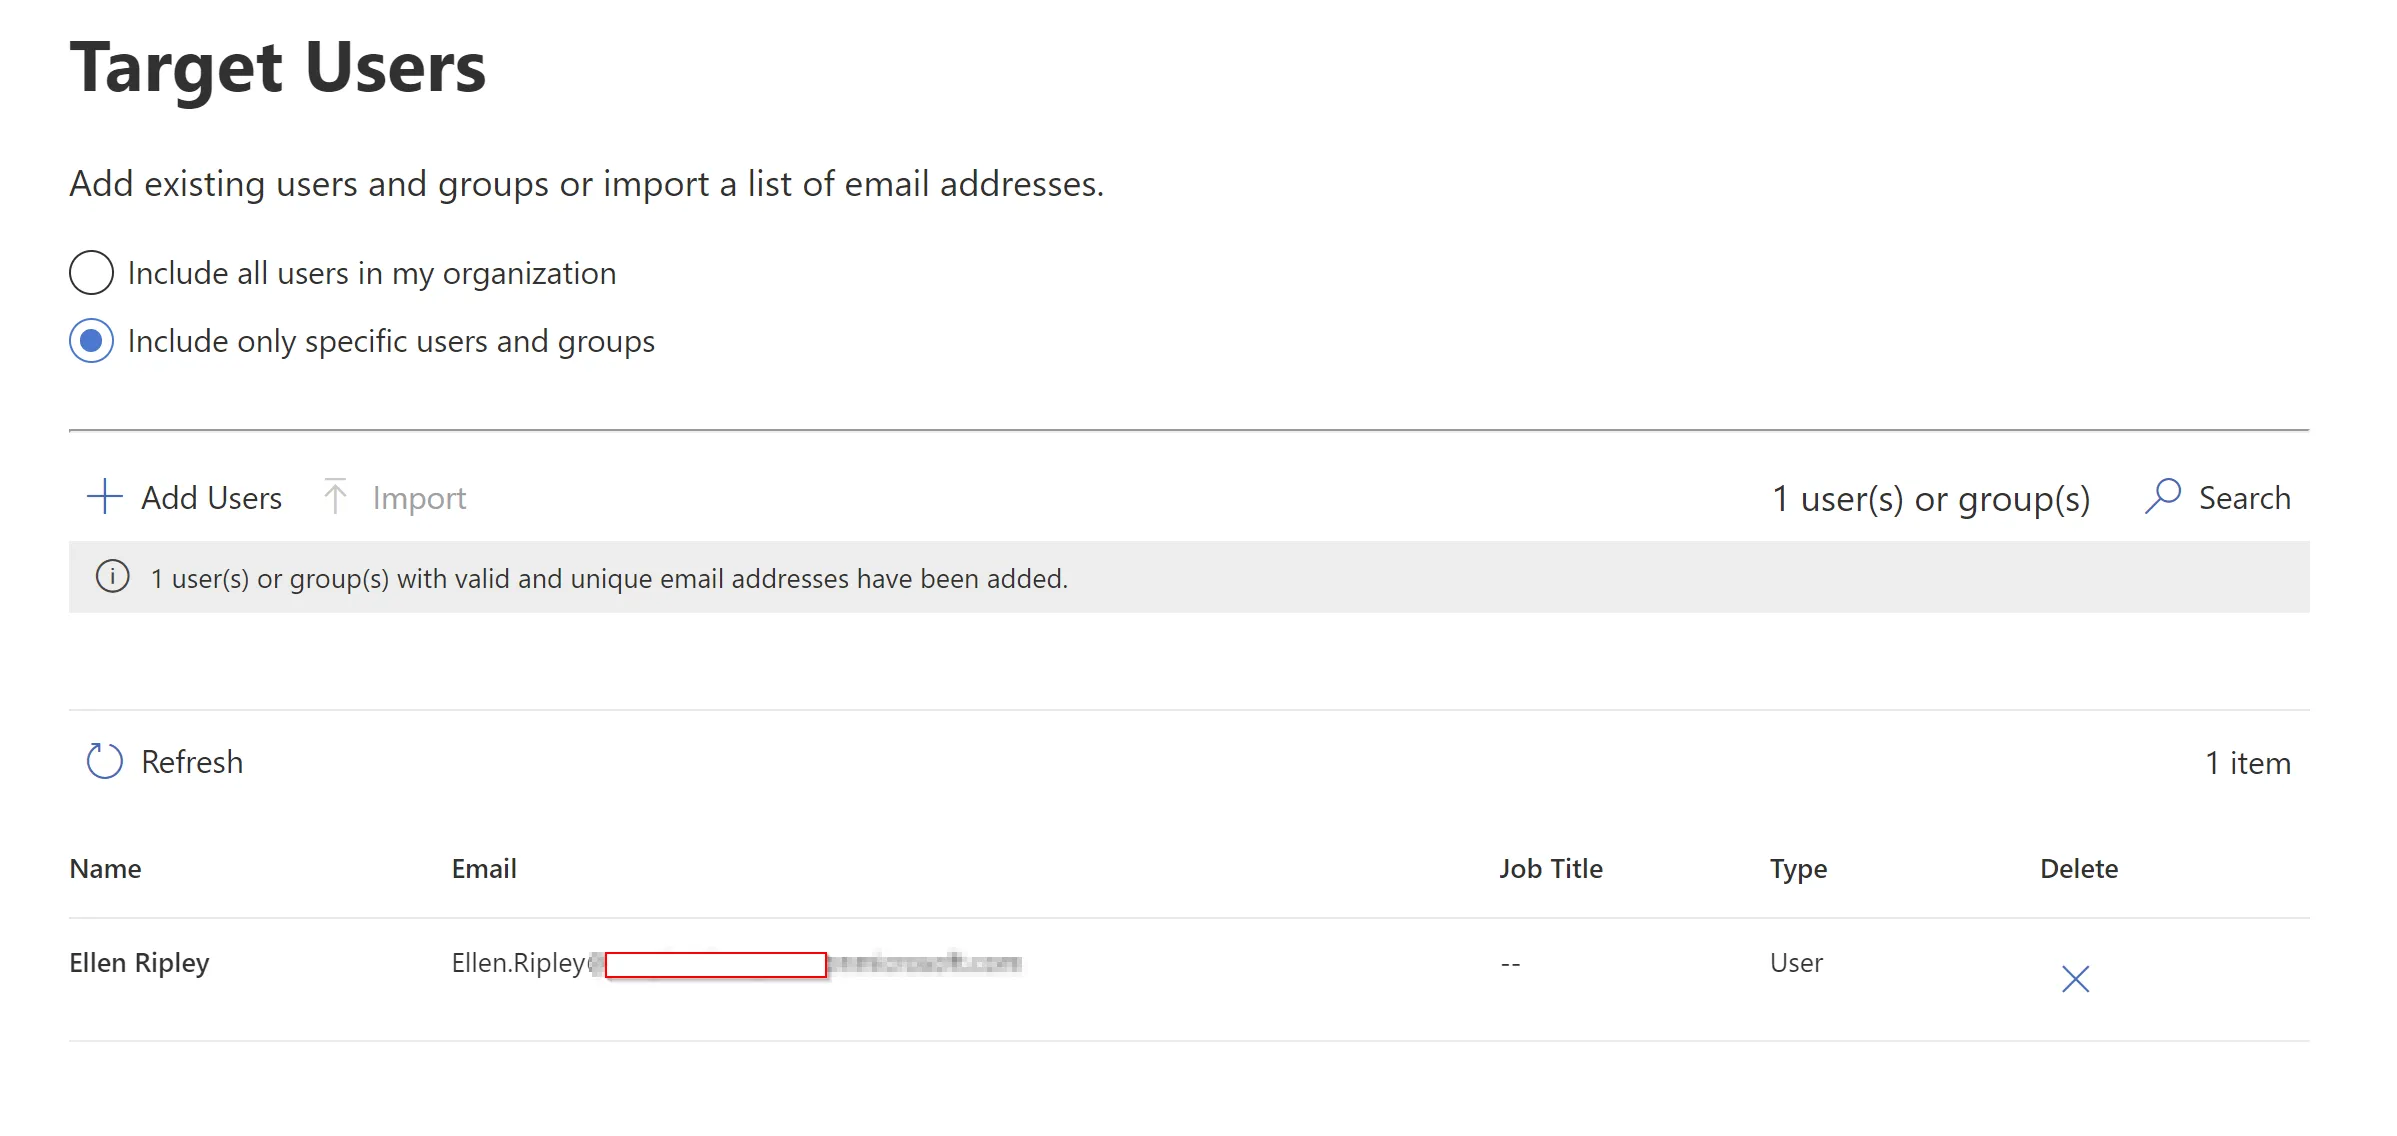
In my example I am just selecting a single user.
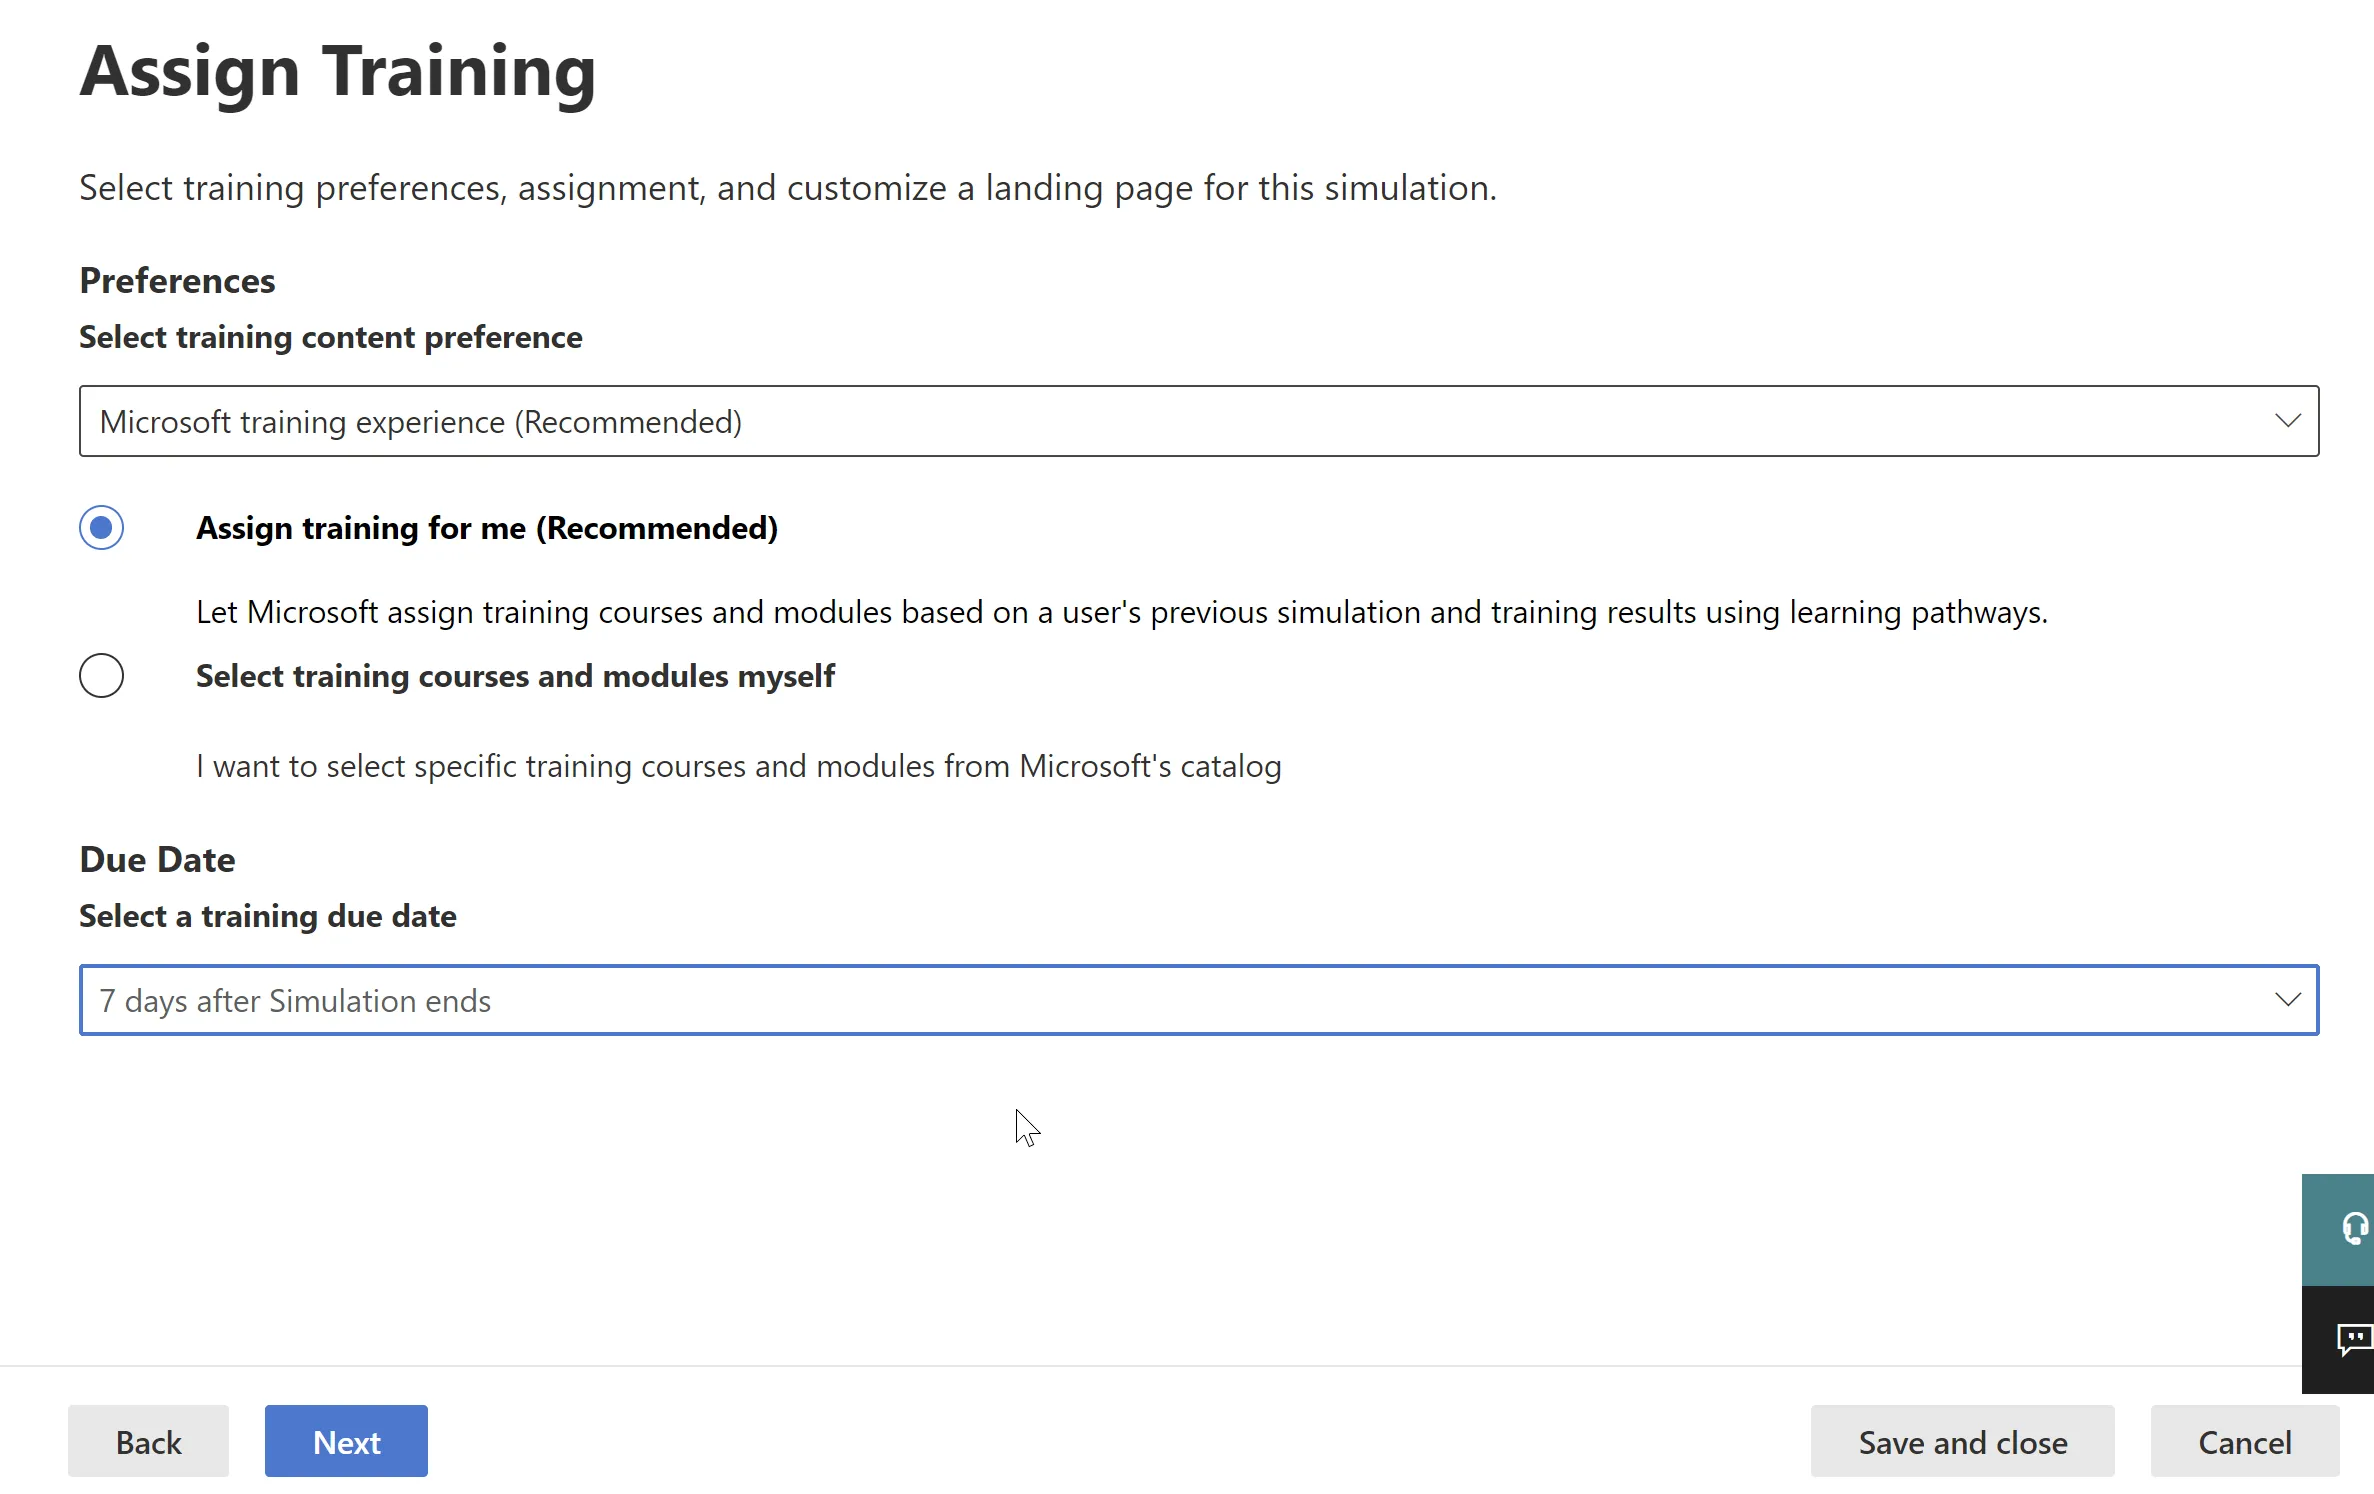
Choose your preferences for training content, you can allow Microsoft to assign training based on the user’s training results, or you can specify what training you want your users to receive. Setting a due date allows you to configure how long after the simulation ends that any training content must be completed.
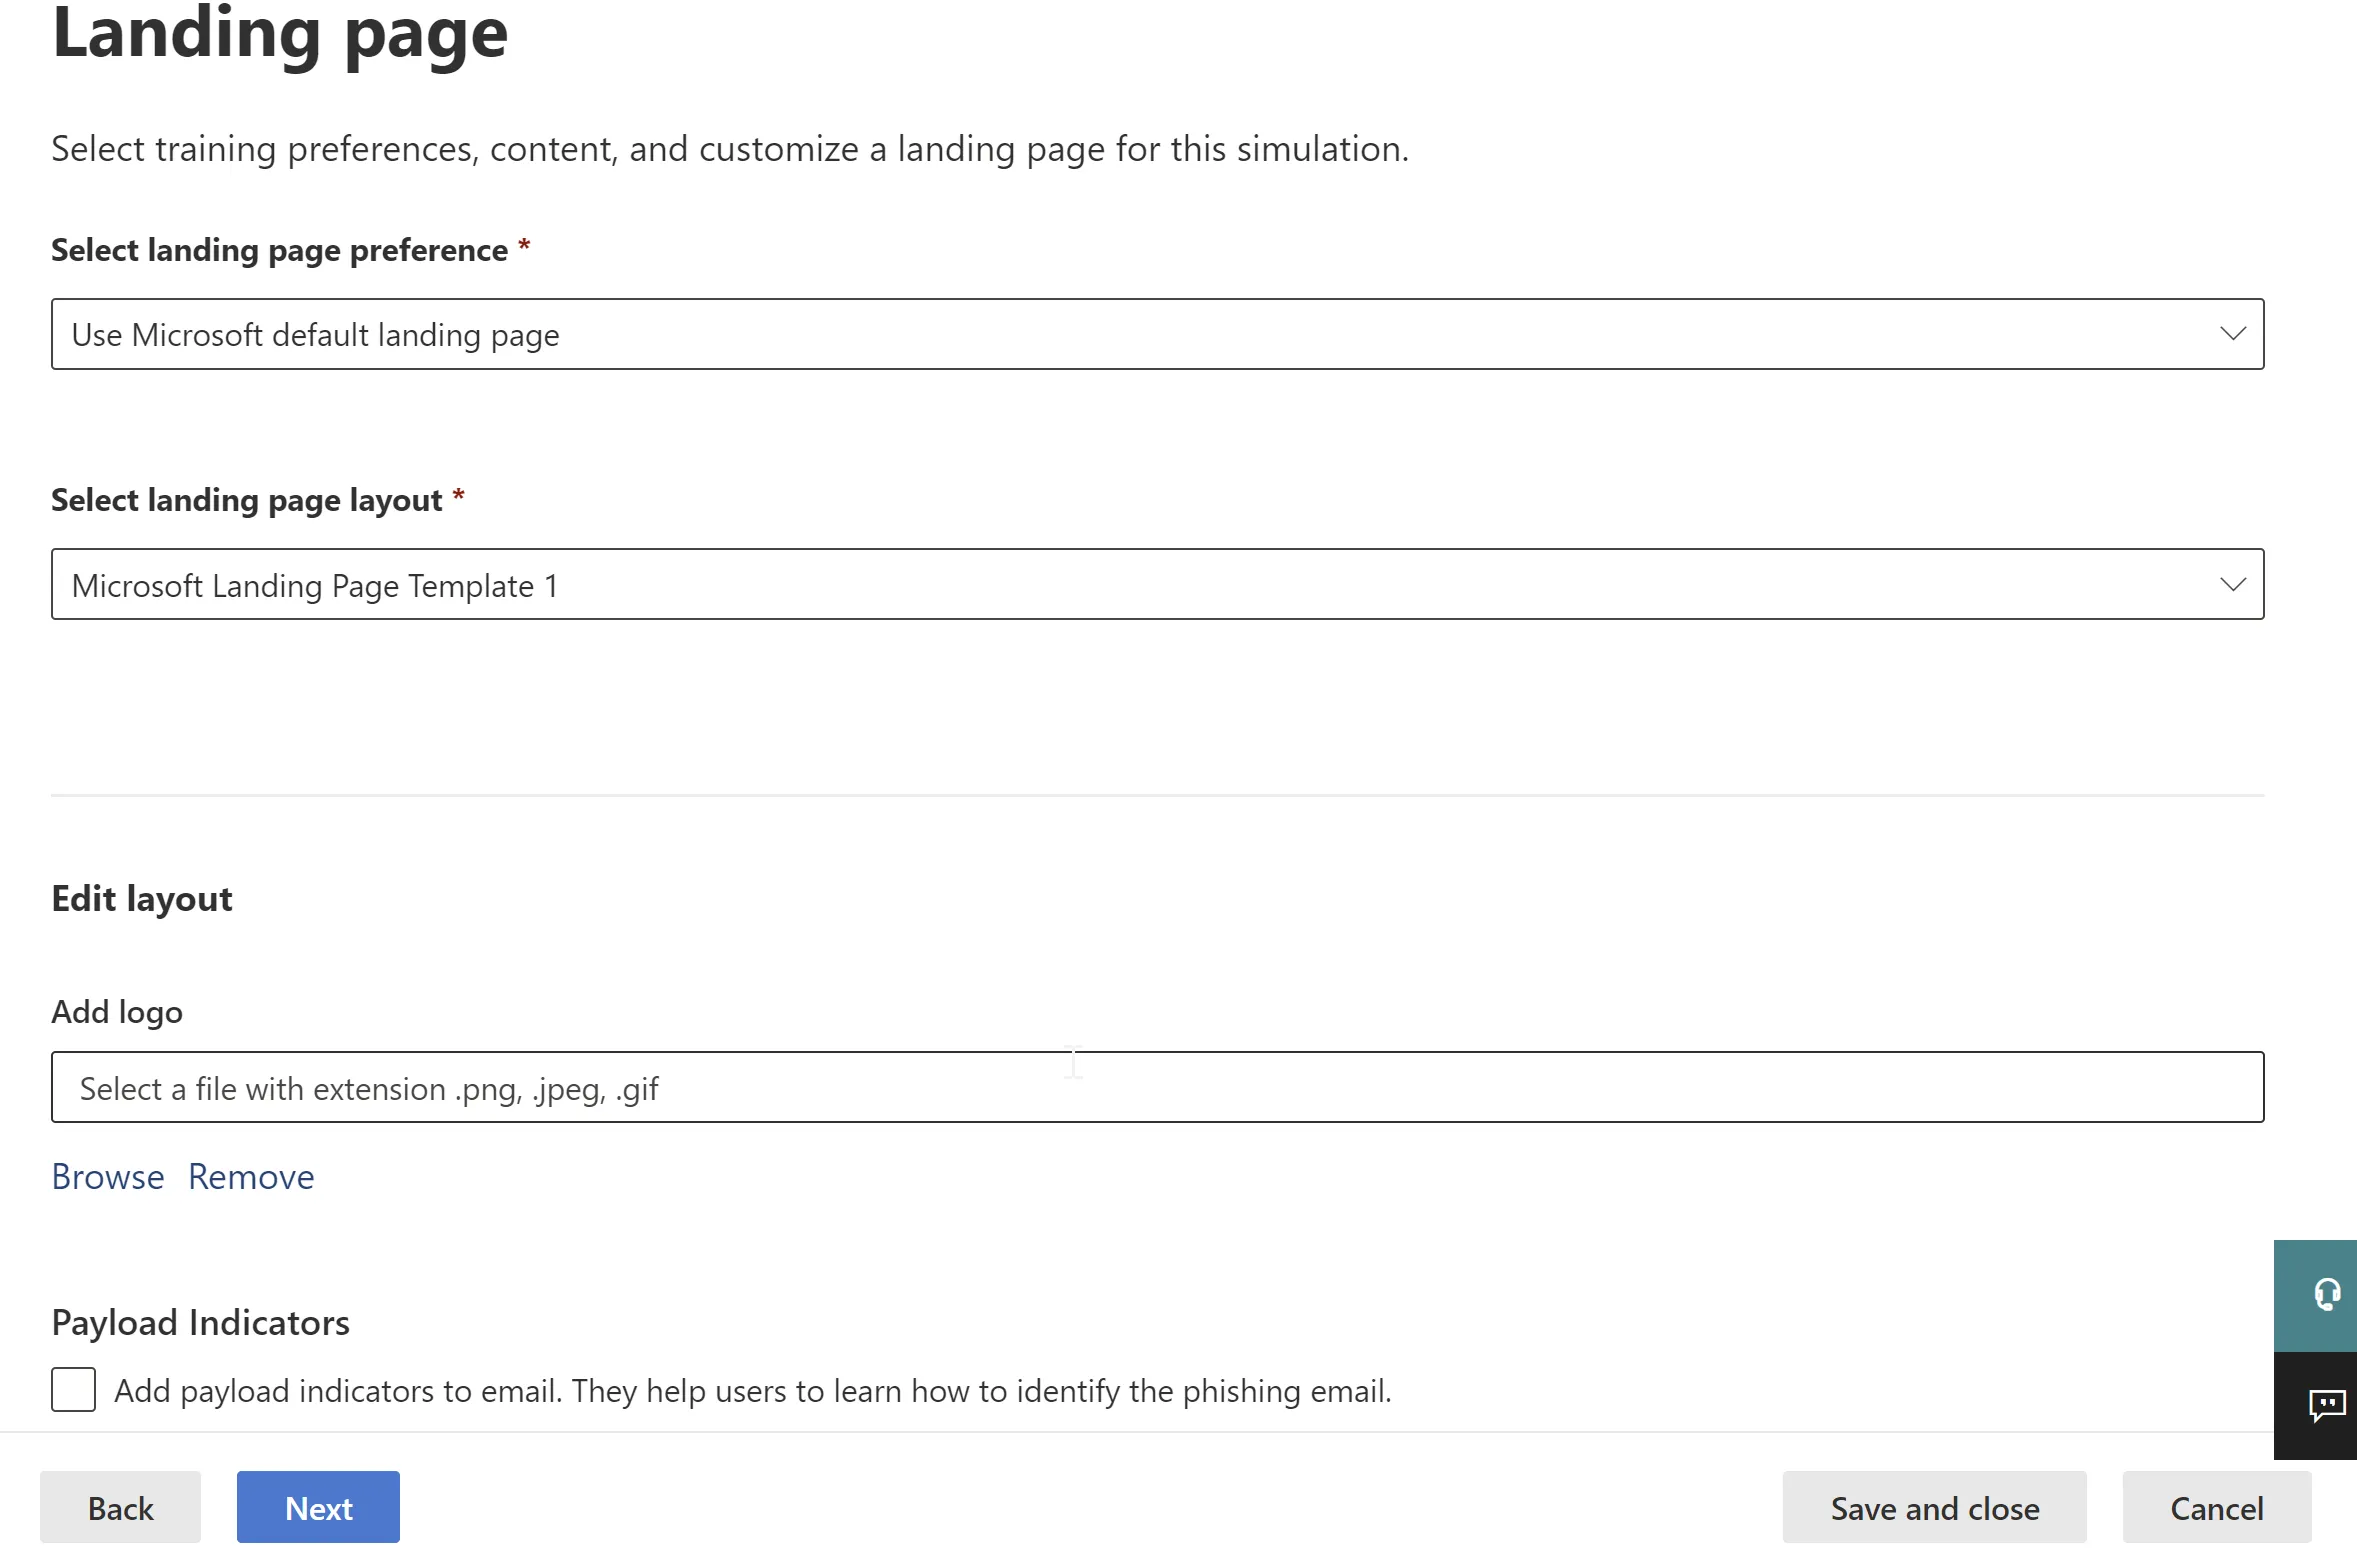
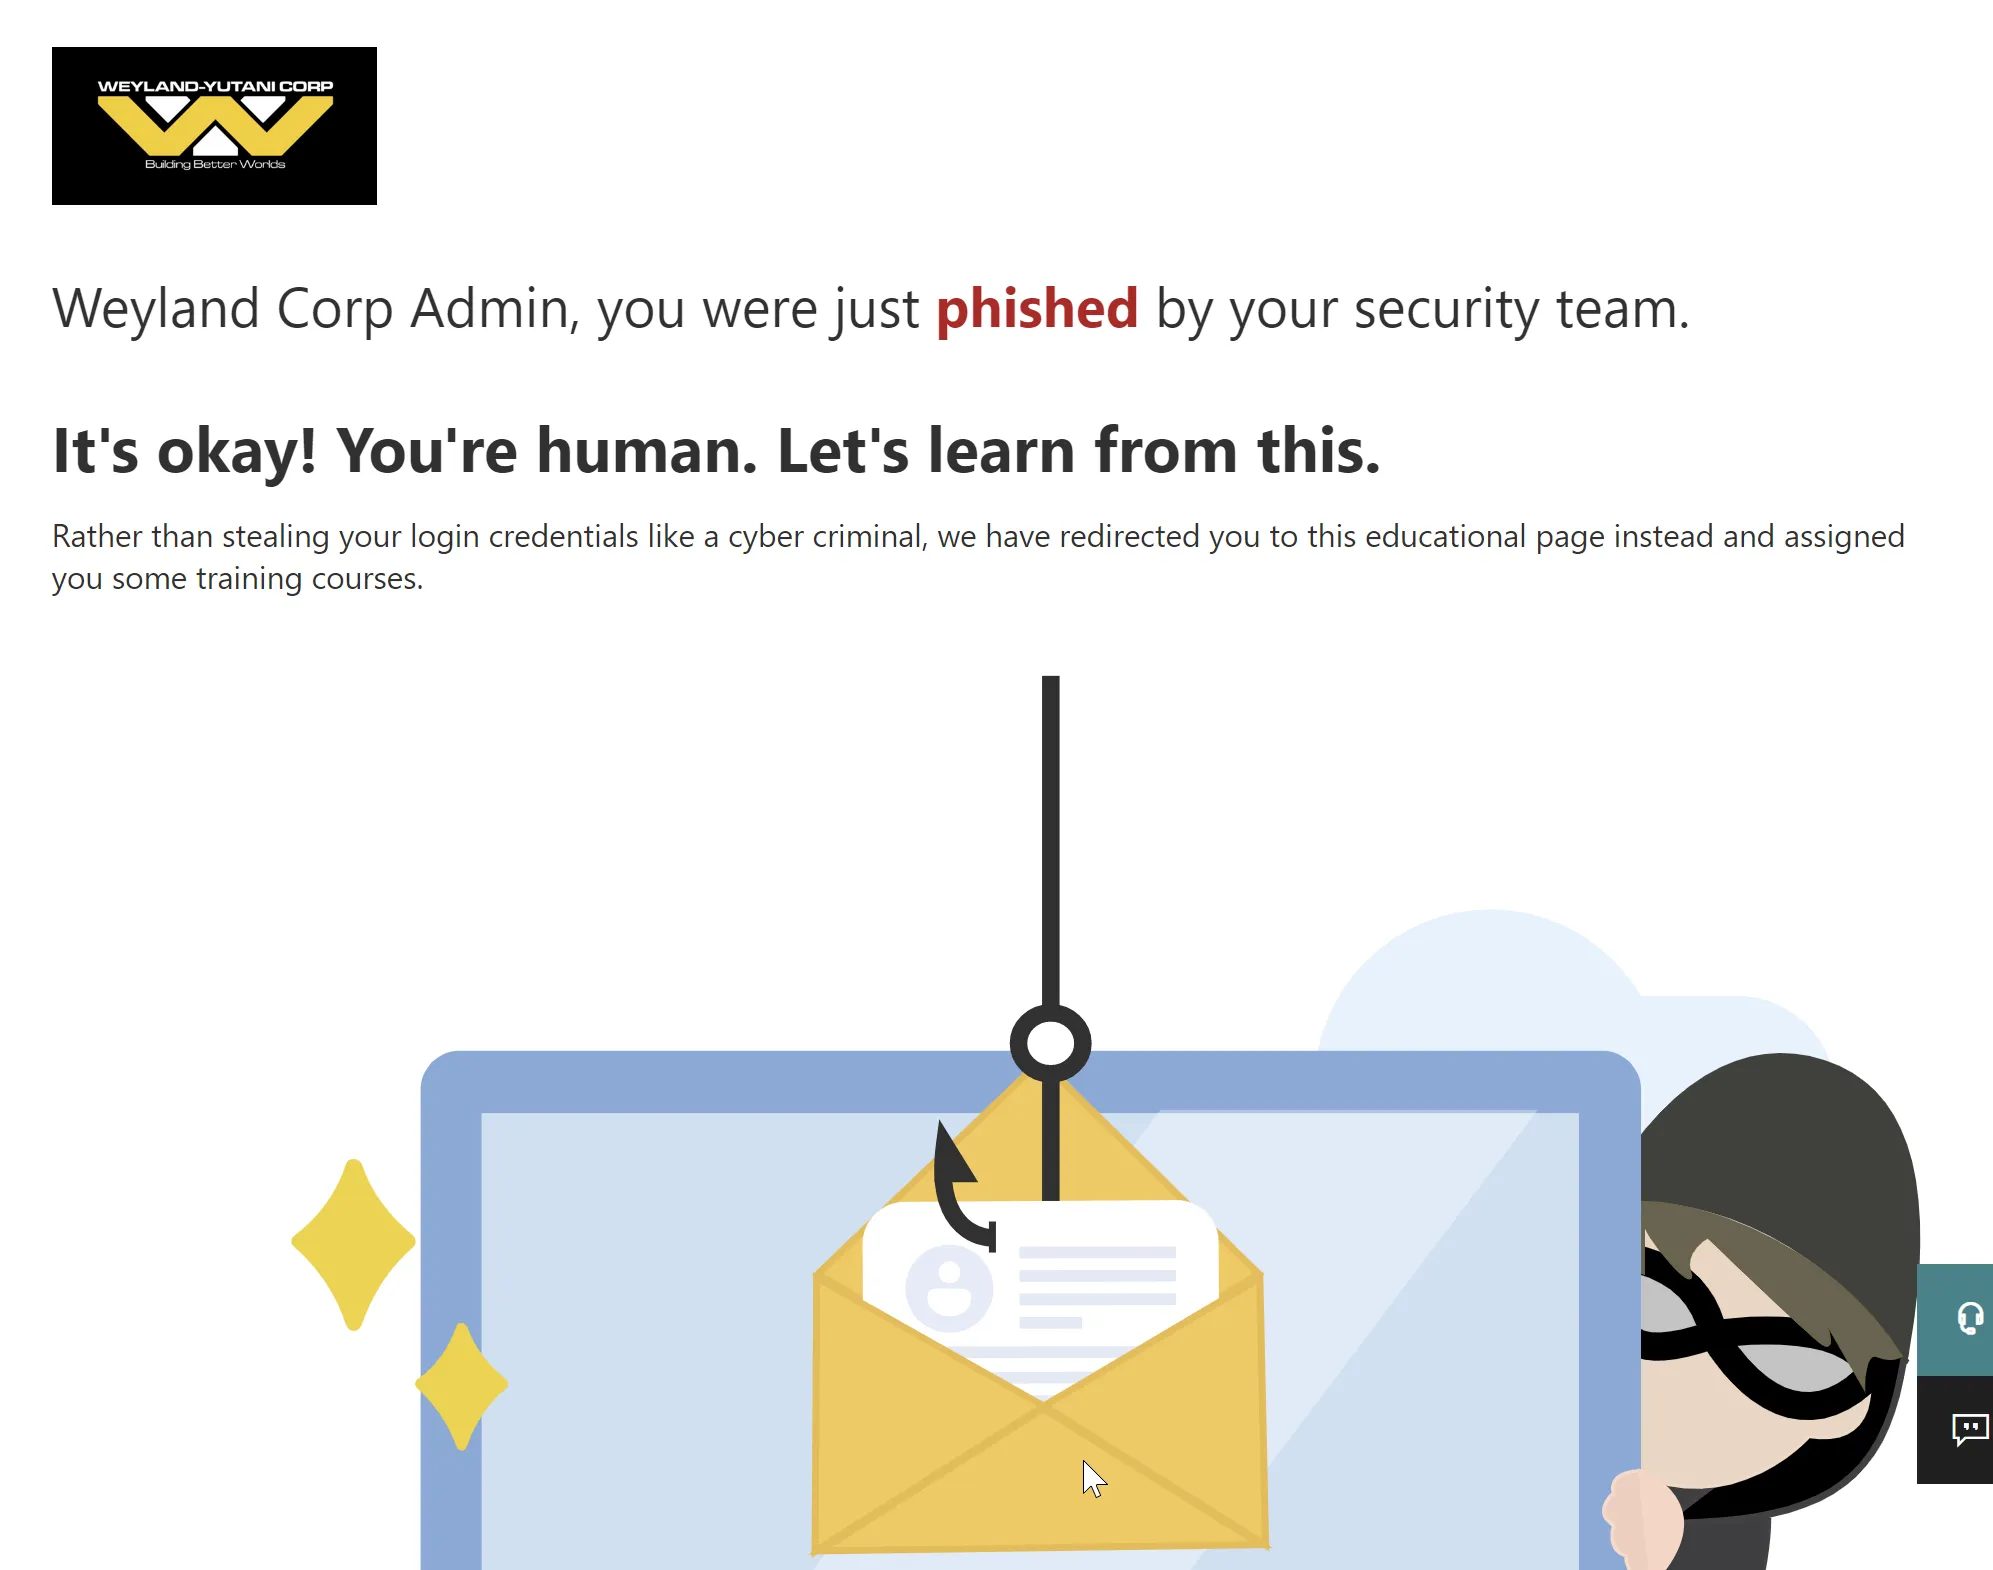
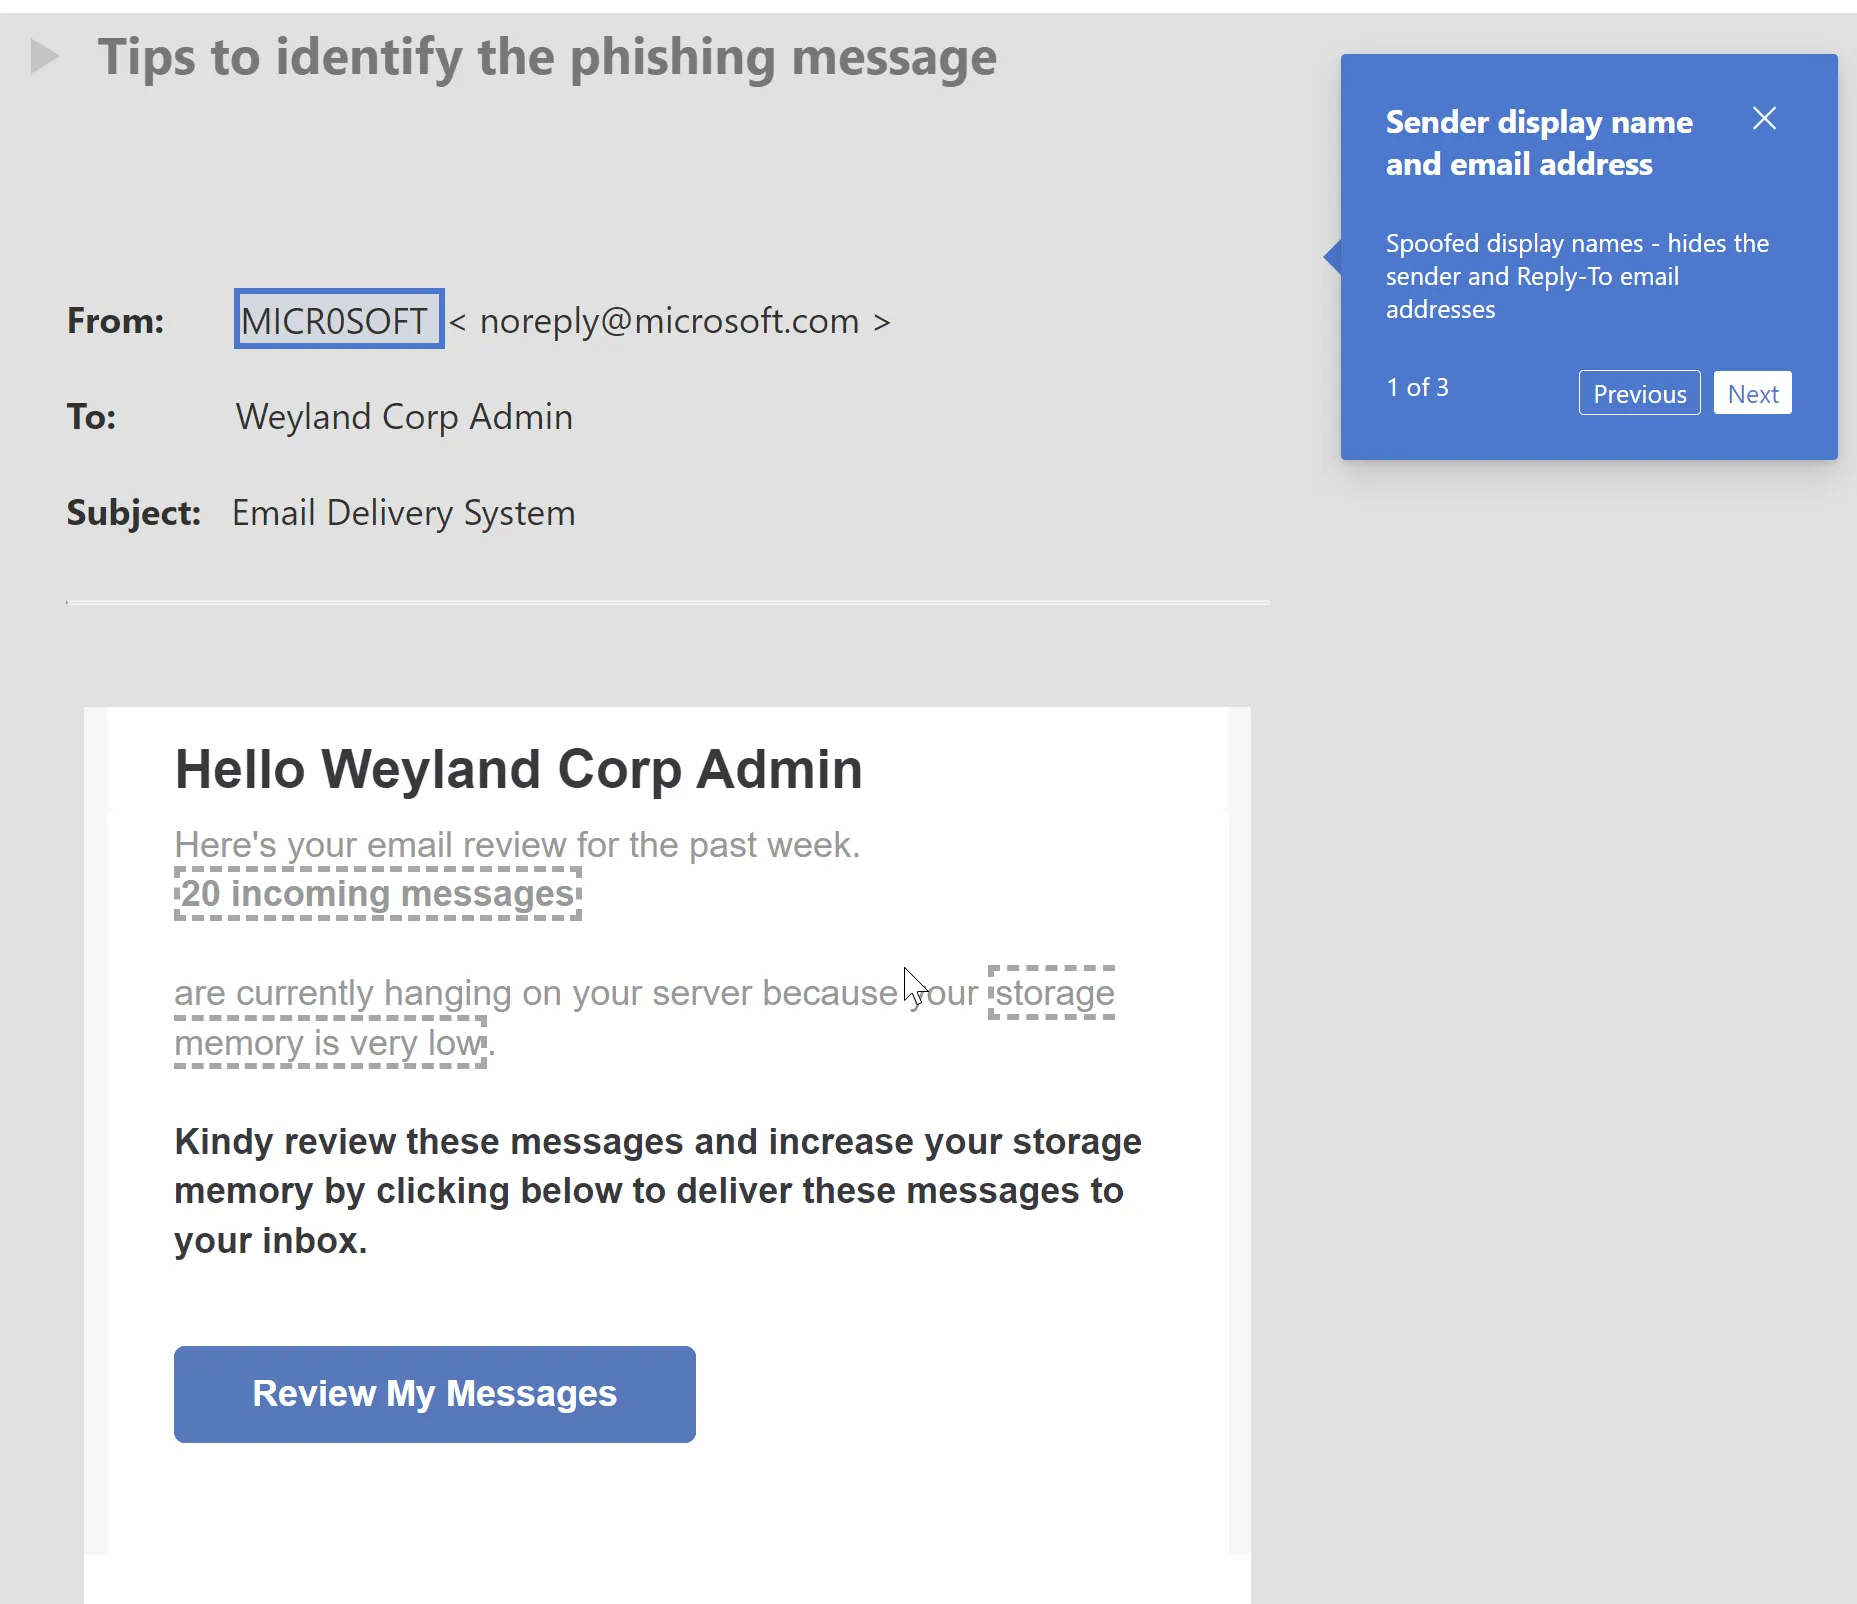
Choose the landing page and layout that you would like your users to see if they fall for the simulated payload, you can add your company logo and payload indicators which are useful for educating users on what they can look out for in the future
Here’s an example of the landing page your users can expect to see, remember you can always preview this before completion.
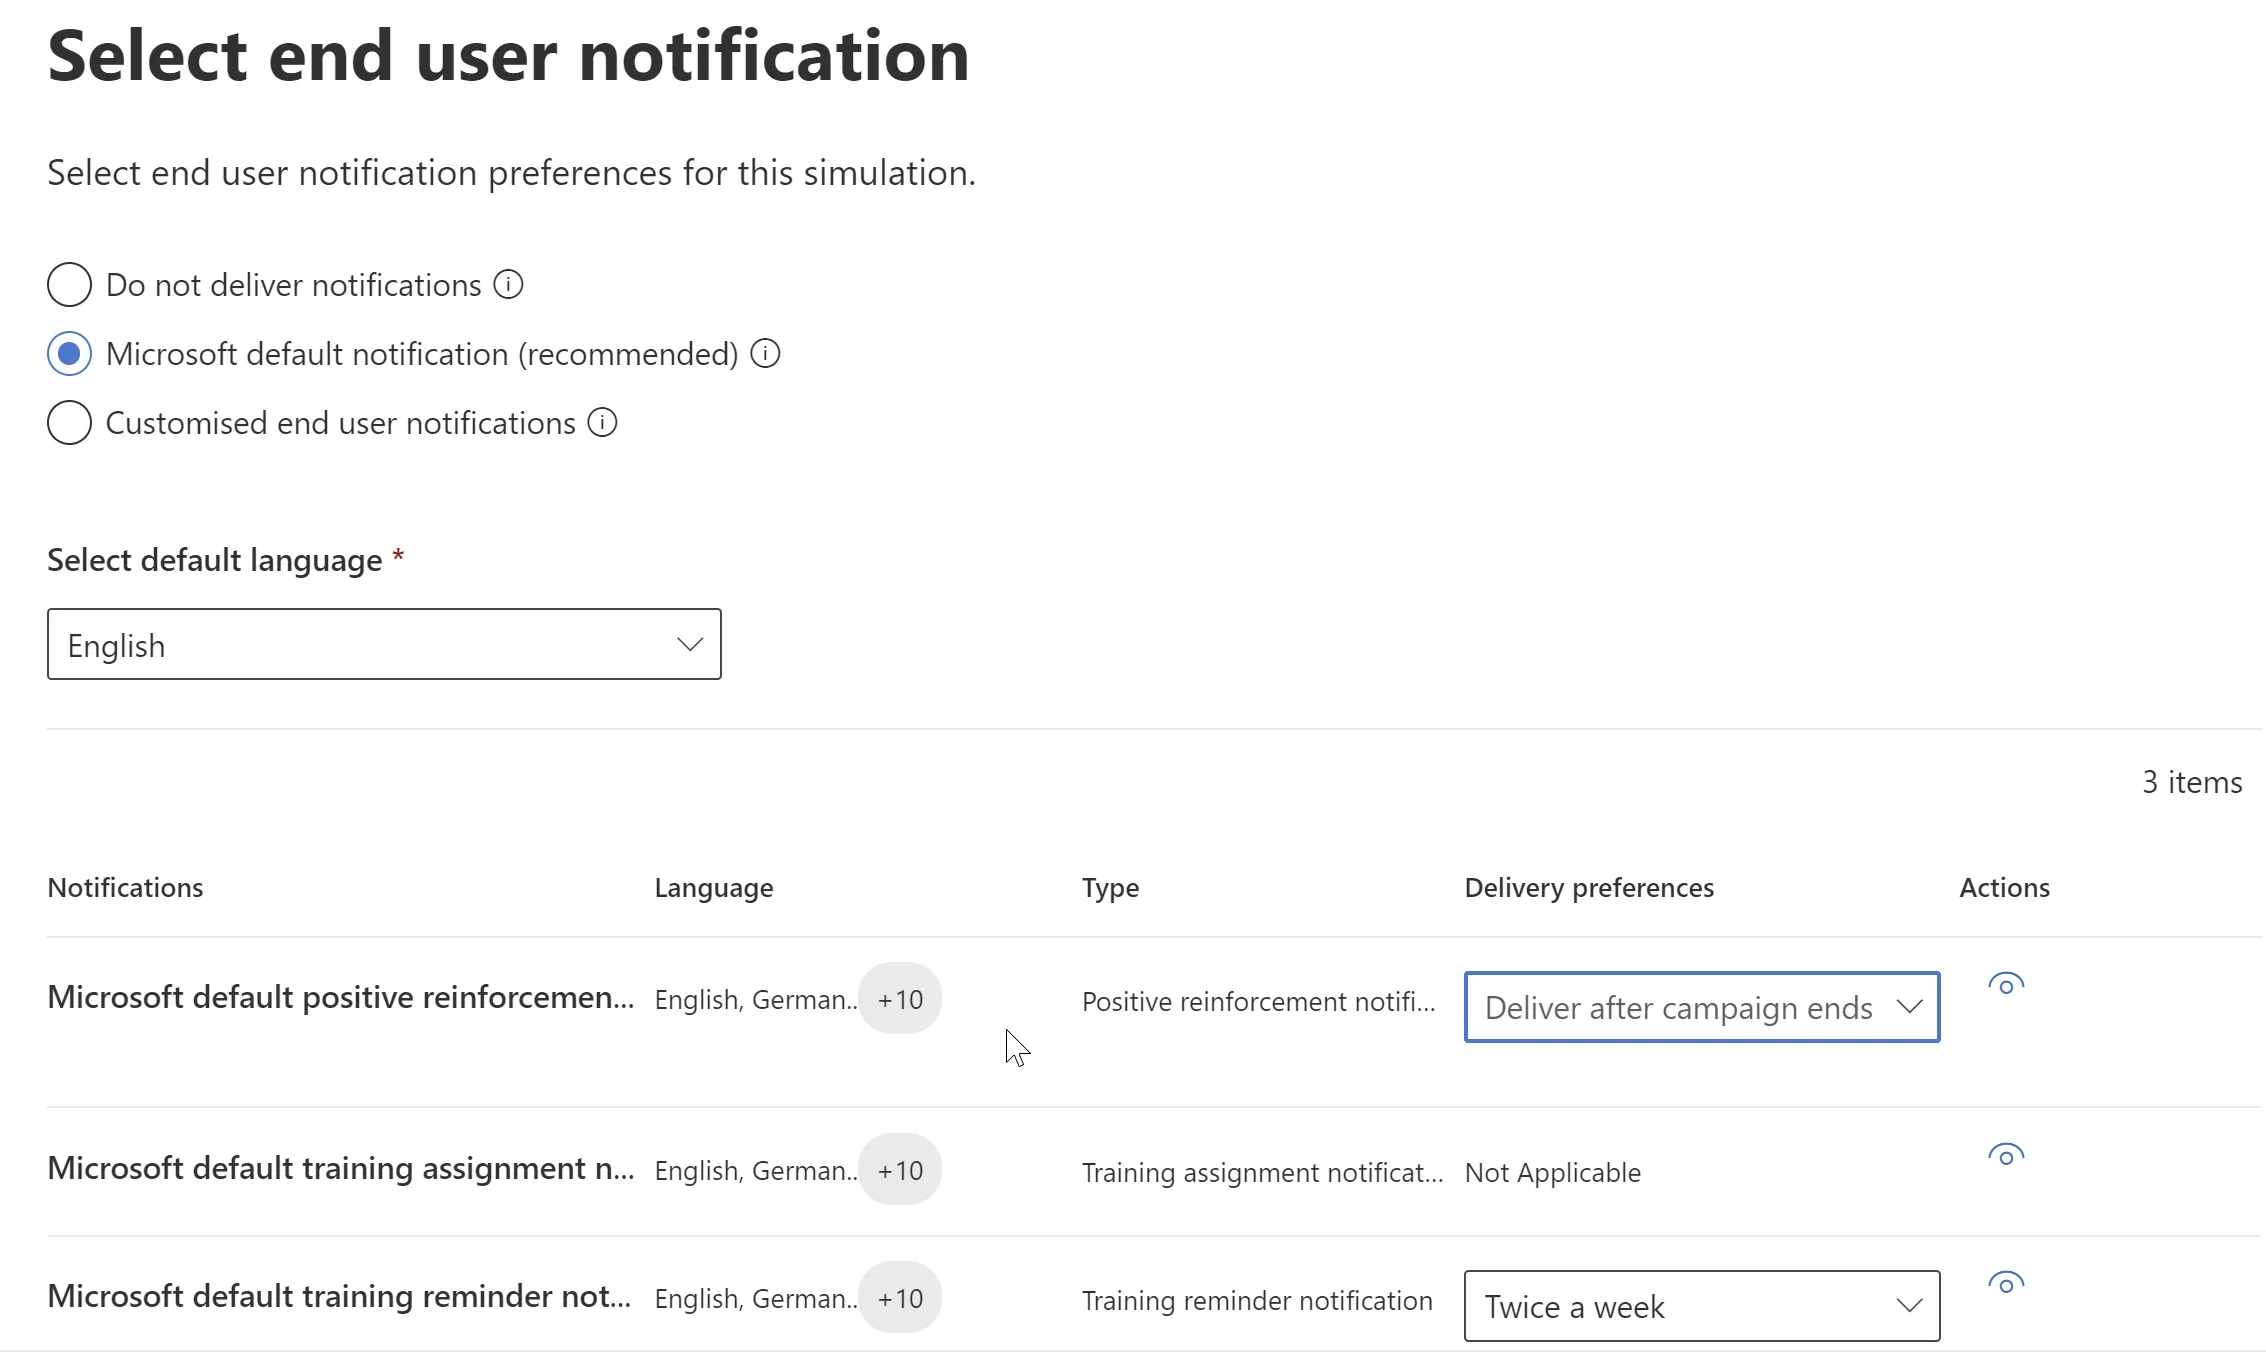
Next you can choose to deliver notification emails to your users, these can be reminder notifications if the user has outstanding training to complete or positive reinforcement emails, in our example we are going to use the Microsoft default for ease.
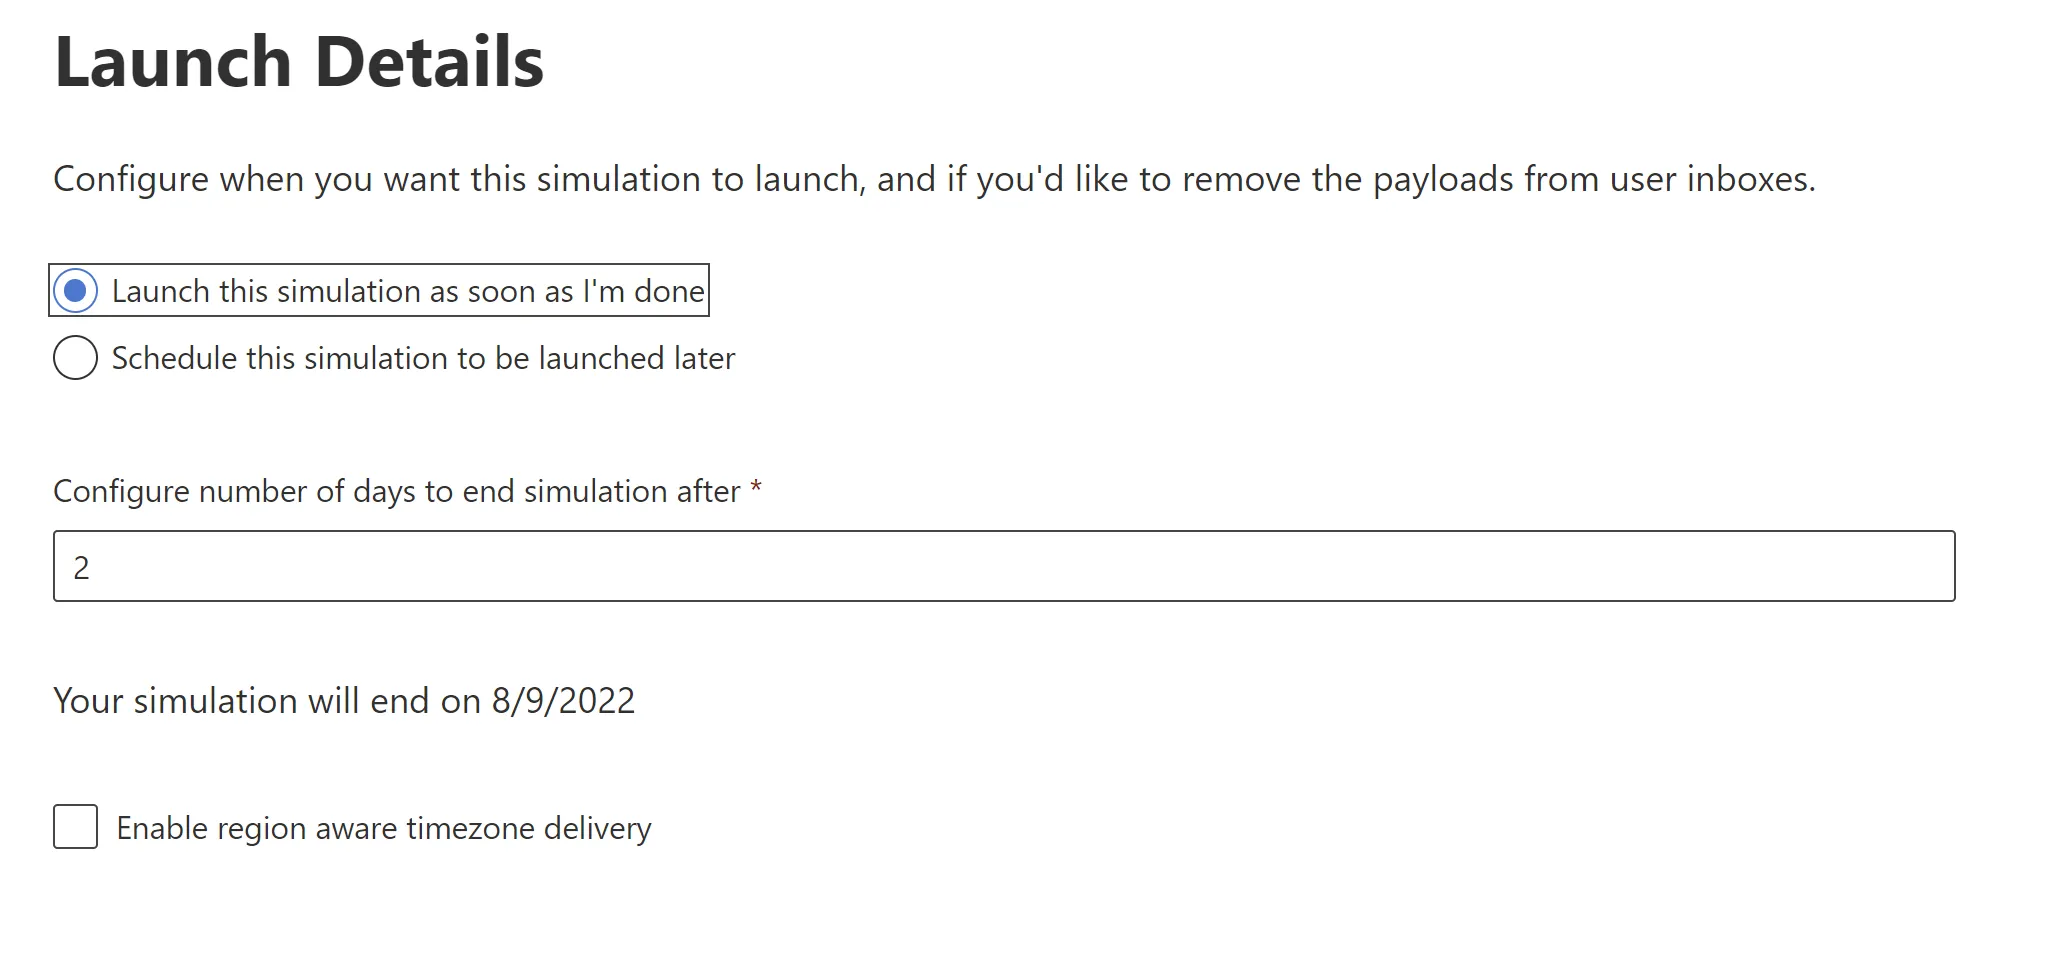
Next, we are going to schedule the simulation, we can run the sim right away or schedule it to run at a later date, you can also configure how long to run the sim for which allows for the payload emails to be staggered over a longer period of time for multiple users.
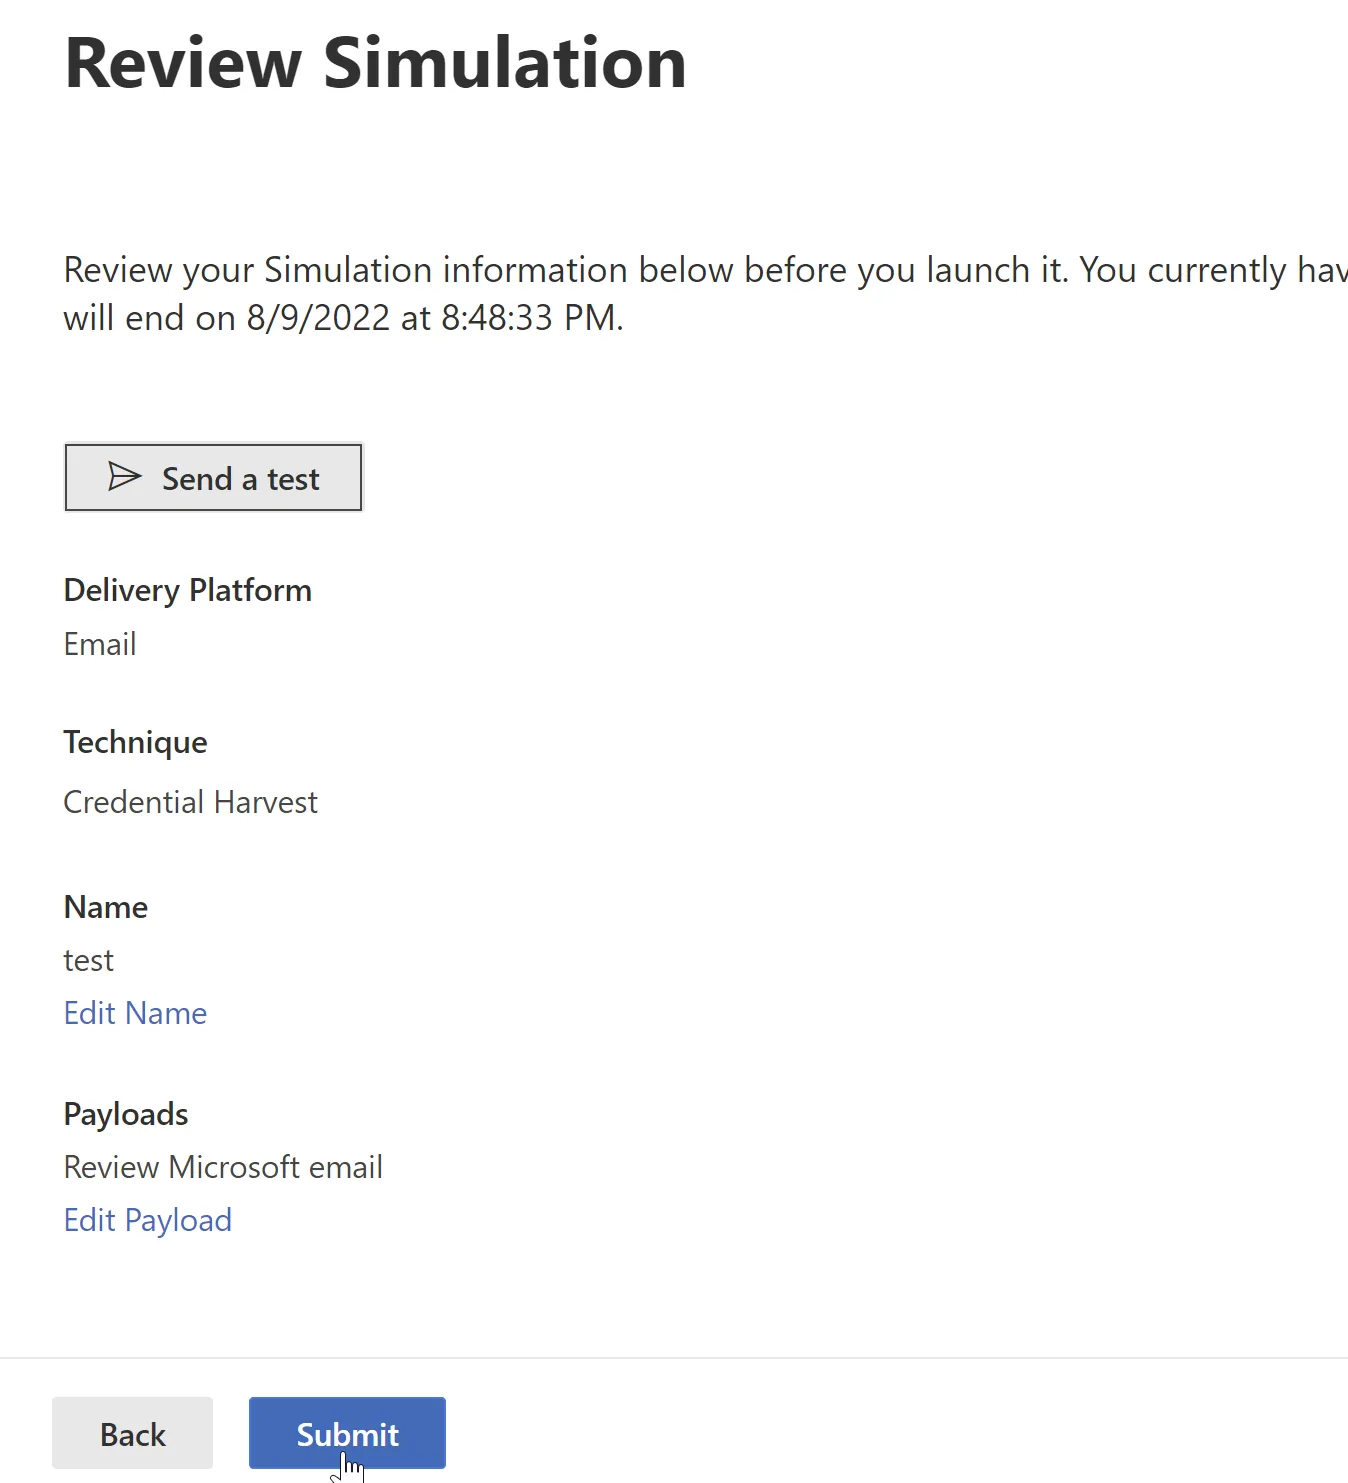
Finally, you can review the simulation settings, send a test email and then submit the changes.
So, what can our users expect to see as part of a campaign, let’s take a look.
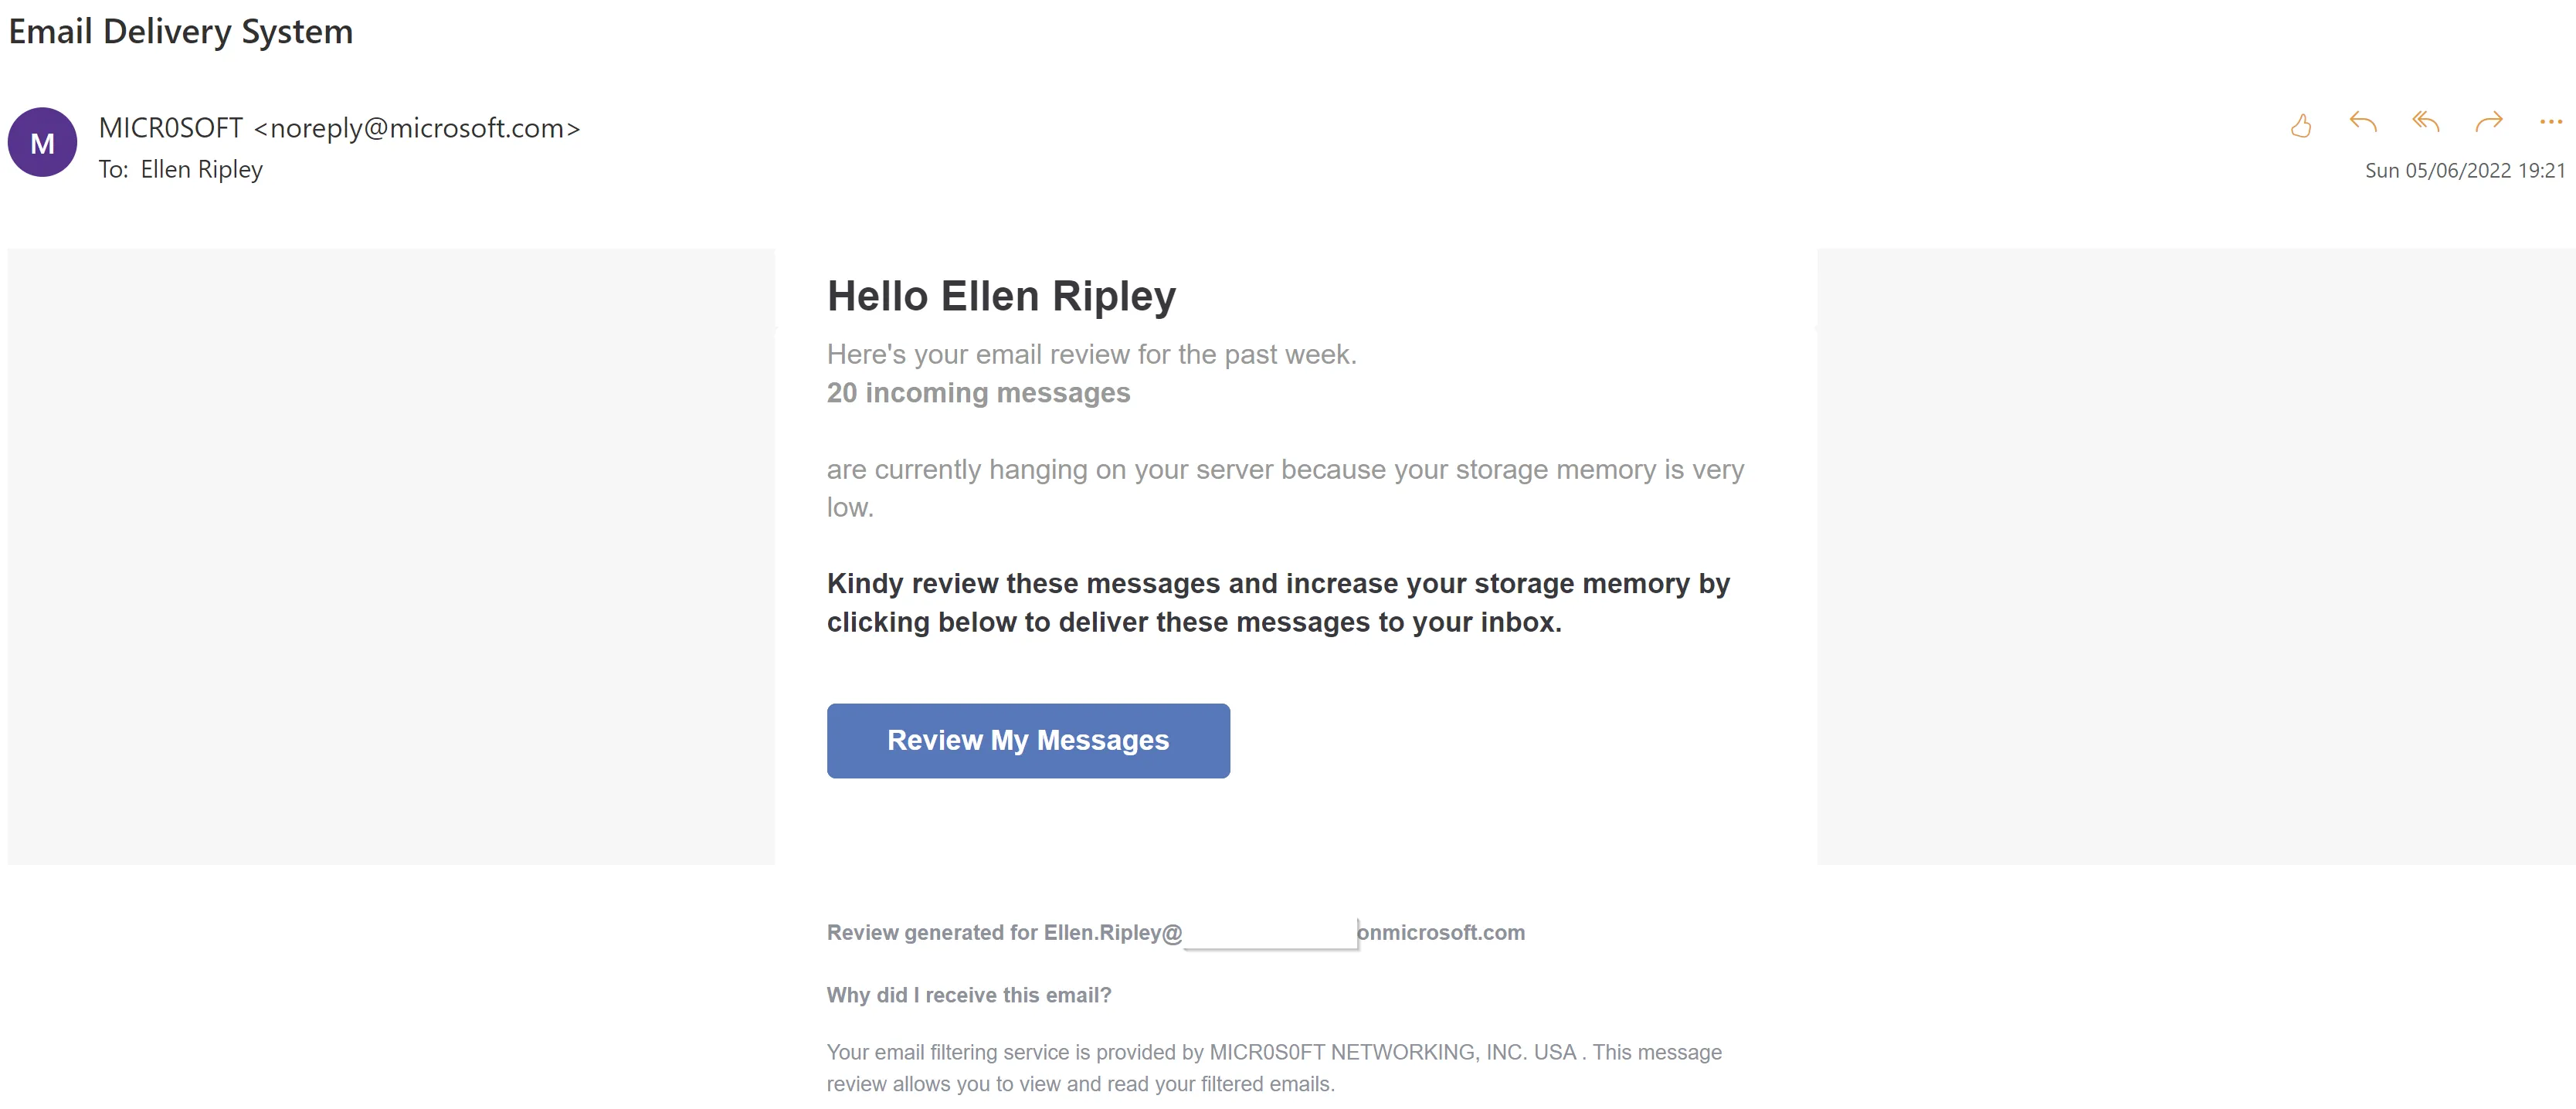
As most of you will be able to notice, it’s a relatively poor phishing email attempt with plenty of queues that tell you so, however to the unknowing user this could well cause them to fall short of handing over their login credentials, let’s go ahead and click the link and see what the user is greeted with.
If you weren’t trained to look at the URL, you would easily be fooled by this.
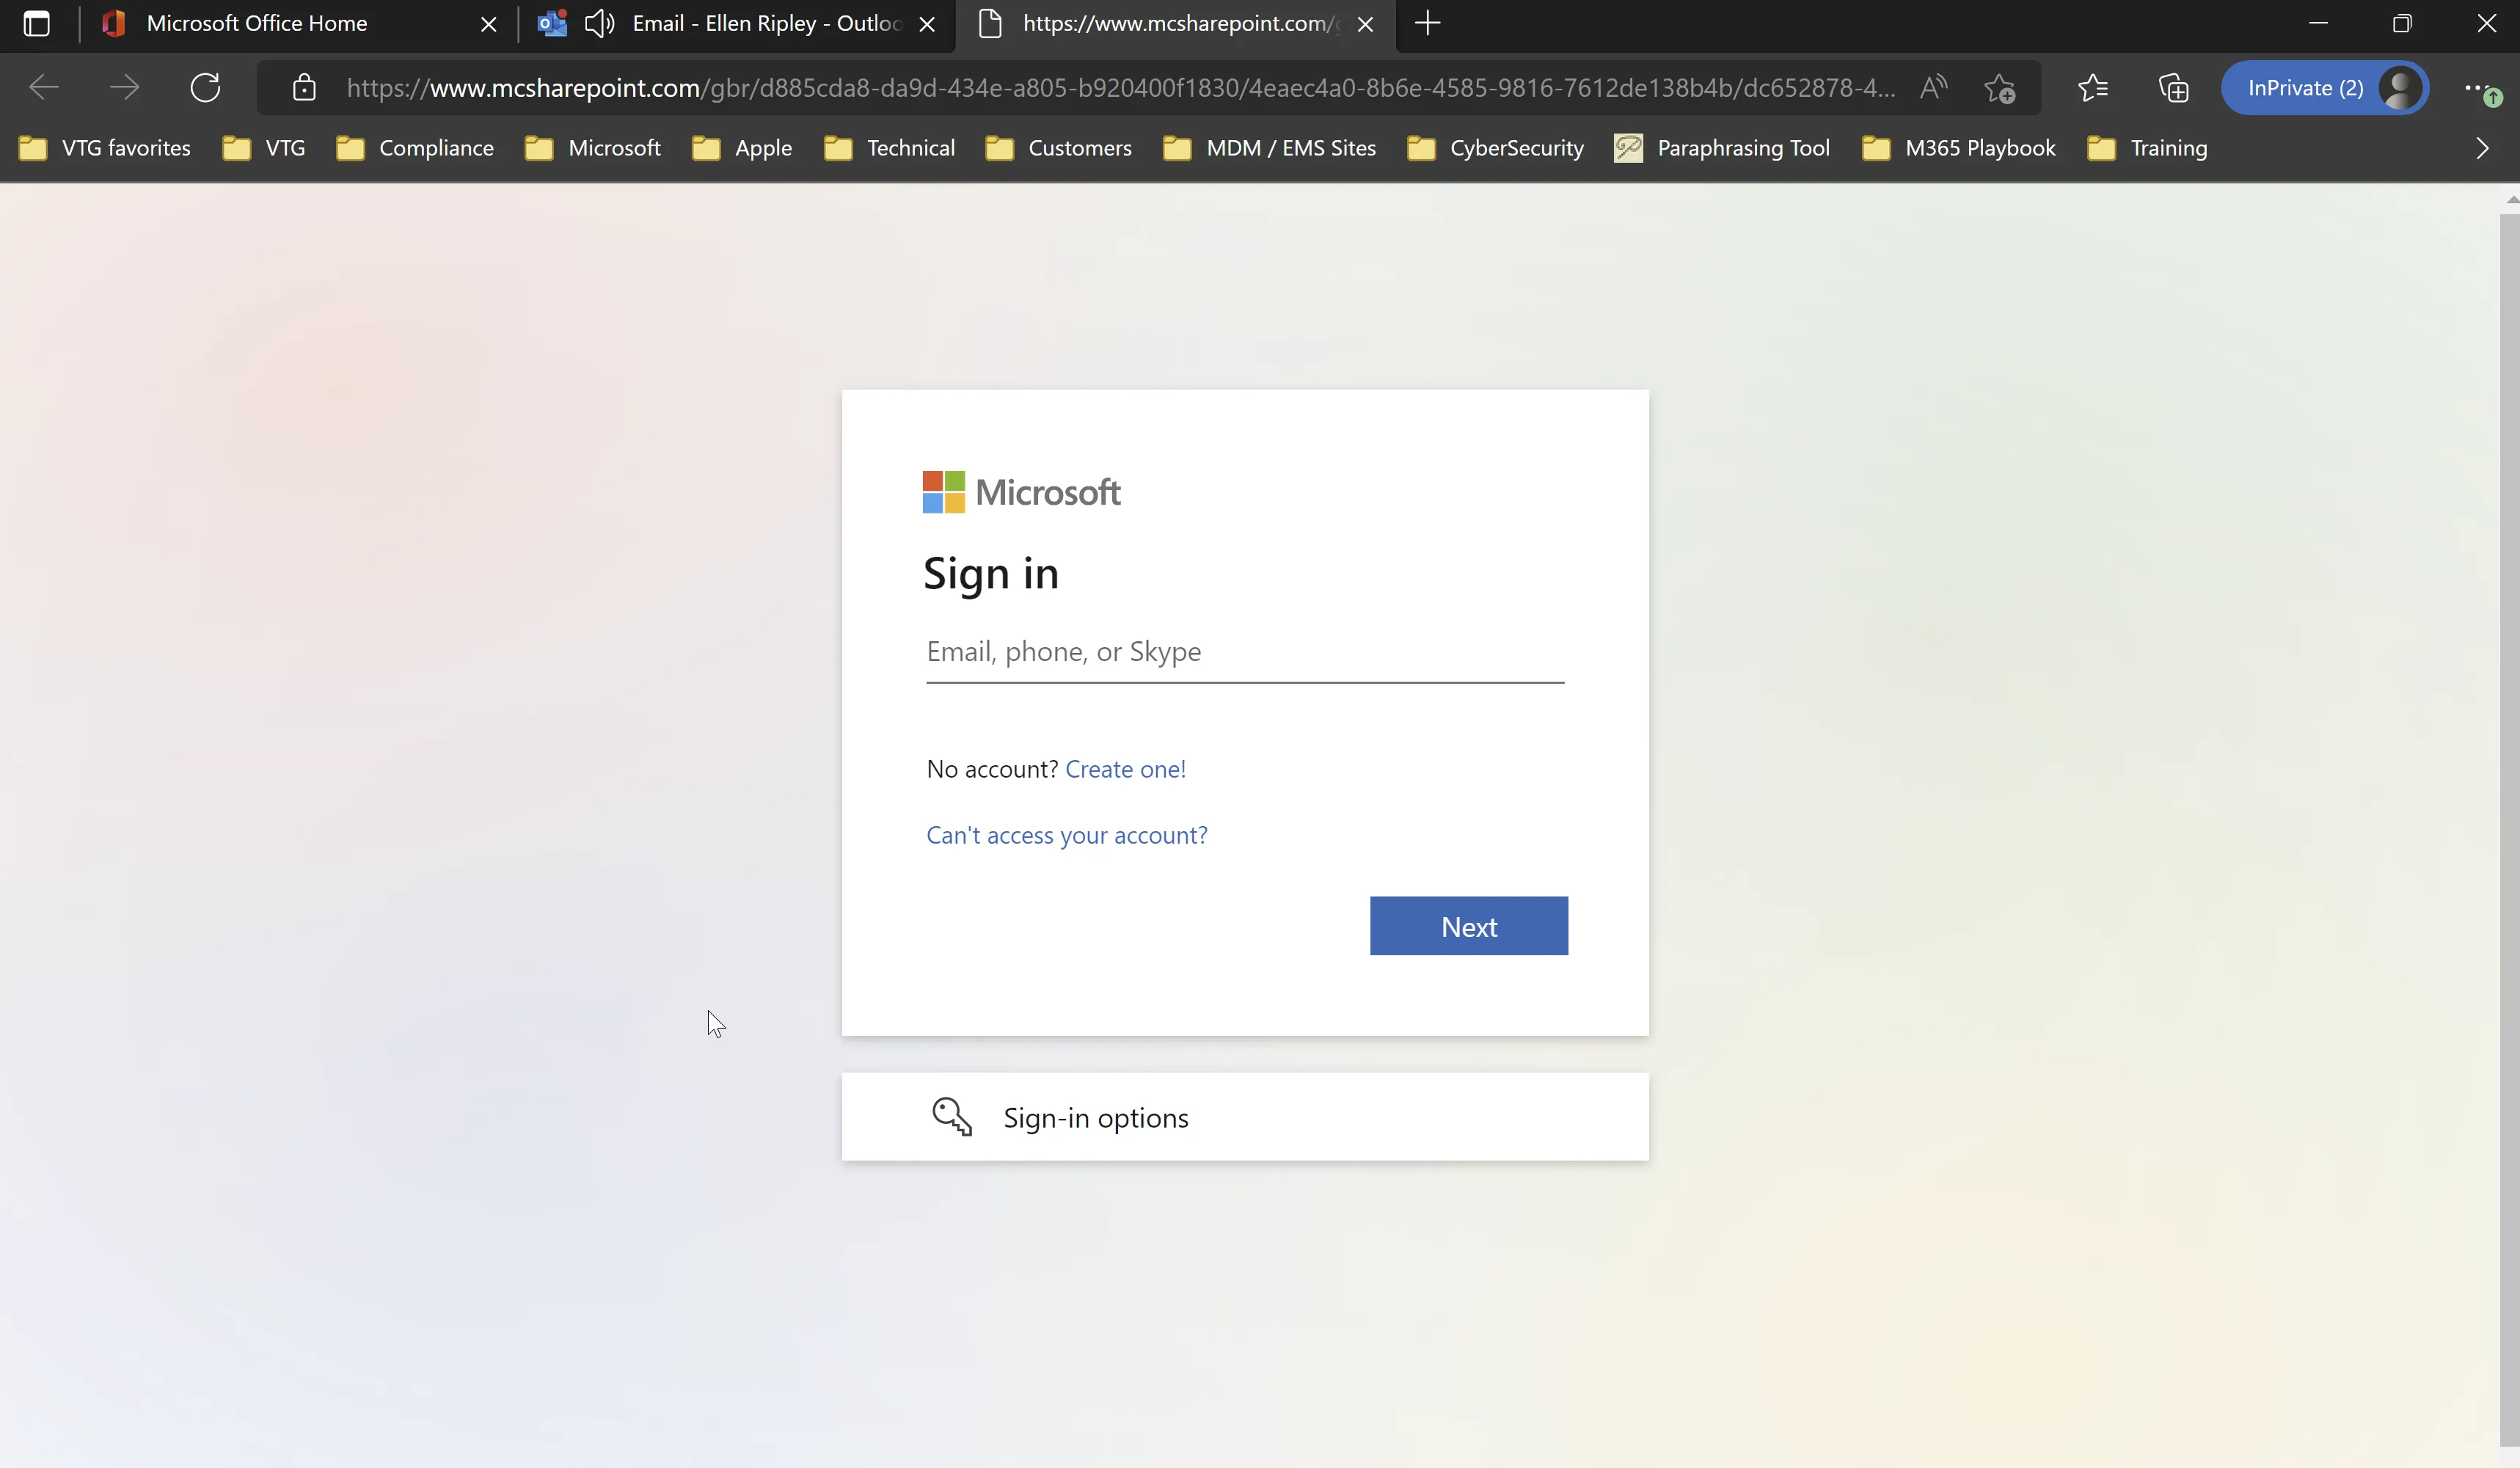
Then after inputting the users credentials we see the familiar landing page we created earlier.
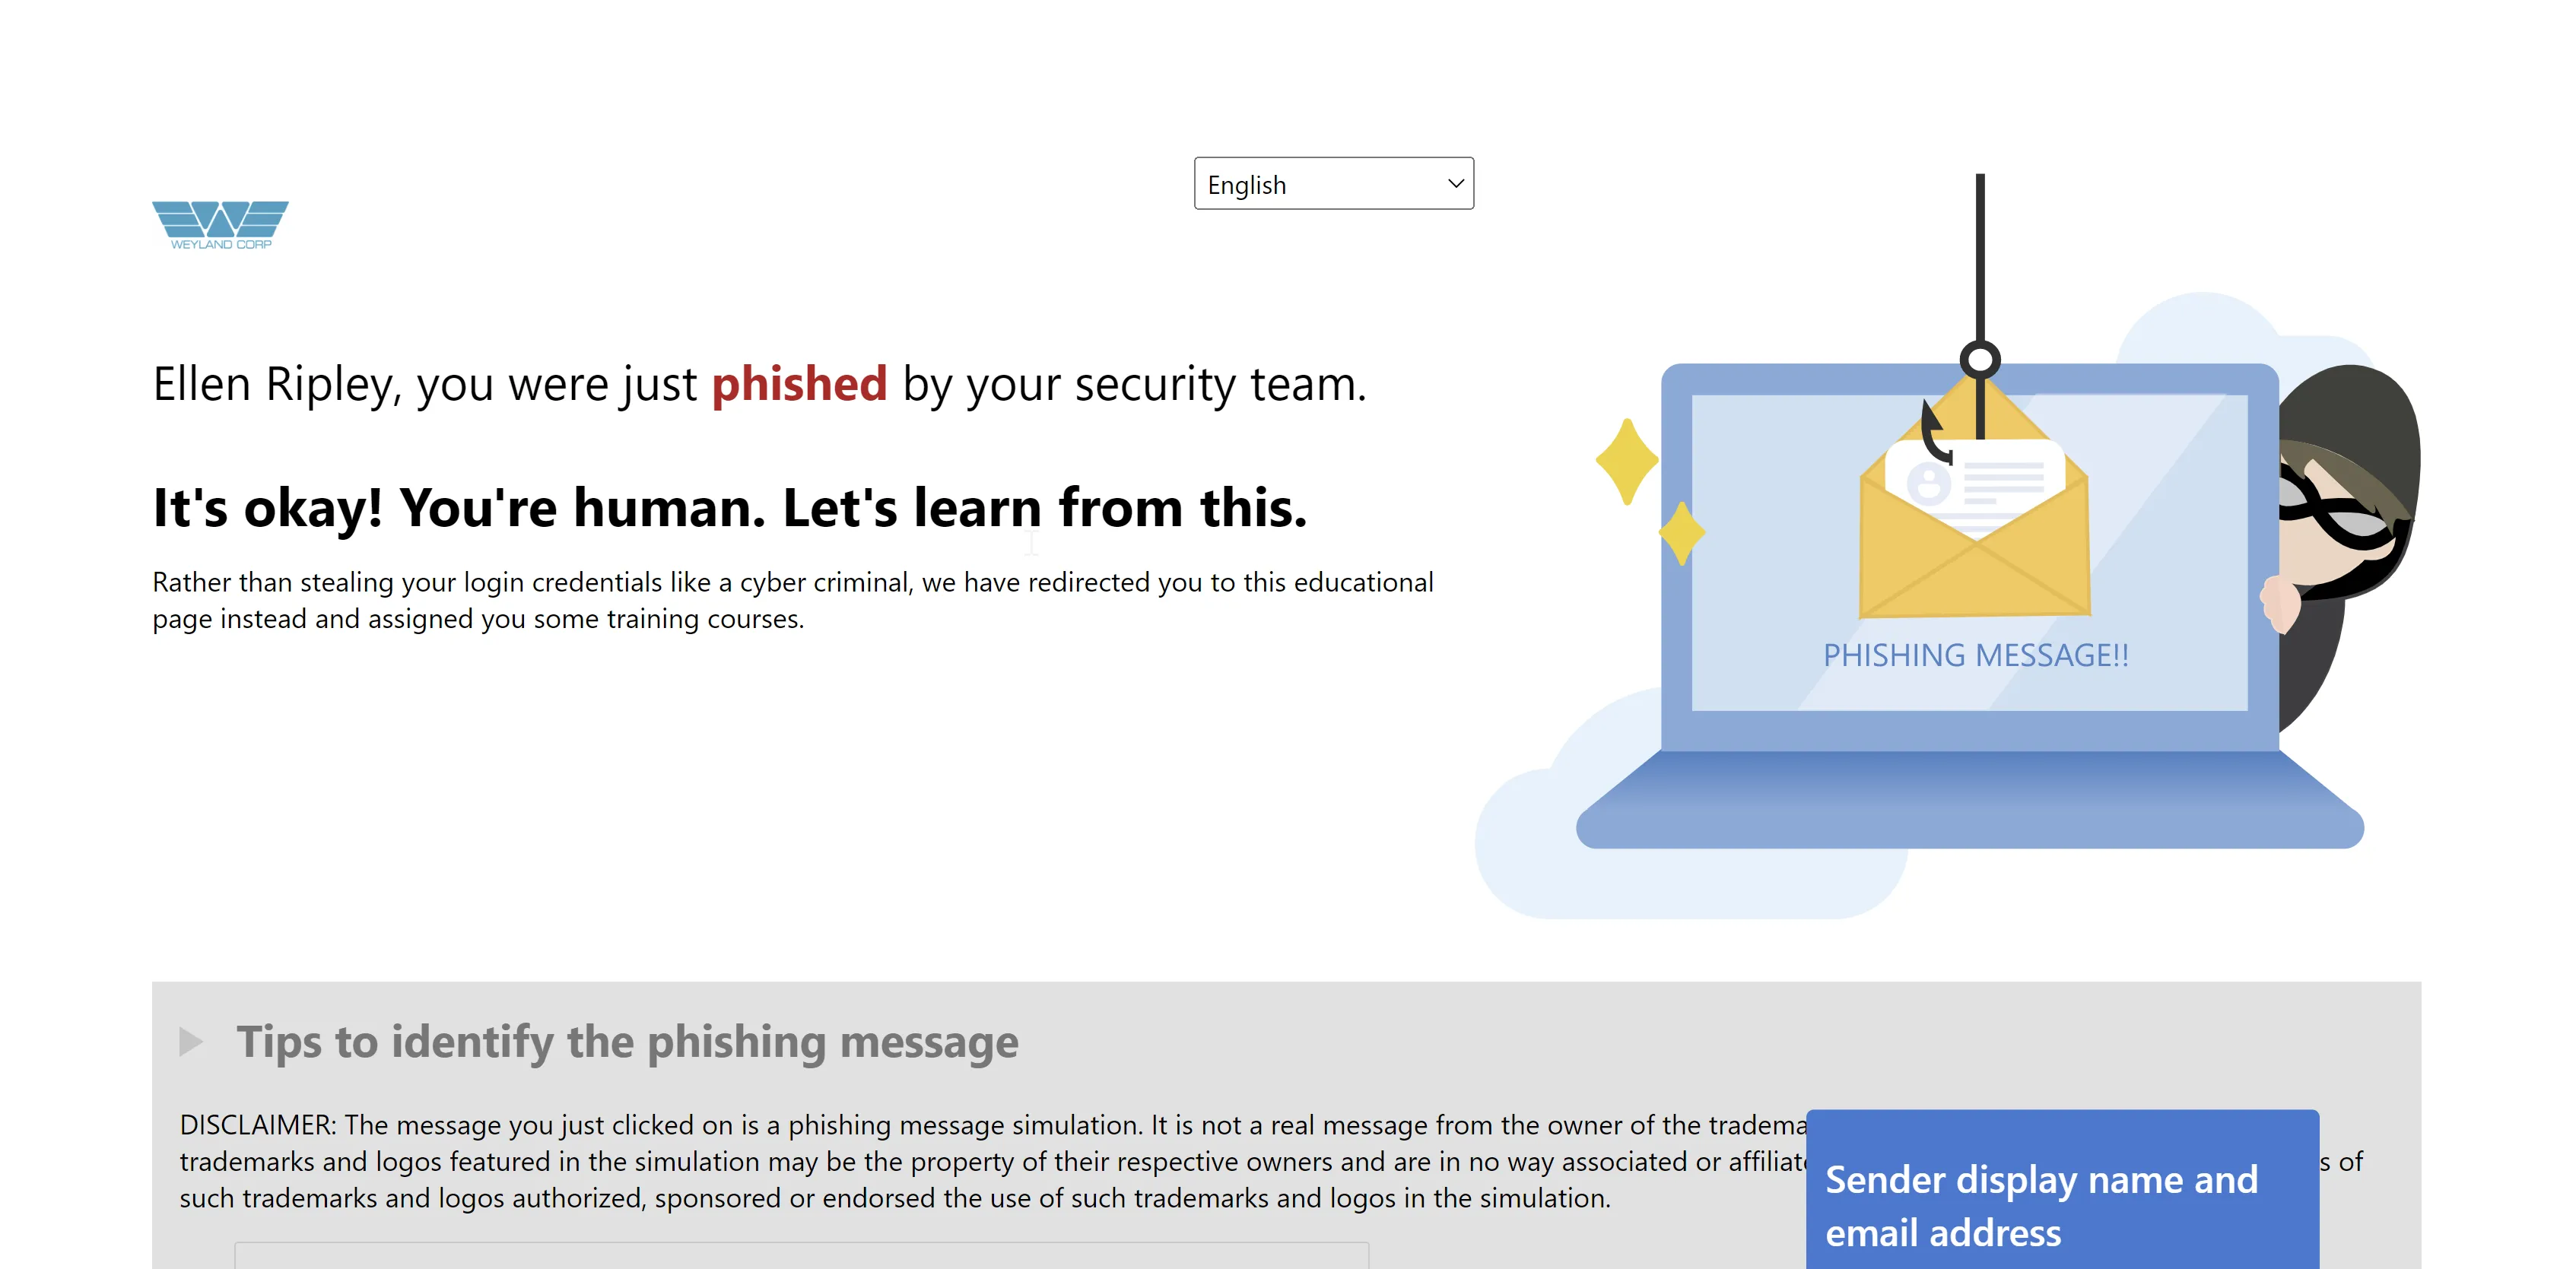
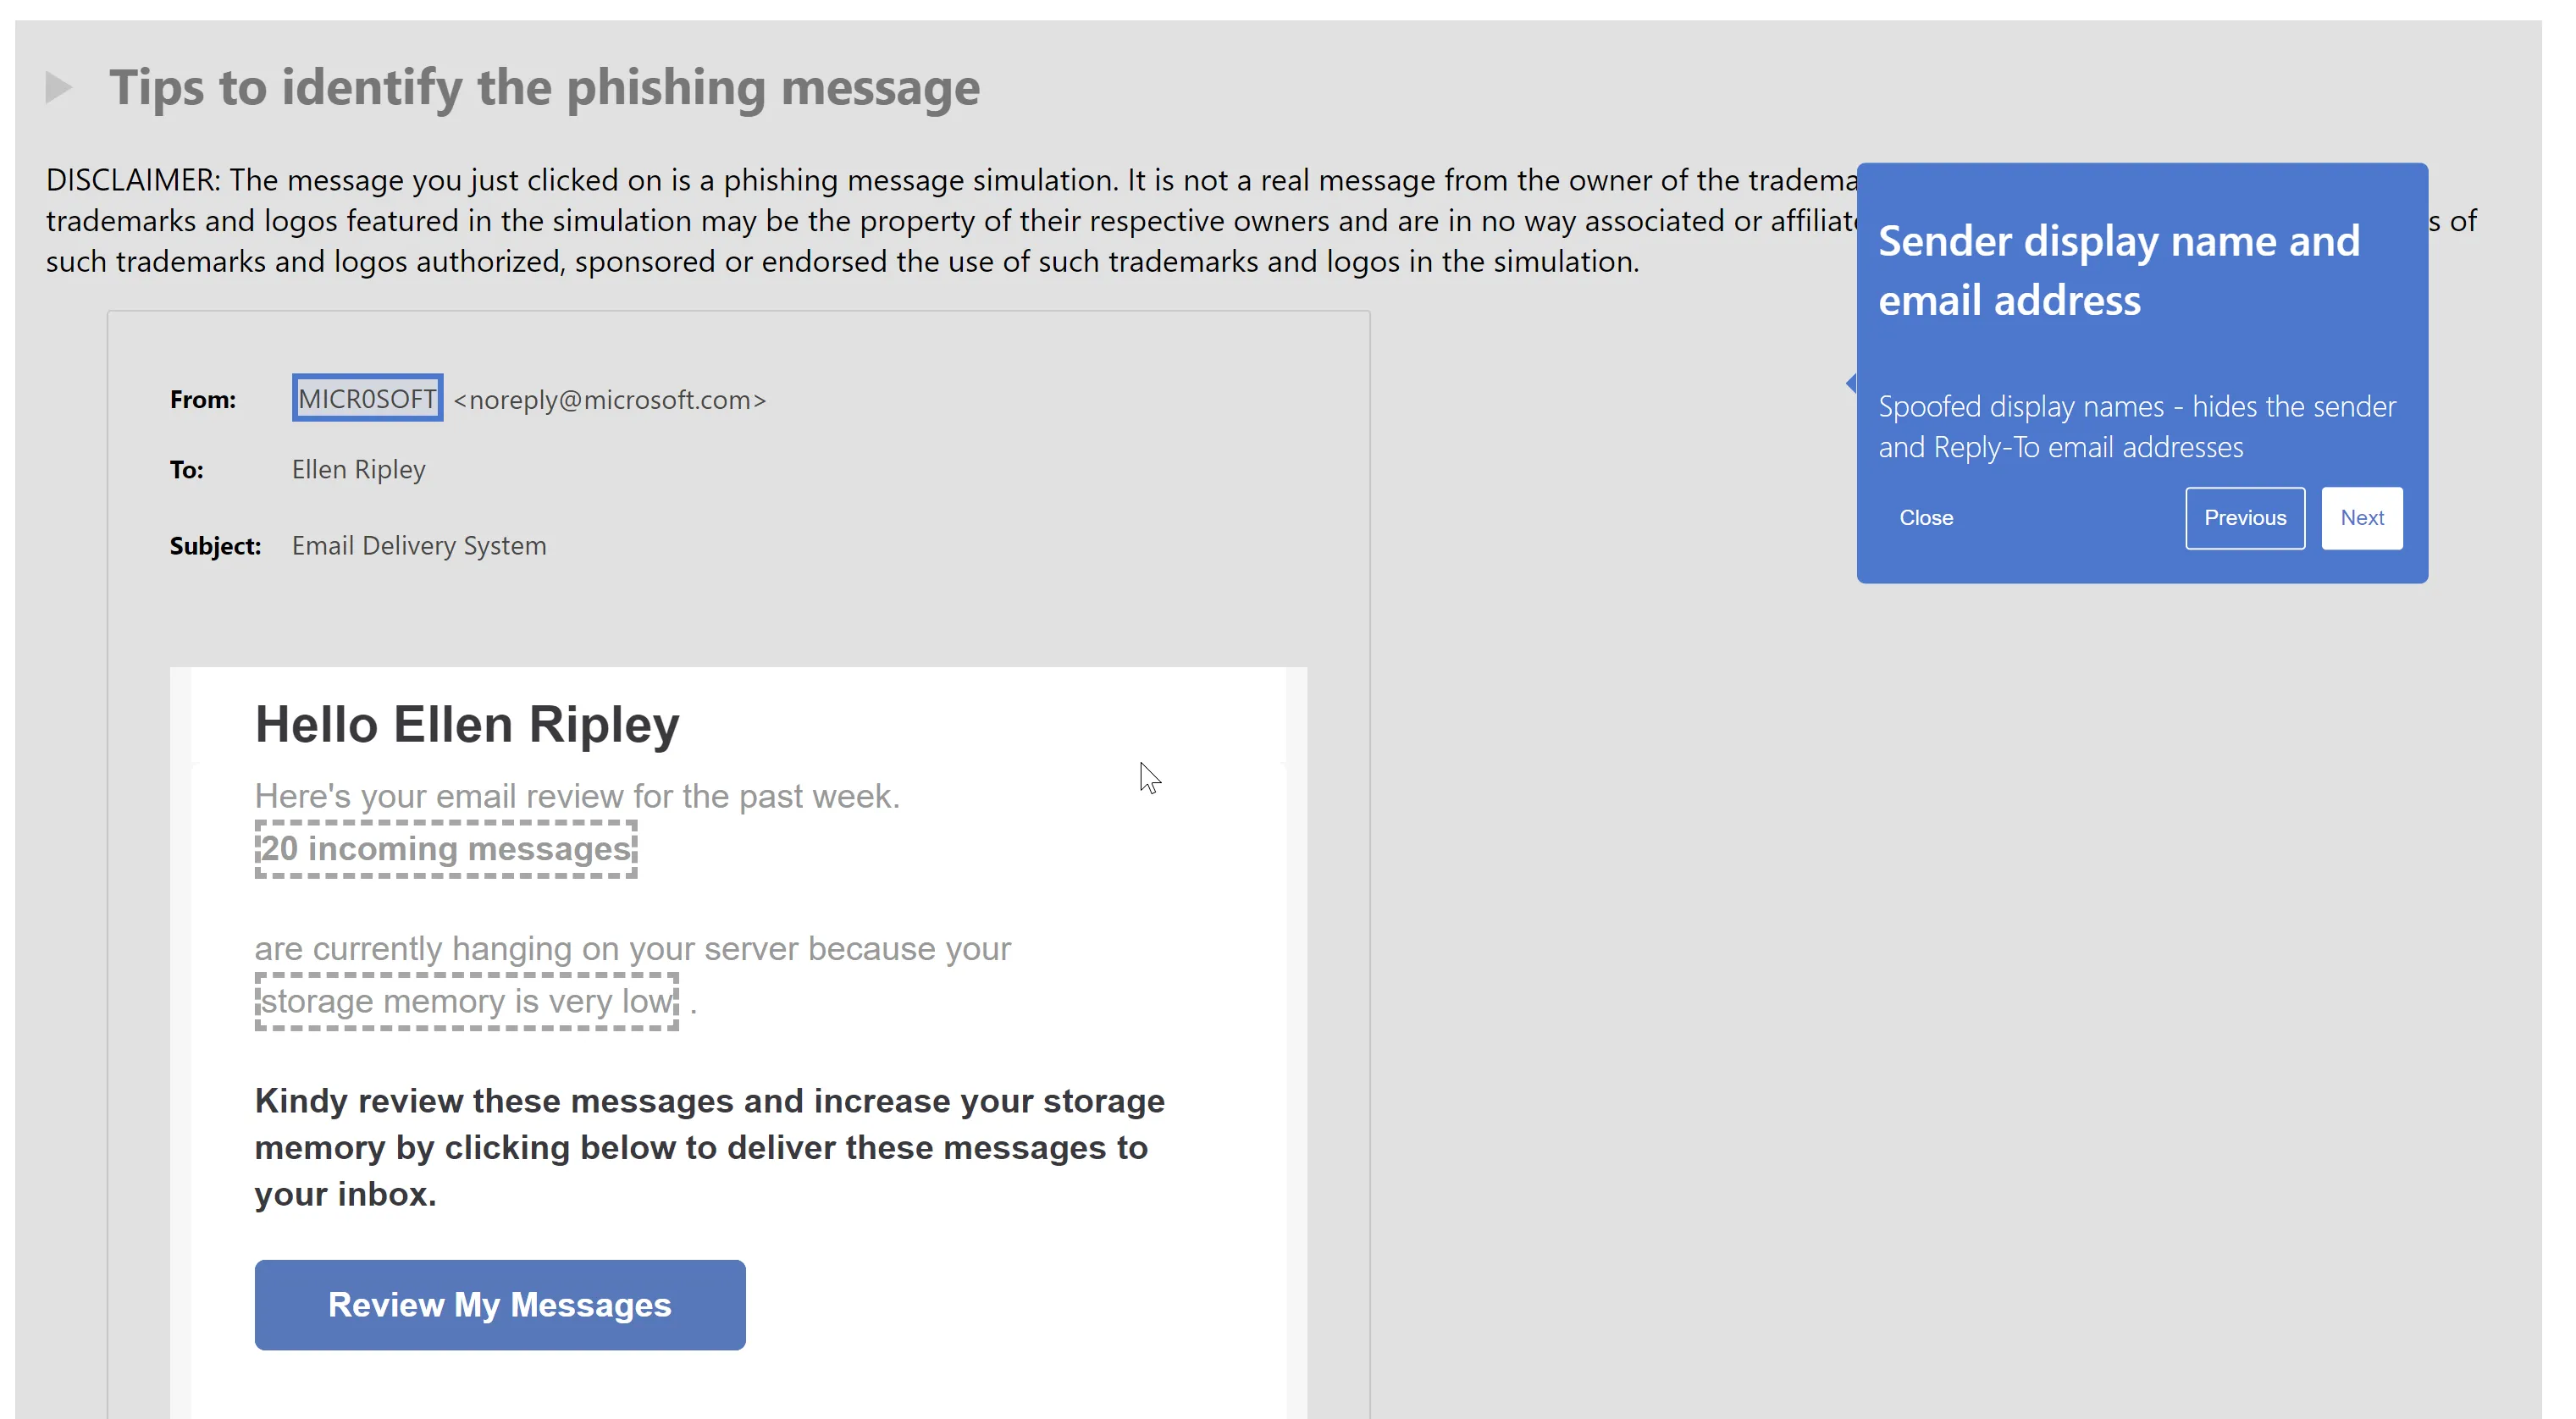
So, our user has been phished, now what? Next comes the **training **assigned to those that fell for the campaign and handed over their credentials. The user will receive an email notification dependent on your simulation settings, like so.
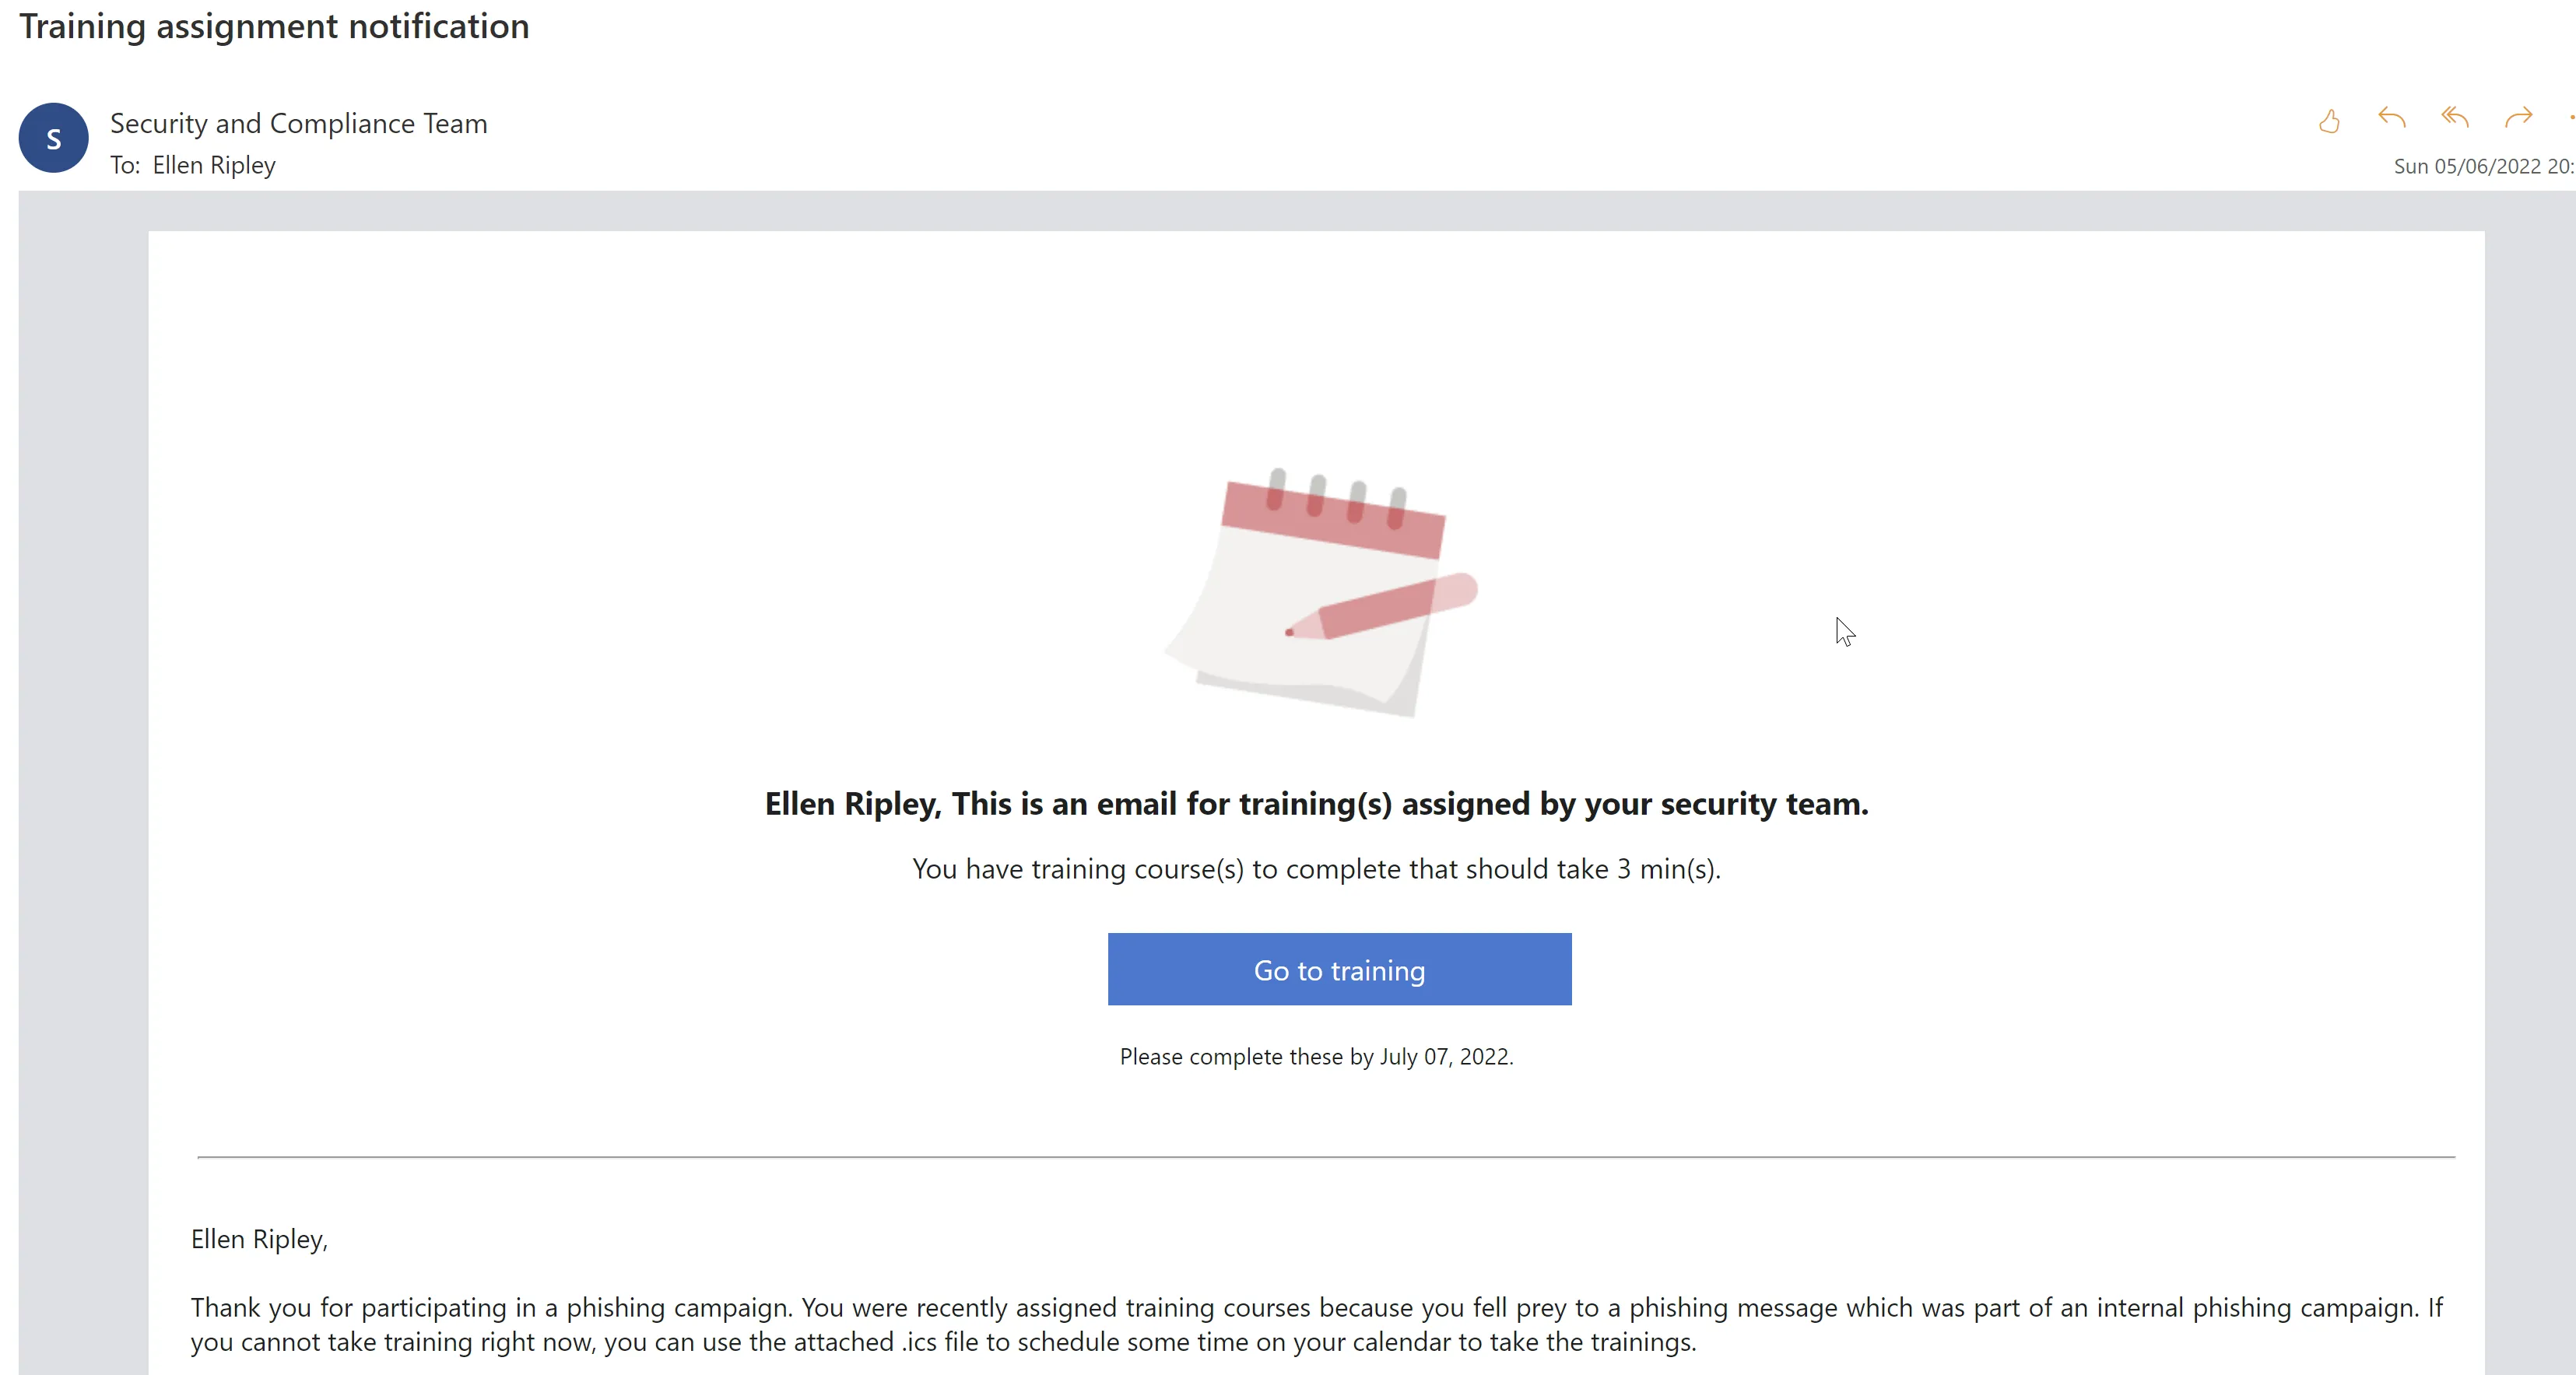
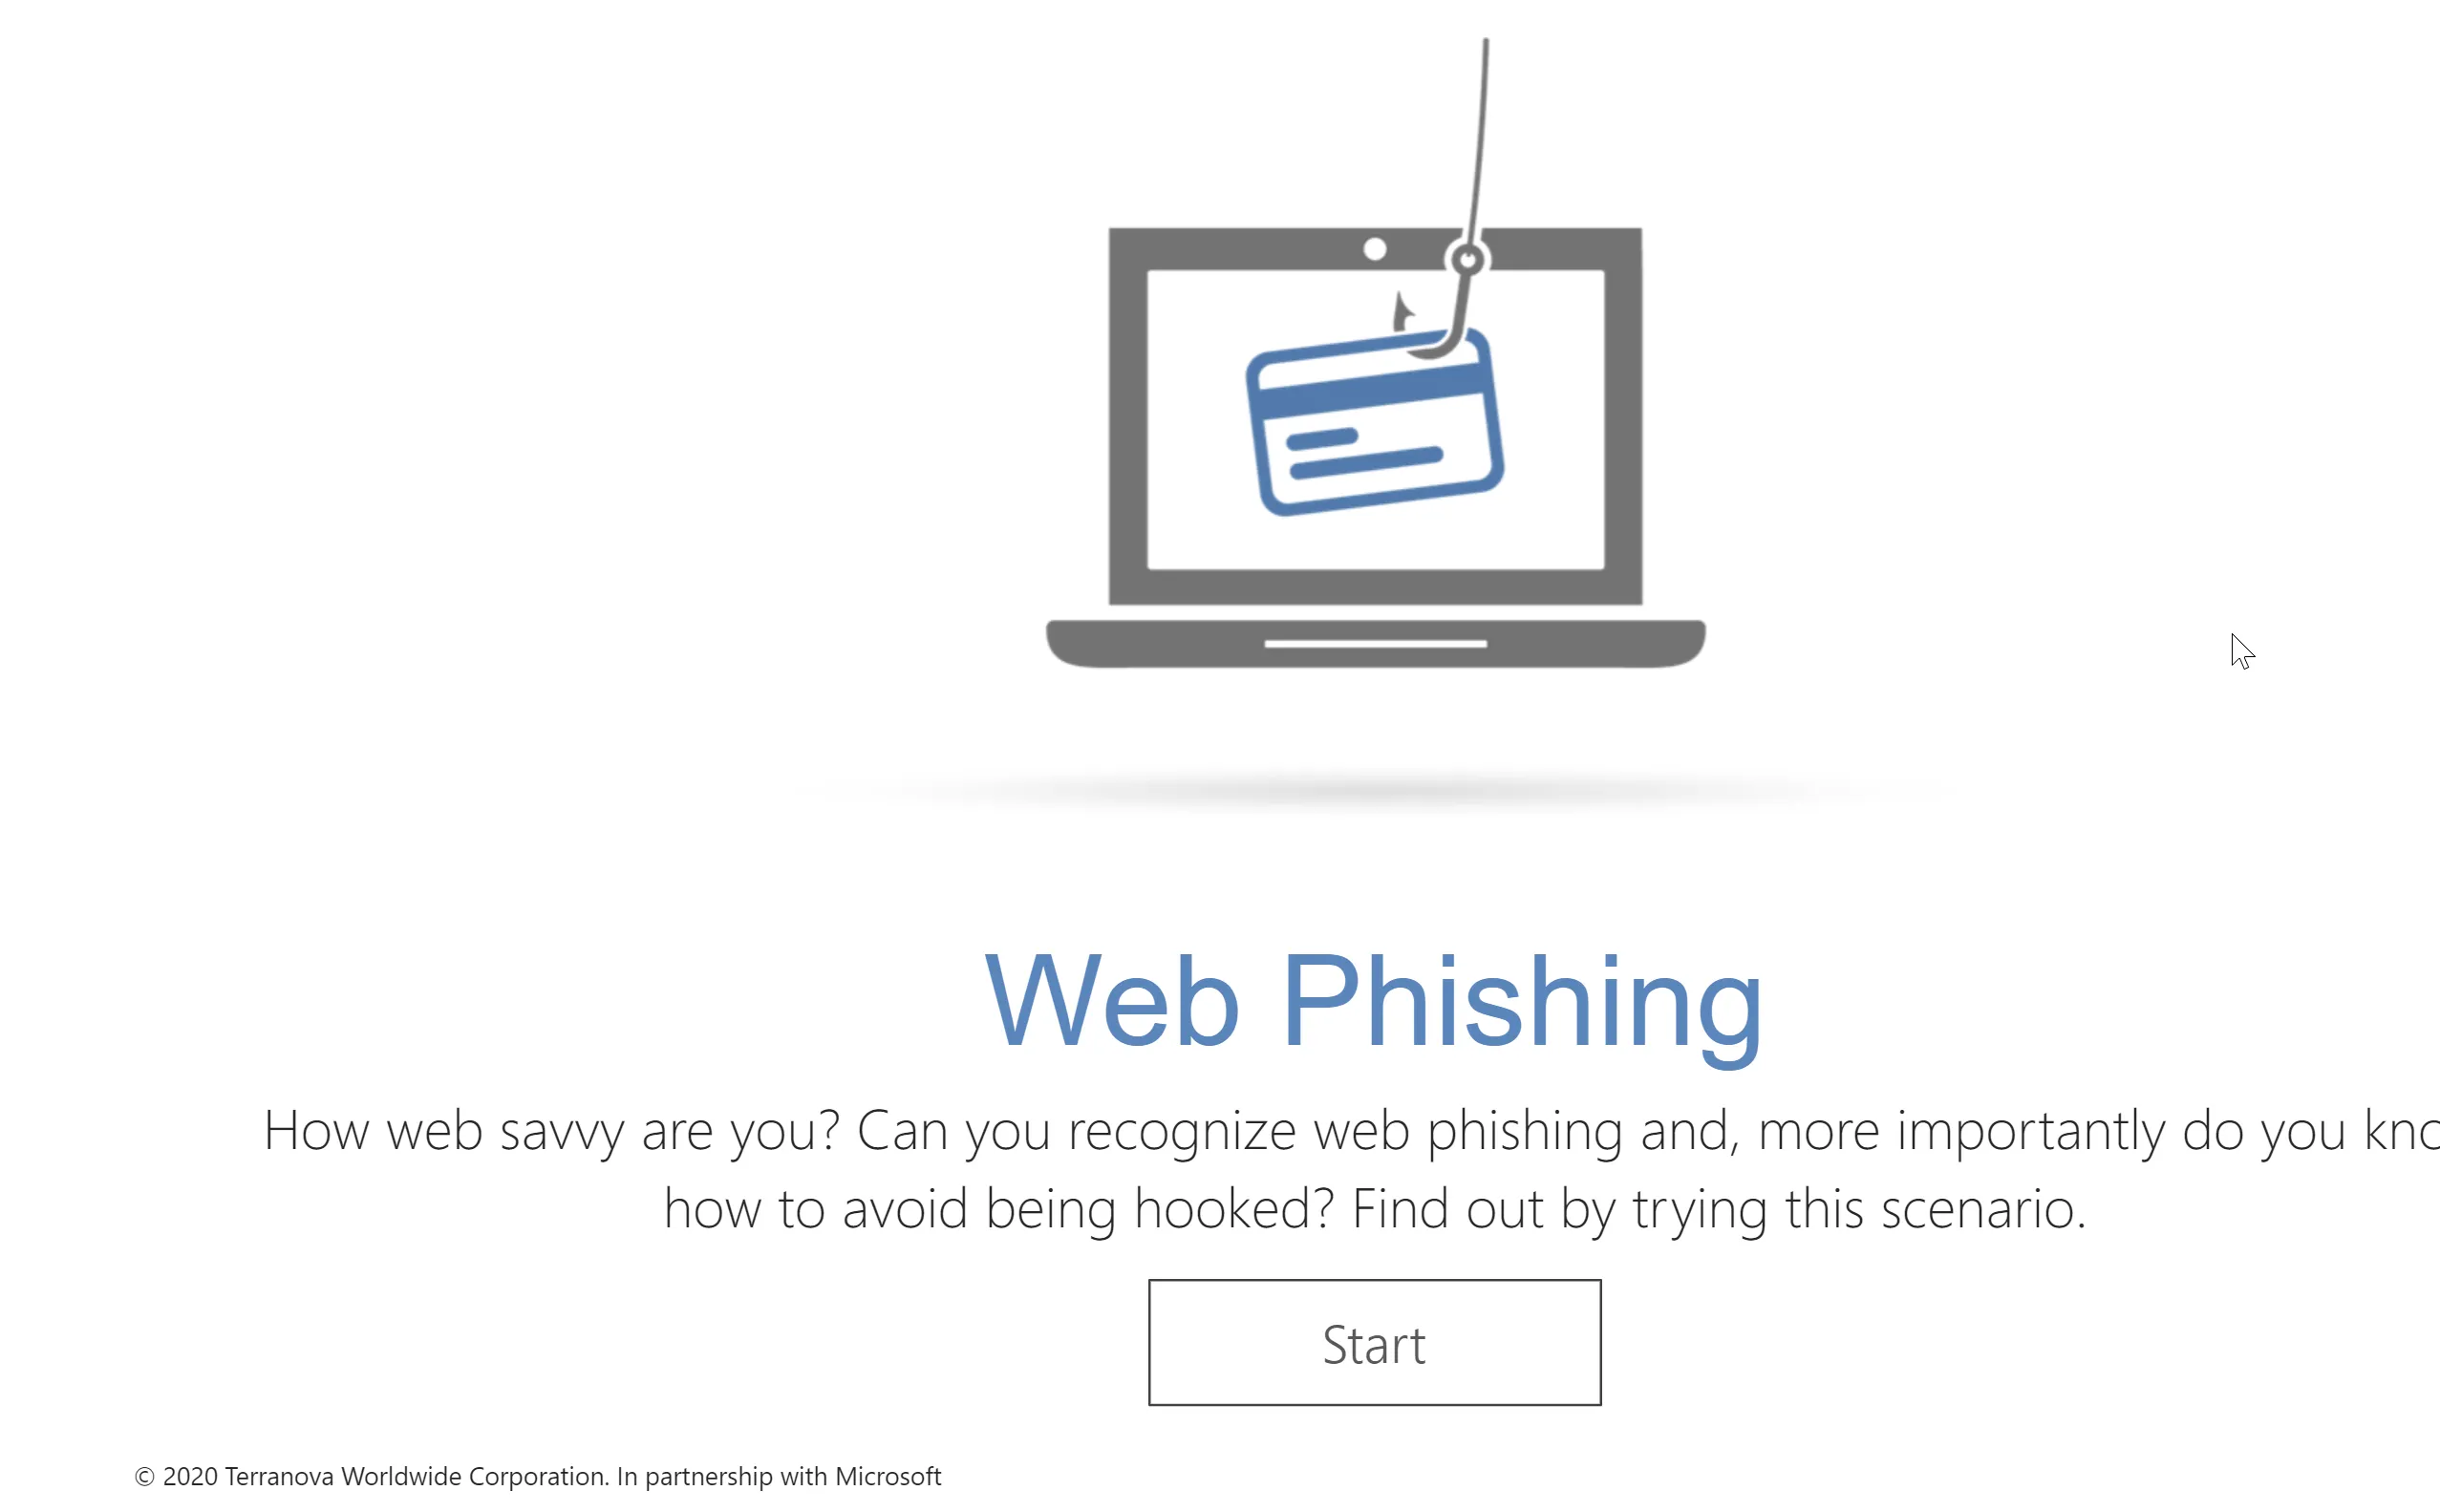
When the user clicks the ‘Go to training’ button, it starts the training modules which are a series of animations and videos followed by some questions designed to test you on the subject.
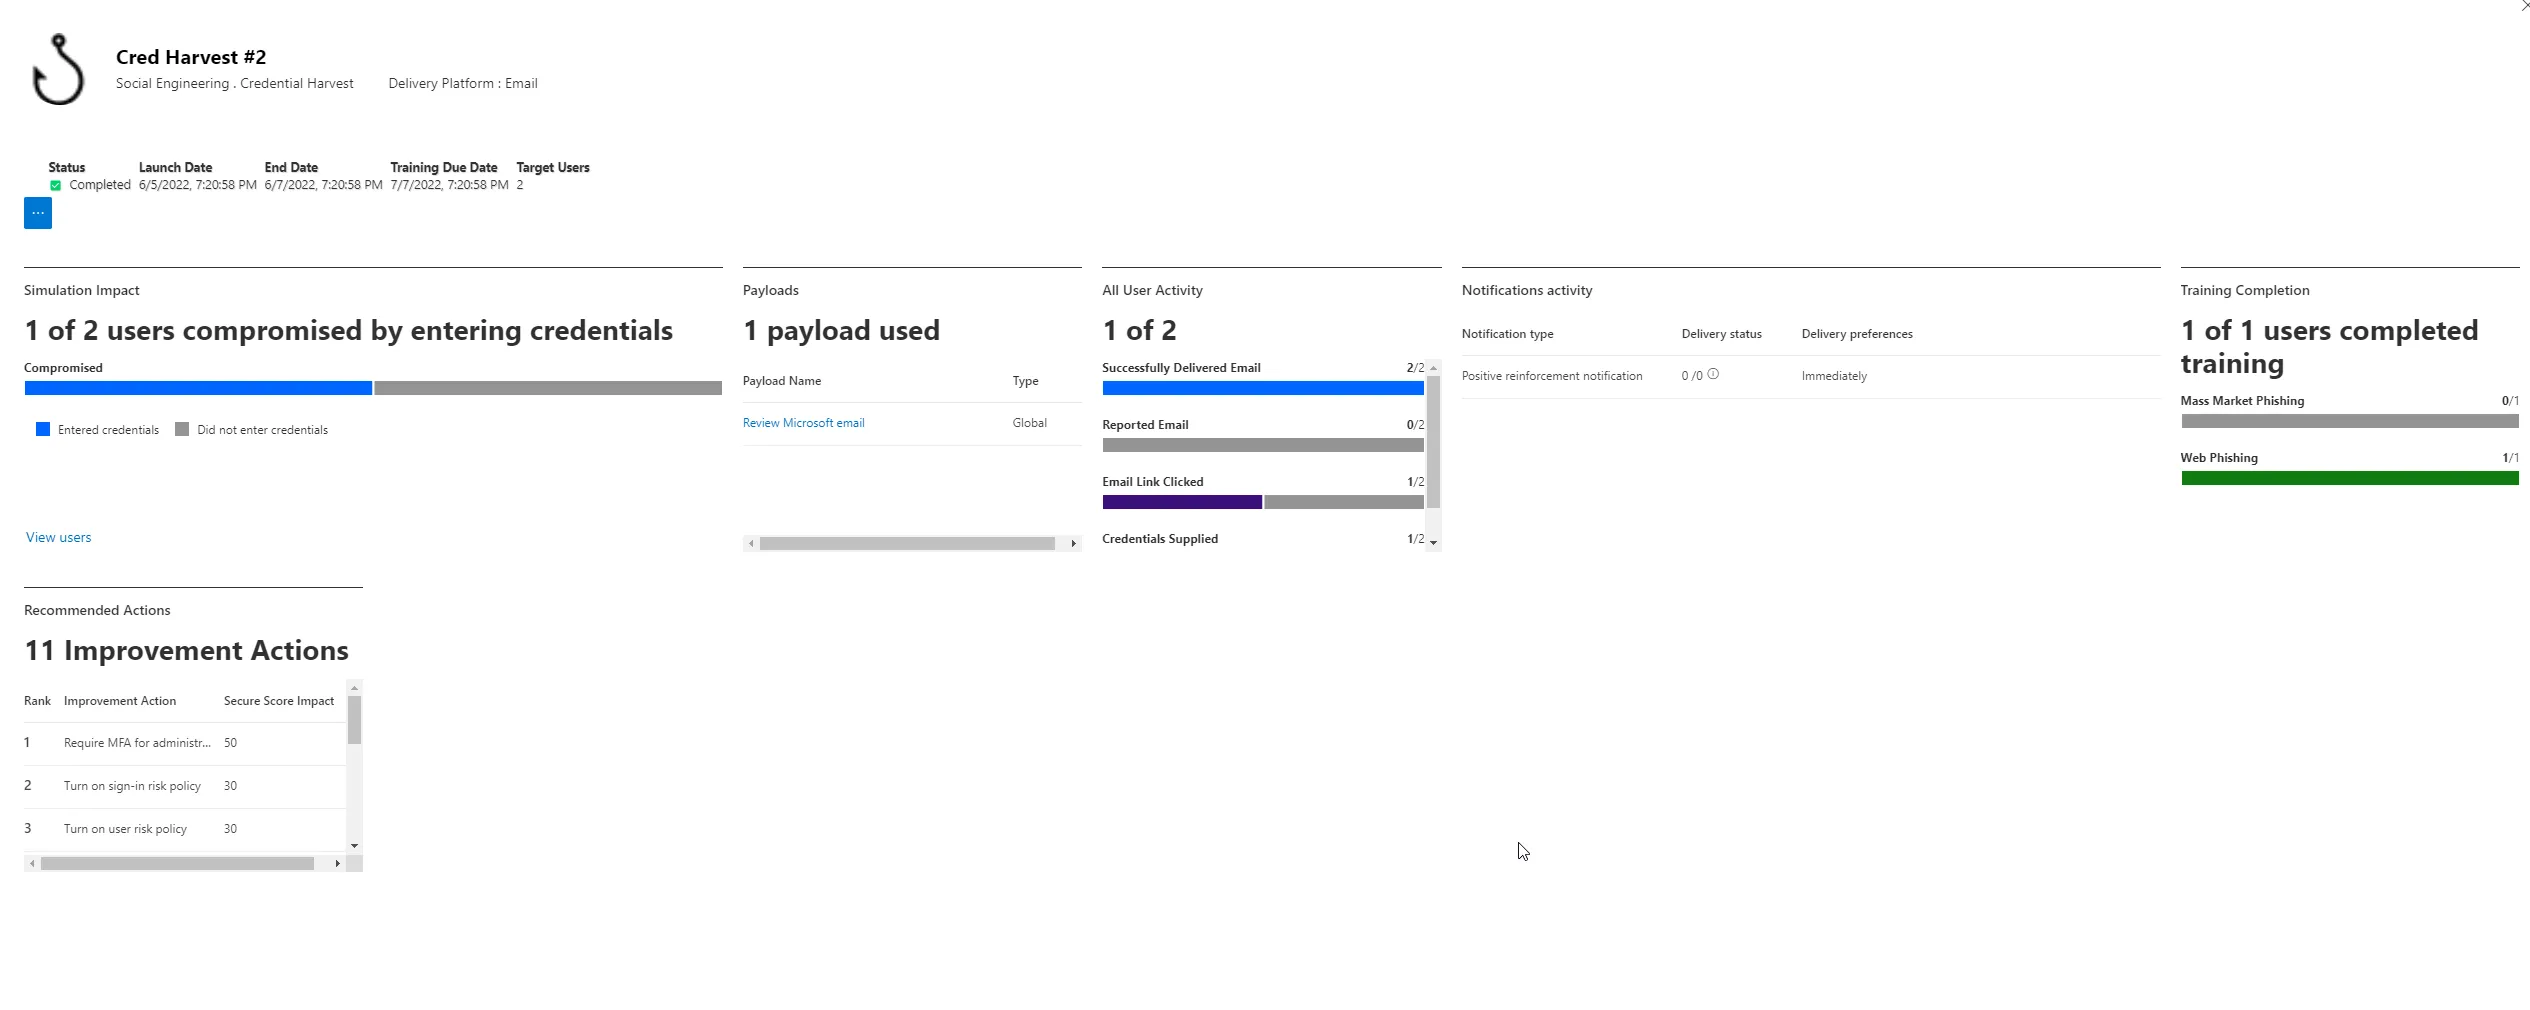
Heading back into the simulation we have a dashboard view that provides plenty of information, including which users have been compromised, which users have completed any associated training and recommended improvement actions.
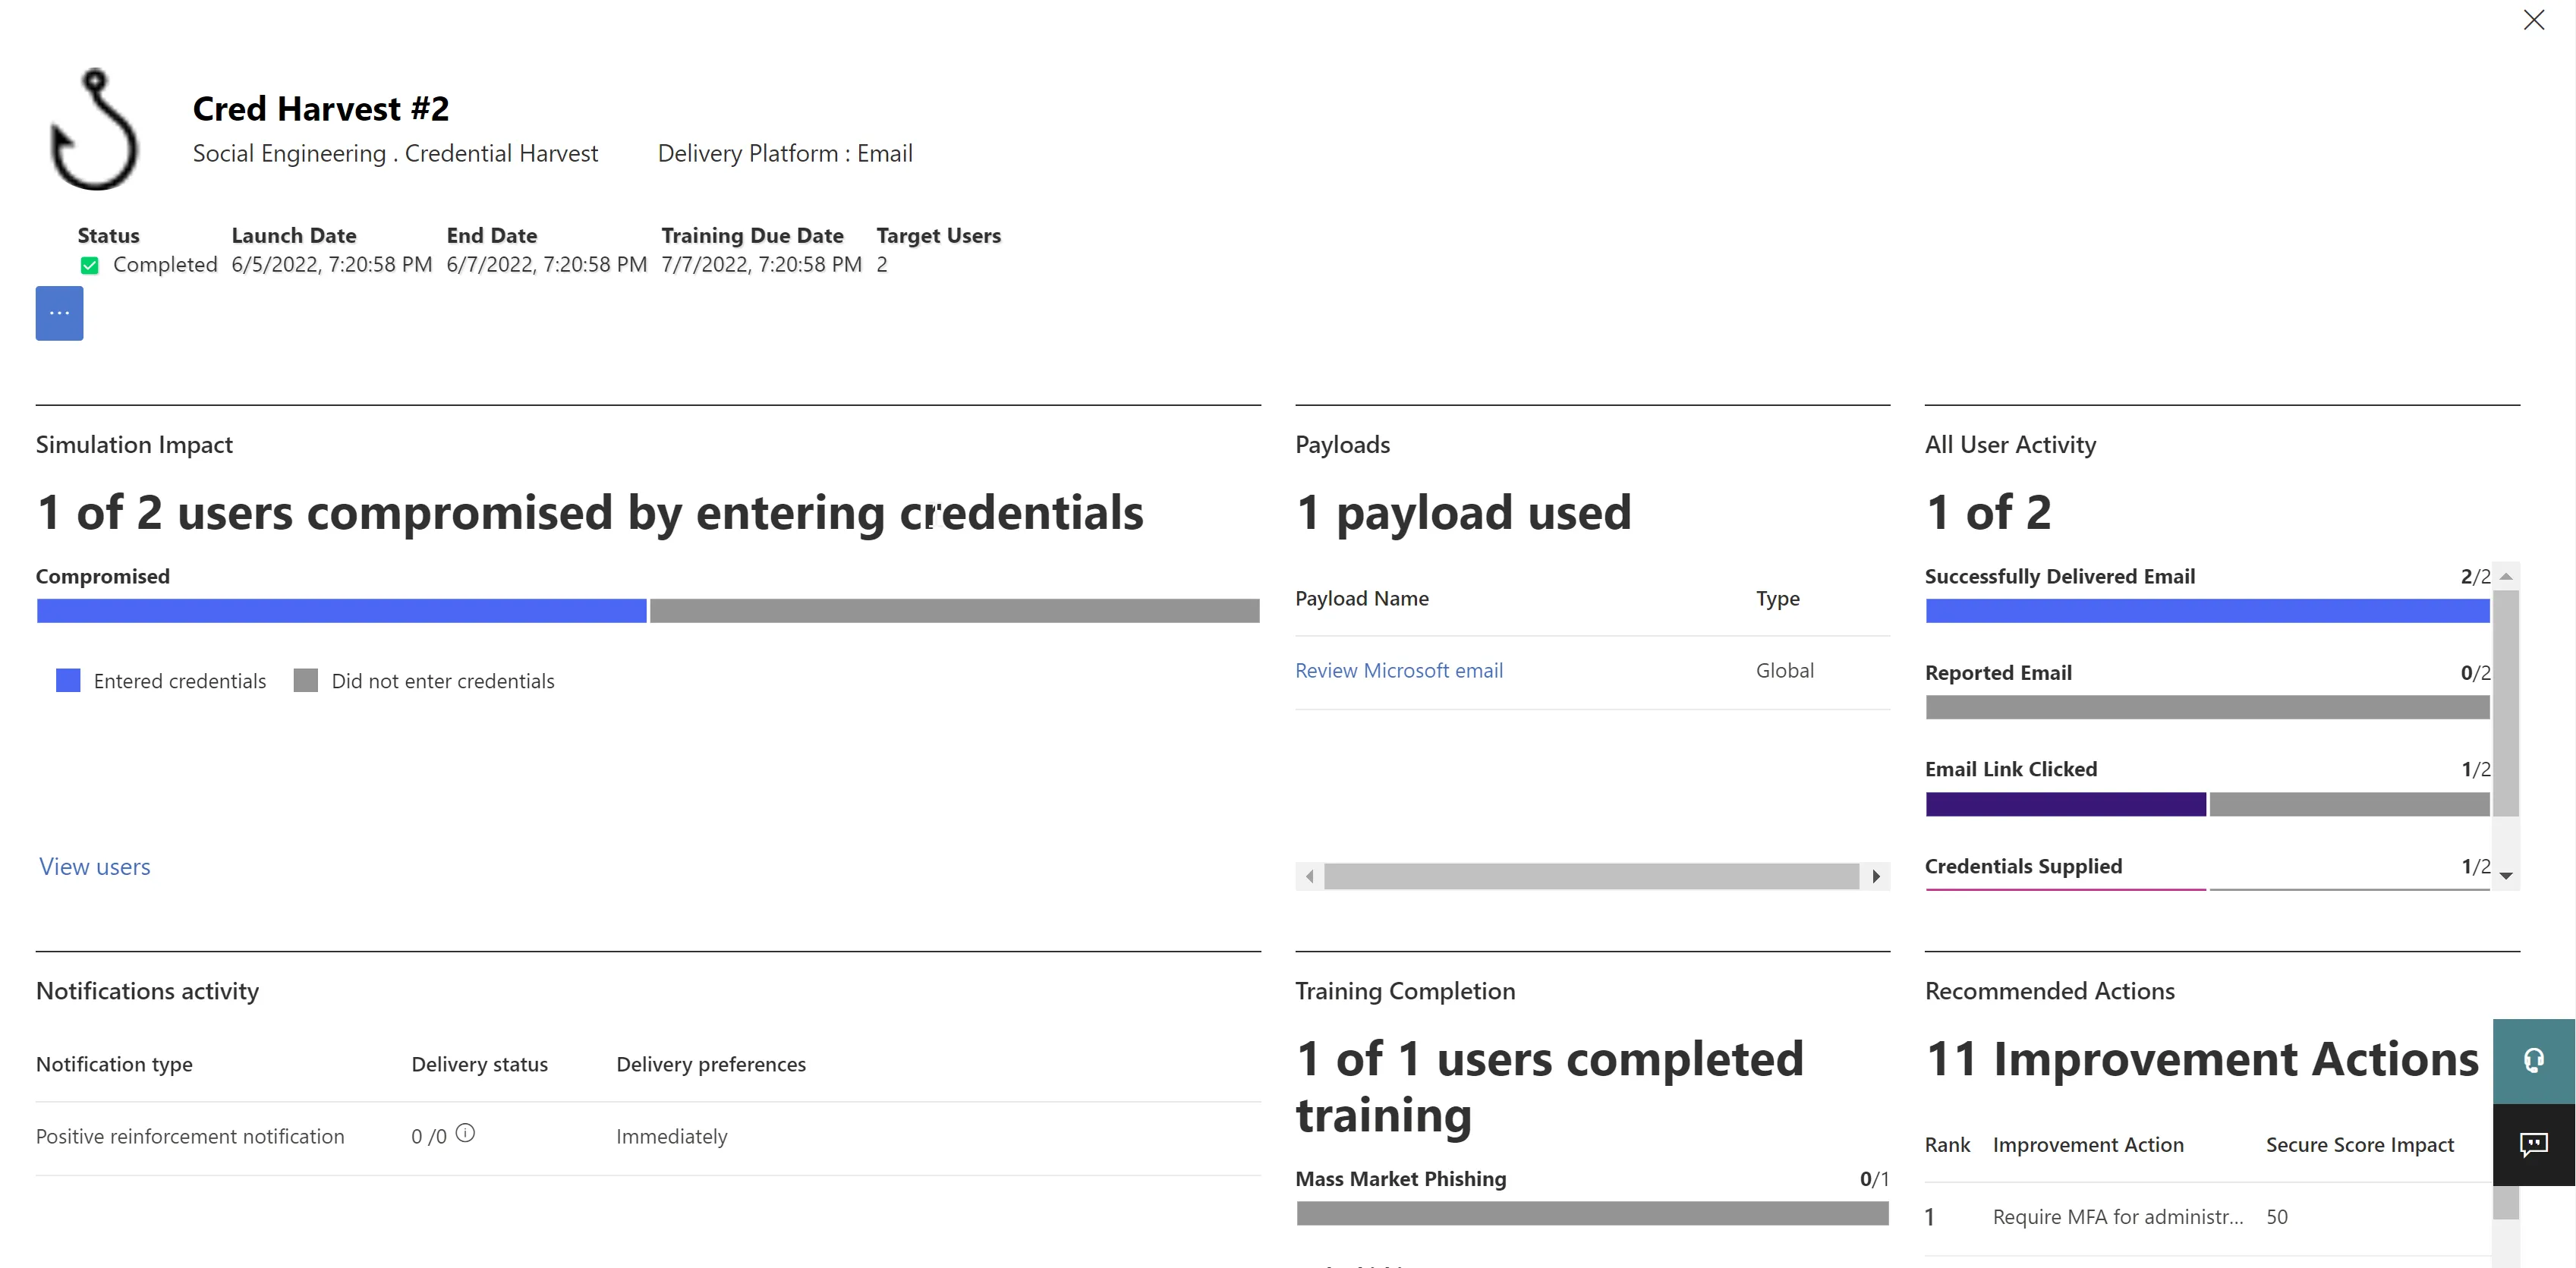
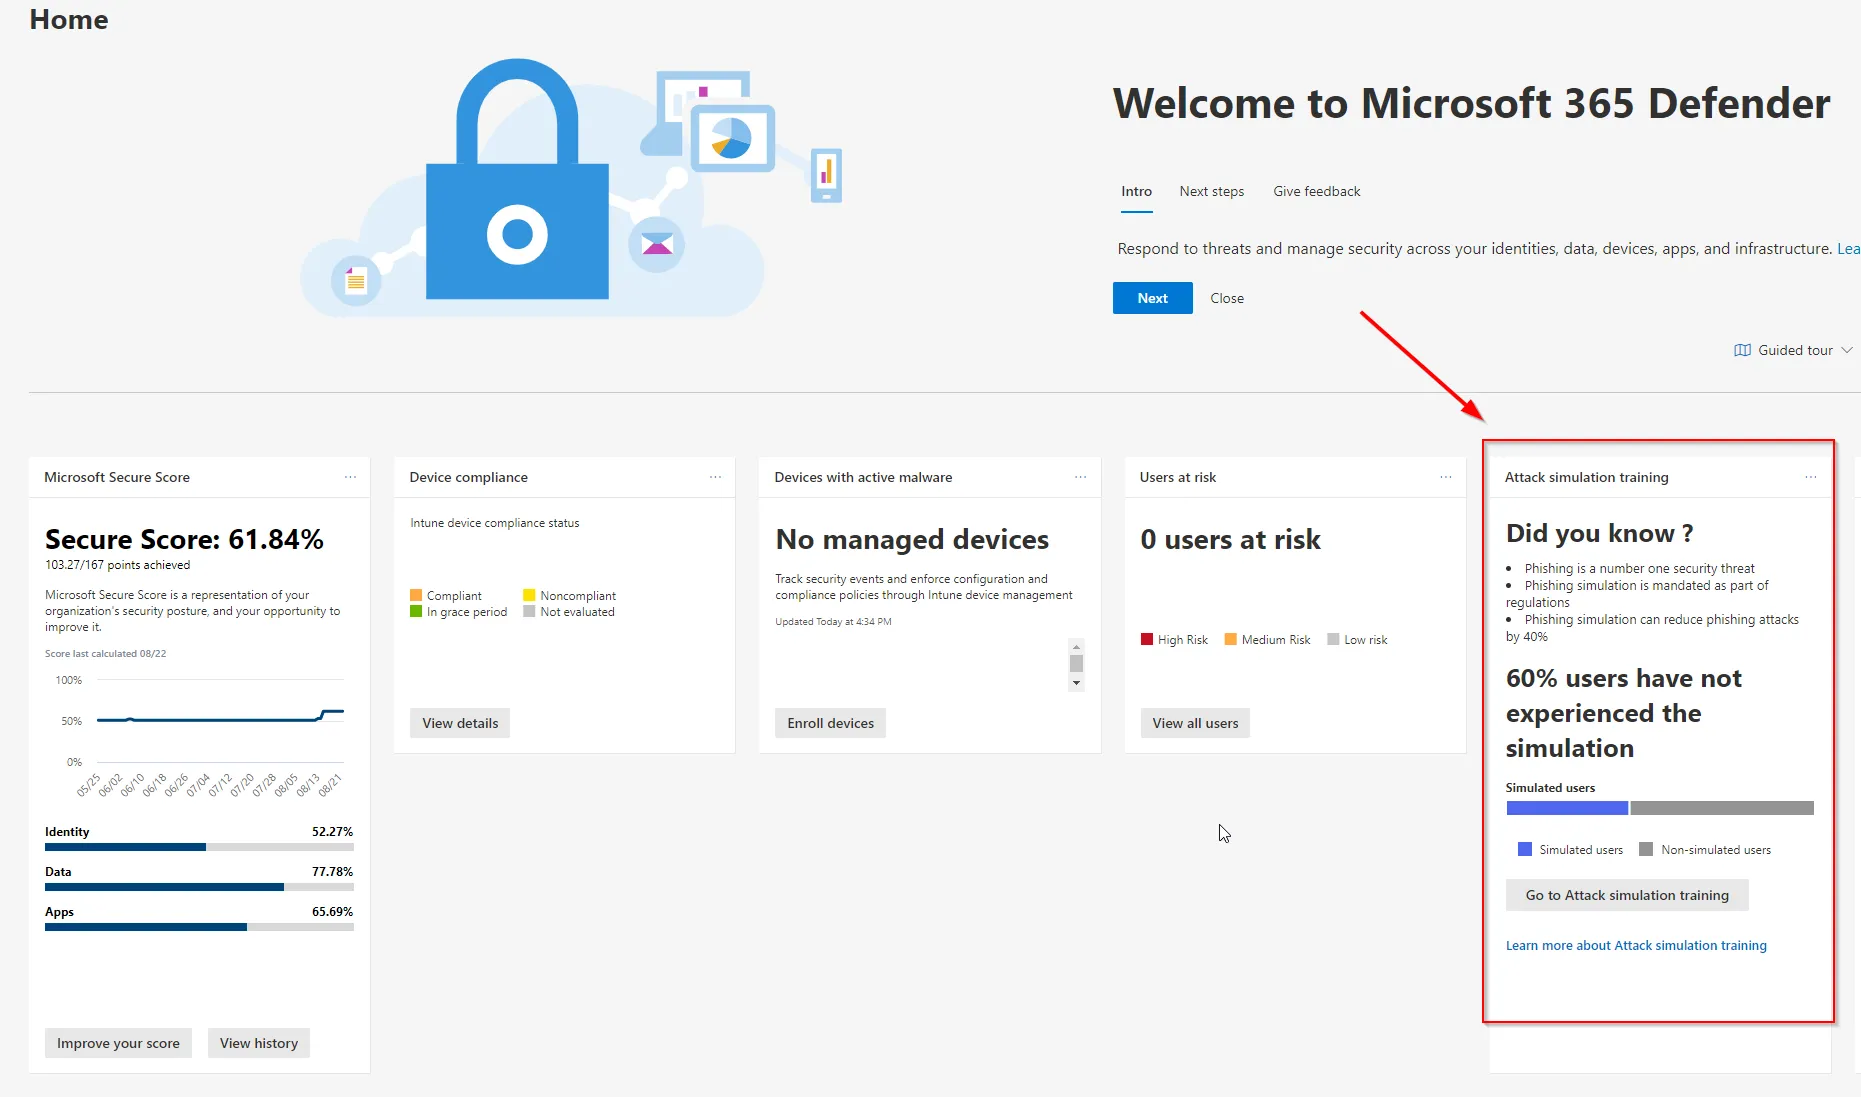
There is also cards in the Defender home page which provide info on the simulations you have running.
Simulation recommendations can be found in the Overview page of Attack Simulation Training portal.
The above article is designed to give you a brief overview and a very quick example of how you can get up and running with Attack Simulation Training, if you want to learn more about the feature you can do so here: Get started using Attack simulation training - Office 365 | Microsoft Docs.